User Guide
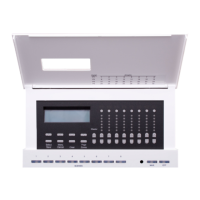
Leviton D4200 LCD Ver 2.0 Architectural Lighting Controller Page 14 of 80
Step 3: Install wire jumpers to the Phoenix connector (not
supplied) on either end of the cable run between pins 1-2,
and a separate jumper between pins 3-4.
Step 4: Retest each the following wire pairs at each connector:
1-2 Short
2-3 Open
3-4 Short
Step 5: Make any necessary repairs and remove wire jumpers
before continuing.
Configuring the Dimmer Cabinets
Prior to connecting any control stations, we recommend that the
dimmer cabinets or other dimming devices be energized and set up
according to the device's installation manual, and tested.
The control stations should be connected and configured one at a
time to prevent network conflicts. Each station should be tested for
proper operation before the next station is connected.
If a station does not appear to control circuits properly
after being configured, resolve the problem before
continuing.
Install the Unit to the Wall
Step 1: Remove faceplate.
Step 2: Insert wired phoenix connector into D4200 unit, per Figure
7.