User Guide
Leviton D4200 LCD Ver 2.0 Architectural Lighting Controller Page 32 of 80
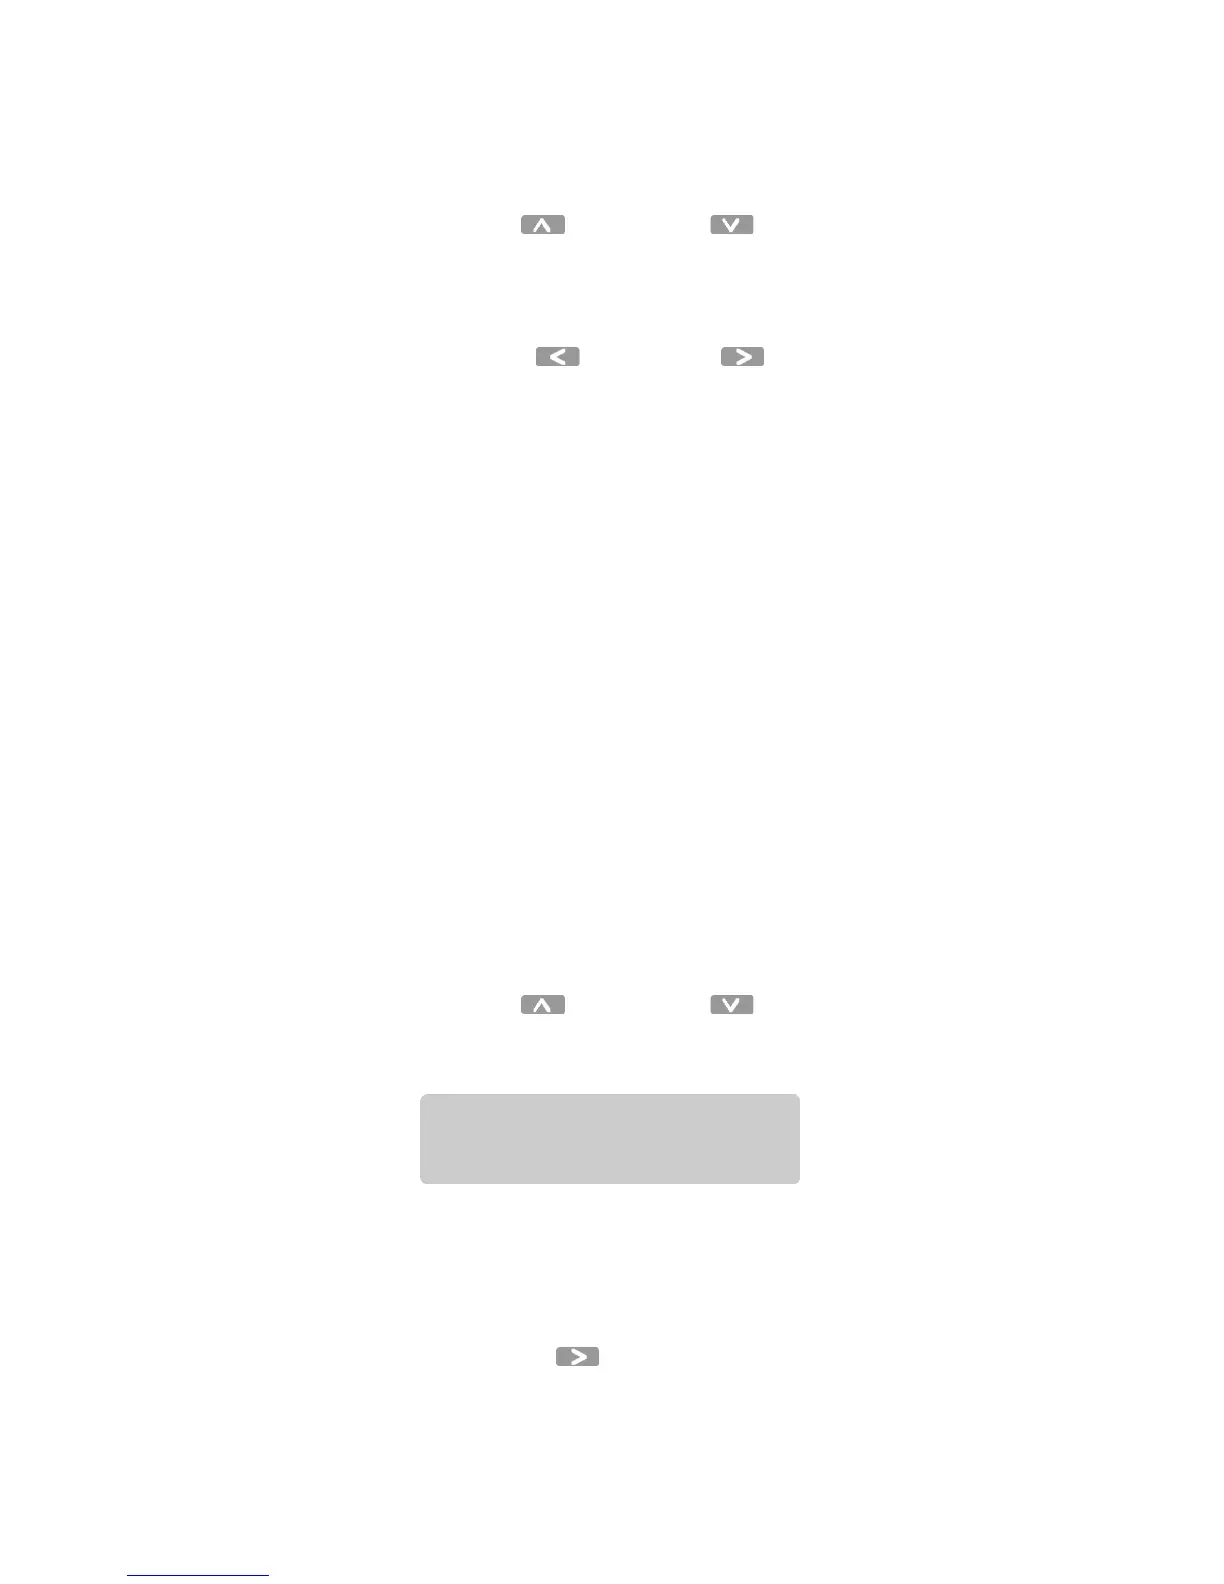
Step 5: Press the Select/Save button.
The Dimmer Readback value flashes.
Step 6: Press the Up and Down buttons to change the
value.
“R” means the dimmer Readback is ON.
“r” means the dimmer Readback is OFF.
Step 7: Press the Left and Right buttons to select the
next Flag
or proceed to the next step if you do not want to make
any more changes to the remaining FLAGS.
Step 8: Press the Select/Save button to record the new setting.
Step 9: Exit the Programming and Configuration Level menu.
1.2 - Setting the Double Bump
Any time you select a SCENE, MAX, or OFF button, there is a fade
time involved as the lights change to the new setting. If you tap a
button twice, the lights immediately change to the new setting.
However, only for the MAX and OFF buttons, if you have recorded a
value other than full ON or full OFF, the Double Bump defeats this
special setting, and the lights change to the true MAX or true OFF
setting. When the Double Bump is set to OFF, the special settings for
MAX and OFF are not defeated.
To set the Double Bump:
Step 1: Access the Programming and Configuration Level menu
Step 2: Press the Menu/Cancel button.
Step 3: Press the Up and Down buttons until MISC.
SETTINGS? flashes on the LCD display.
Step 4: Press the Select/Save button.
Step 5: FLAGS flashes on the LCD display.
Step 6: Press the Select/Save button.
The Dimmer Readback value flashes.
Step 7: Press the Right button to move to the next field.
The Double Bump value flashes.
MENU
MISC. SETTINGS?