Installation Guide
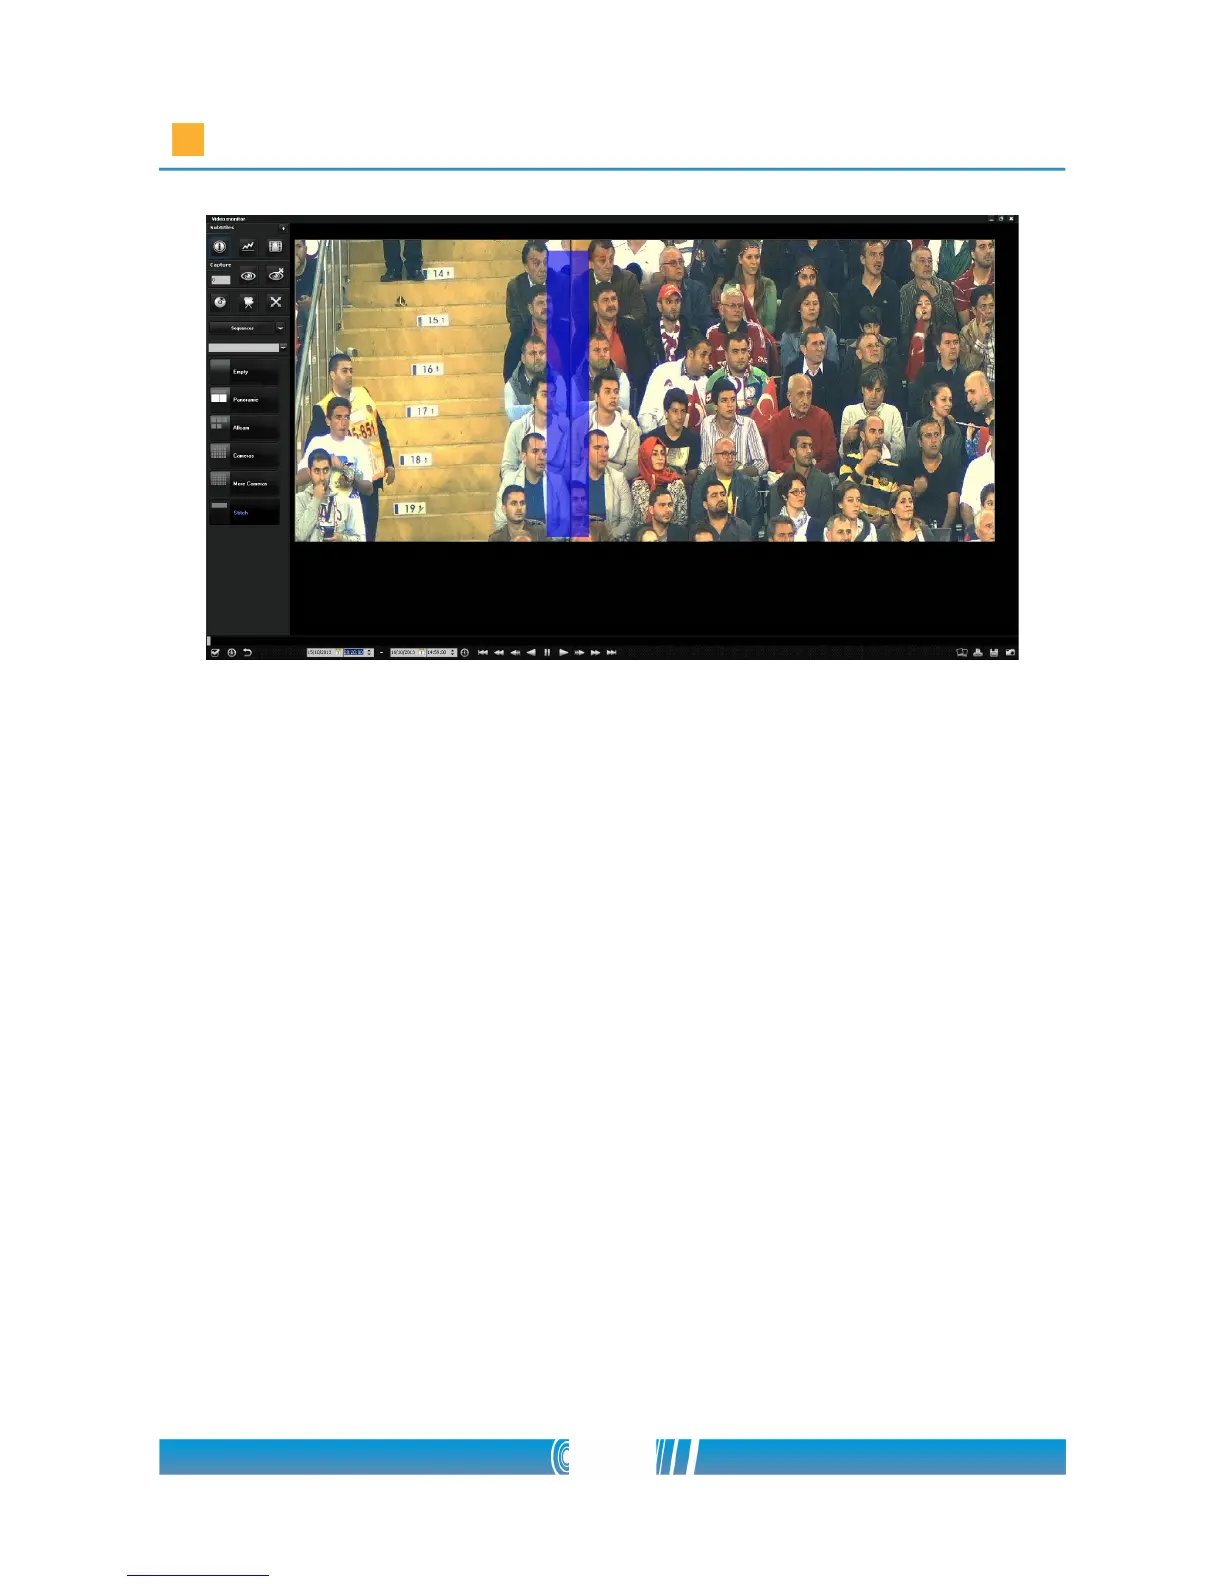
9. Place the markers at every image border!
10. The placed markers can be relocated. Move the mouse pointer
over the marker, press Shift then the middle mouse button at the desired
position! The undesired markers can be deleted by Shift+right mouse
button.
11. After you have finished the placing of the markers, press F2, and
the program is going to stitch the camera pictures!
12. If the gradient between the images is not smooth enough, you
have to set an area on both images, covered by some special points. In
these areas, the difference in white balance between the cameras can be
corrected.
13. Press F2 then the key V to enter the white balance editor mode of
the panorama picture!
14. Three different areas can be designated close to the image border.
One area is at the top of the image, another is in the middle and the last
can designate the bottom. As you move your mouse over therse areas, a
green rectangle will be highlighted. You can lock your selection if you
64/80