90
Client Software for PC or Mac
• Manual Record : Click to start/stop manually recording the currently selected channel.
• Previous/Next
: C l i c k t o g o t o t h e p re v i o u s o r n e x t c a m e r a o r p a g e w h e n S e q u e n c e
mode is enabled.
• Sequenc
e
: Click to start/stop Sequence mode.
• Volume
: Click to control volume.
7 Connection Status: Show
s the type of connection used.
• P2P (peer-to-peer)
indicates that the video is streaming directly from the NVR to the computer
running the Client Software.
• RLY (r
elay) indicates that the video is streaming through a Lorex video server. While relay
mode is activated, the system will disconnect after 10 minutes of inactivity. Relay mode is only
used when a direct connection cannot be made between the NVR and computer.
8 Alarm Panel Contr
ols:
• Auto-hide: Click to enable/disable alarm panel auto-hide.
•
Maximize Alarm Panel: Click to open the Alarm Panel in its own tab.
•
Show/hide Alarm Panel
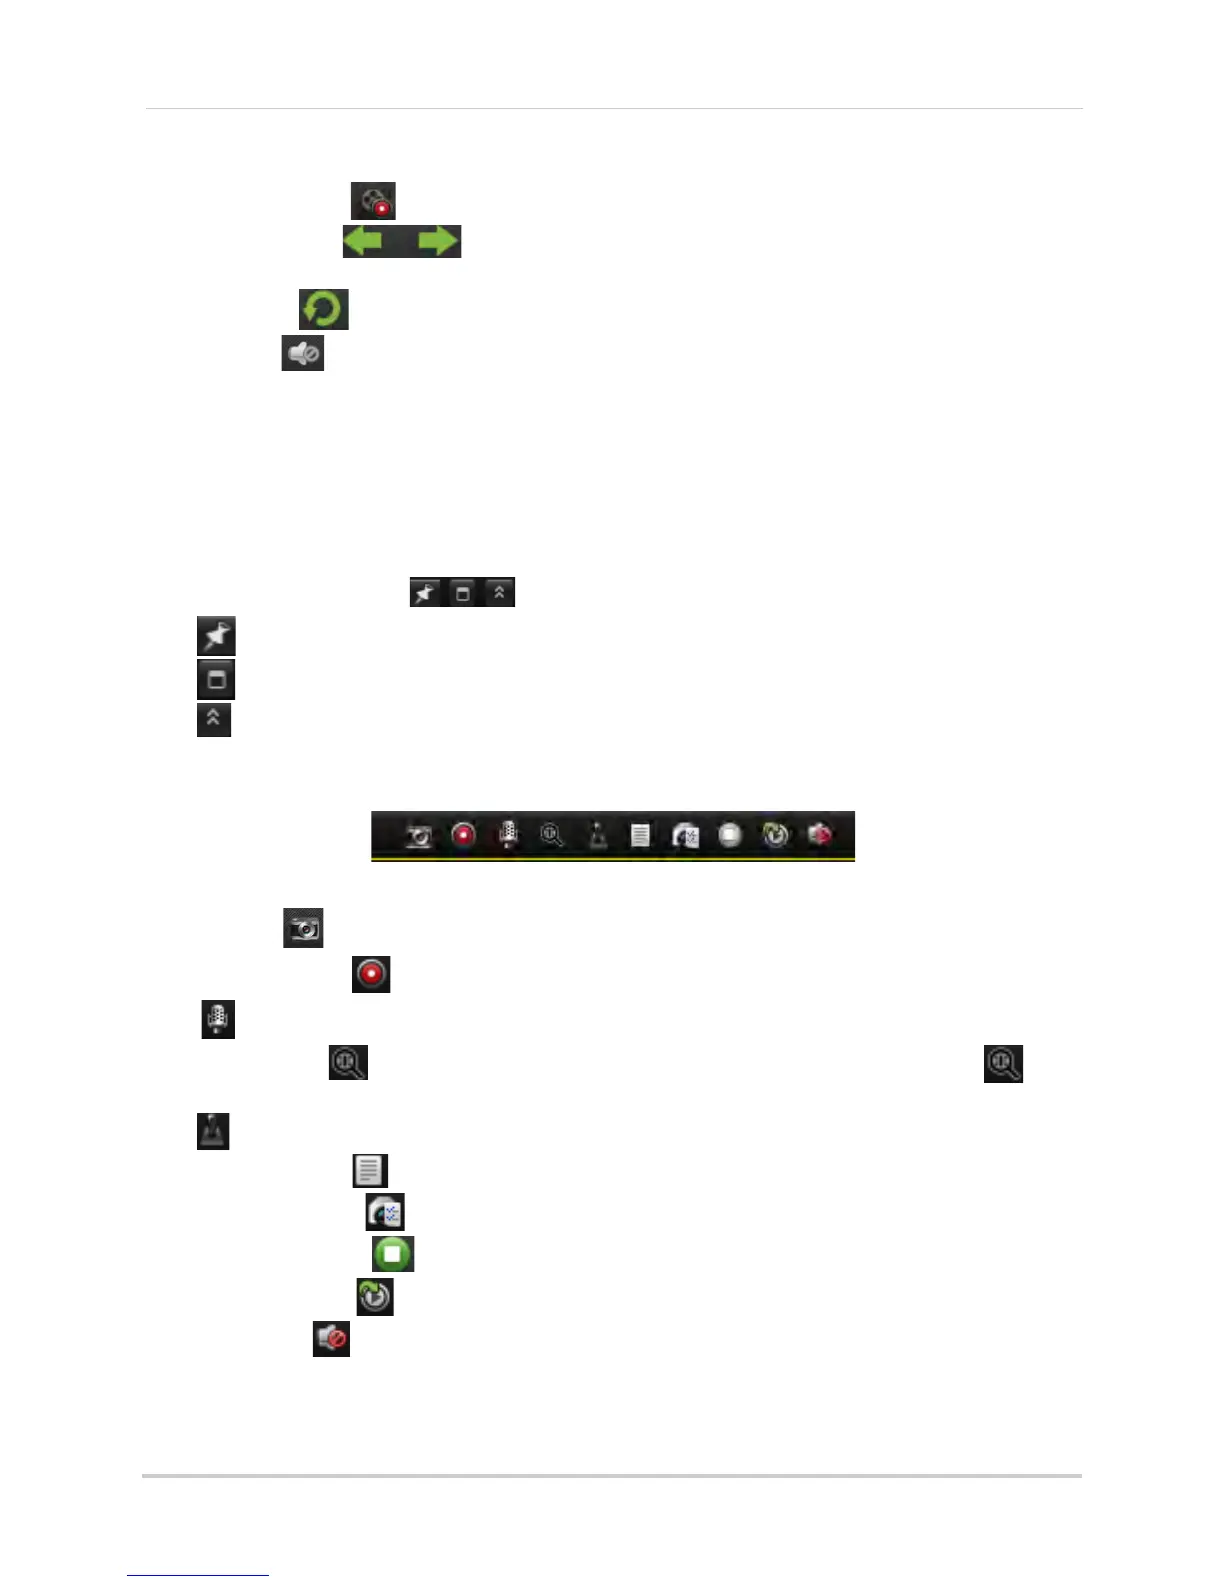
9 Camera Display: Click t
o select a channel. Hold the mouse over the channel to access the
Camera Toolbar. The camera toolbar contains the following options:
• Capture : Click to take a screenshot from the currently selected camera.
• Manual Record
: Click to start/stop manual recording of the currently selected camera.
•
: Not supported.
• Digital Zoom
: Click to enable digital zoom mode. The cursor will change to a icon.
Then, click and drag on the camera picture to zoom in. Click again to zoom out.
•
: Not supported.
• Camera Status
: Show the camera status menu.
• Camera Settings
: Open the Camera Settings menu. See “Camera Settings” on page 117.
• Stop Live Display
: Click to stop streaming the selected camera.
• Quick Playback
: Click to open Quick Playback mode.
• Mute audio
: Click to mute/unmute audio from the selected camera. Audio-enabled
cameras required (not included).
10 CPU and Network Statu
s: Shows the level of CPU and network use on your computer.