120
Client Software for PC or Mac
on each day to enable times for the selected recording type. Click Save when finished
making changes.
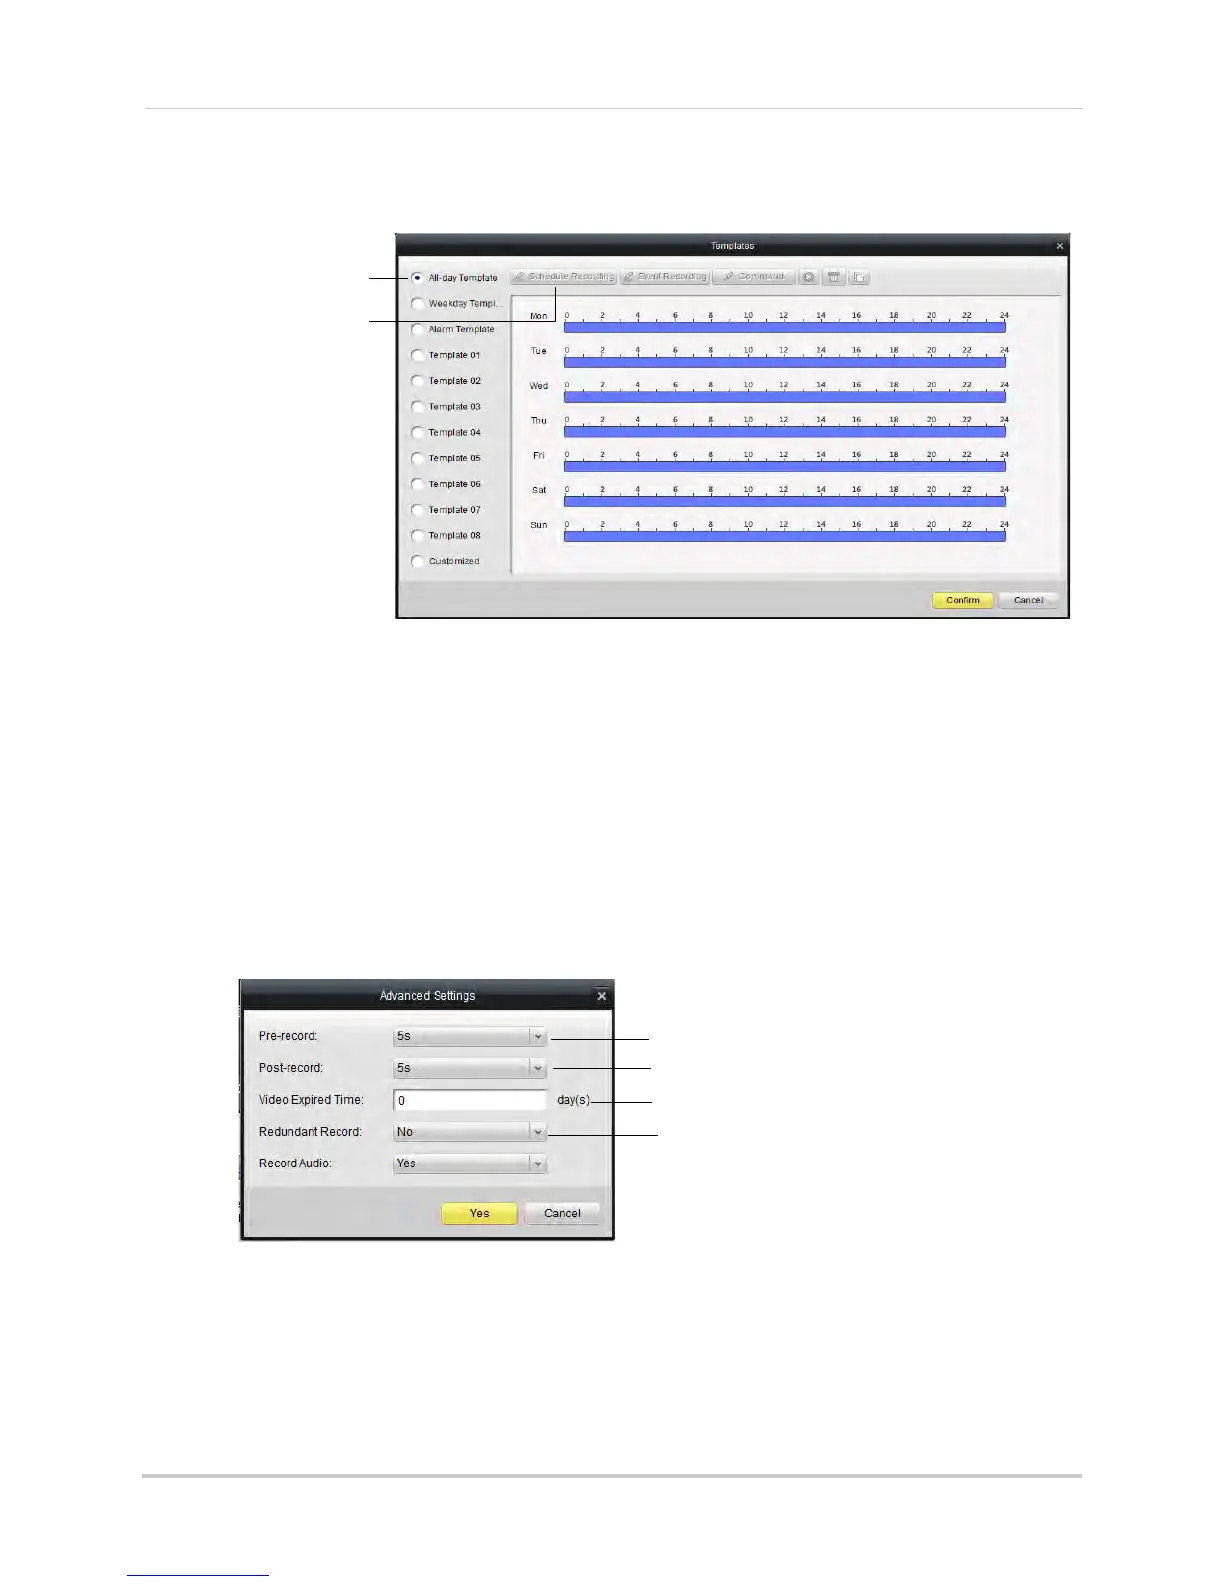
Select a schedule
Select recording types to
add to schedule
• Click Confirm to save changes.
5 (Optional) Use the Copy
to button to copy the schedule to other cameras.
6 Click Sav
e to save changes.
To configure advanced recording options:
1 Under Camera, sel
ect the camera you would like to configure.
2 Click Schedule.
3 Click Ad
vanced Settings.
4 Configure the following:
Configure Pre-recording time
Configure Post-recording time
Select time to retain footage
Enable mirror recording (mirror hard
drive required; not included)
• Pre-record: Select the duration the NVR will record before events.
• Post-record:
Select the duration the NVR will record after events.
• Video Expired Time:
Select the duration the NVR will retain recorded footage. Note that the
hard drive must be large enough to keep footage for this duration.
• Redundant Record: Sel
ect Yes to enable the camera to record to the mirror hard drive (not
included). You must have a mirror hard drive installed and configured to use this feature.