28
Holiday Classic Owner’s Guide
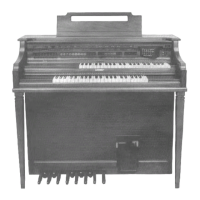
When a spot is occupied by presets that you may have saved earlier, the file name will be in black type.
When a spot is empty and can accept the presets being saved, without overwriting others, the file name will
be in gray type.
At this point, you may elect to assign a name to your presets or use the name given by the Holiday Classic
(in this example 1. Preset Group 01). To assign a name to your presets use the lower keyboard keys, as
described in
STEP 5 on page 18. To save the presets using the pre-assigned PRESET GROUP name proceed
to step 7 below.
You may, however, name any preset group later by using the
RENAME PRESETS feature.
You may name individual bank presets at any time using the RENAME BANK PRESETS feature.
It is best to create your own title for your saved presets. It will be easier to keep track of them later as you
cr
eate other groups of presets.
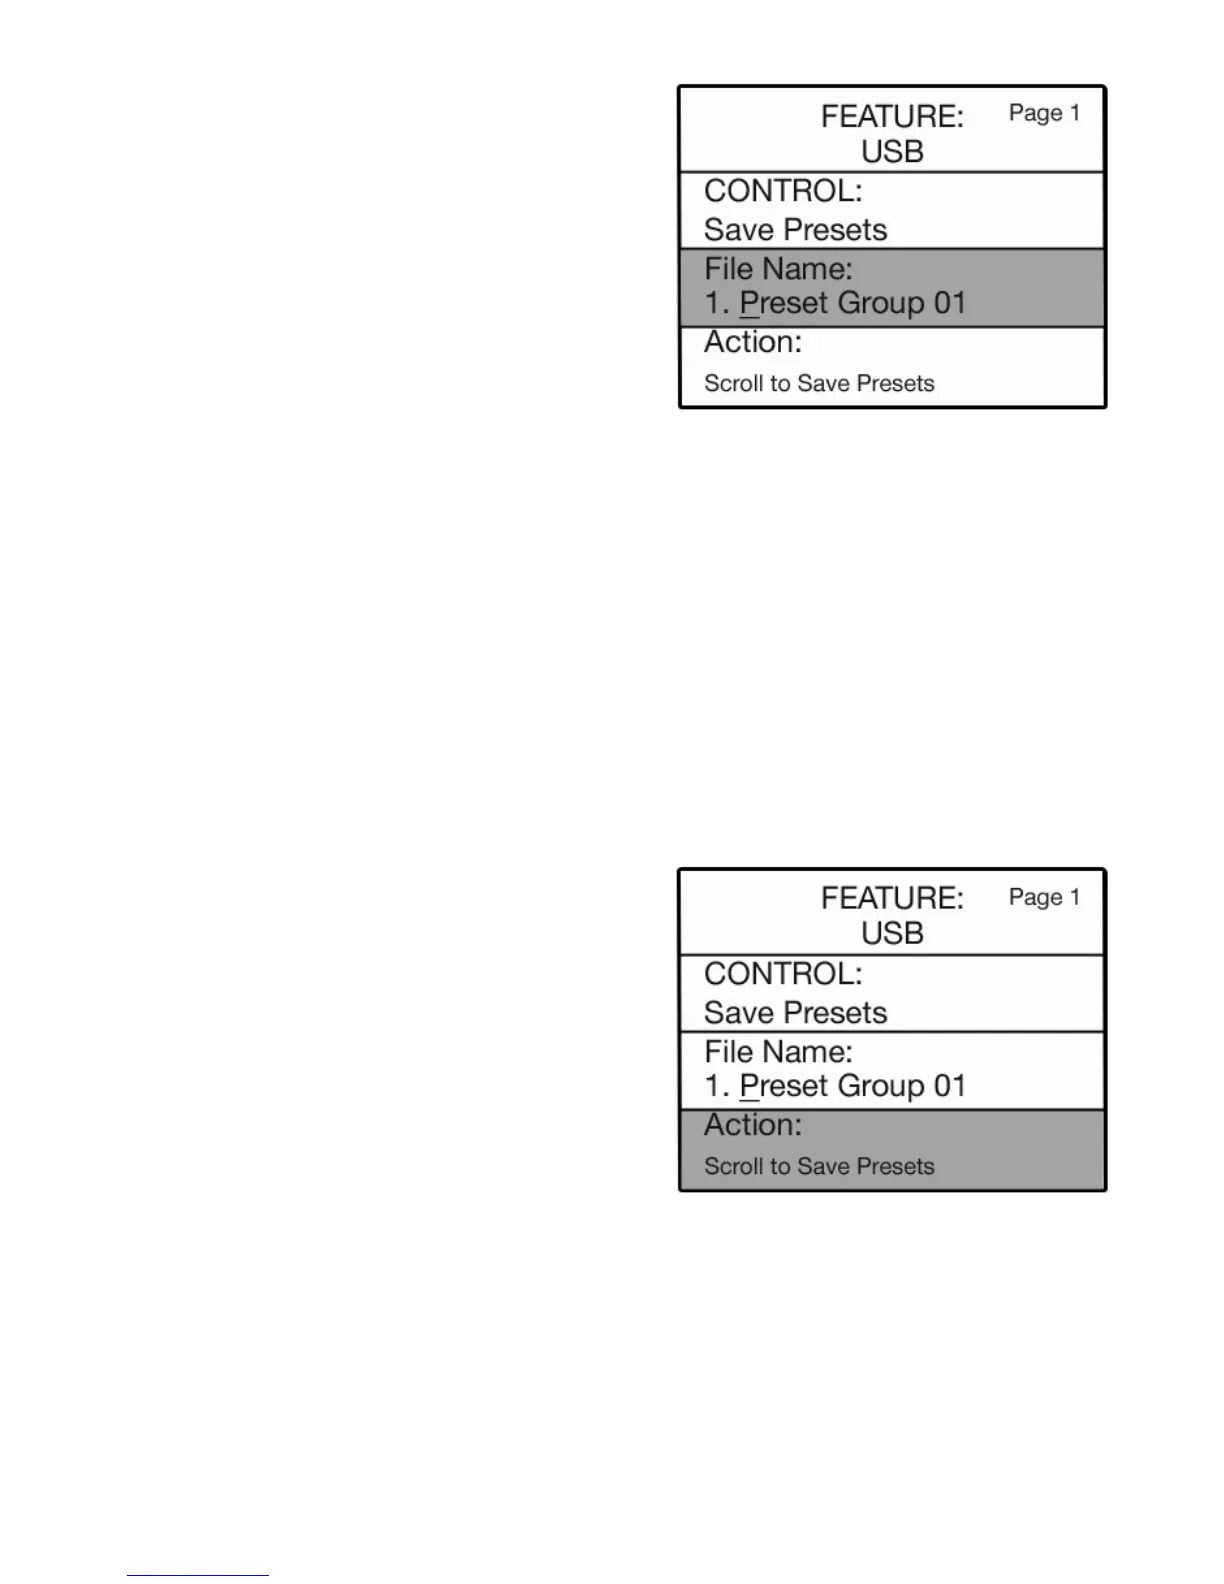
7. Press the SELECT button to highlight the ACTION
section of the screen.
8. Press either SCROLL button to save the presets.
A
confirming message will appear,
SAVING PRESETS
then PRESETS SAVED. The screen will then return to
the power up display.
6. Press the SELECT button. The FILE NAME: section of
the screen will be highlighted.
The screen will display the number 1 spot on the
memory stick. Press the top
SCROLL button to select
the next spot (if you have already saved presets to the
number 1 spot.