Chapter 4 Helpful Tips
104
5
Use to select the distance correction number to be saved, then press the [ENTER/HOLD]
key.
• The previously corrected standard length (mm) is displayed.
• If length correction has never been performed, the minimum standard length will be displayed.
• If the length units [MM/INCH] have been changed since the previous correction, the display will
appear as "A=---- B=----".
6
Use to alter the standard length in the A (longitudinal) direction.
• The A direction standard length forms the standard length for both AR (right-hand side longitudinal
direction) and AL (left-hand side longitudinal direction).
• Altering the standard length clears the previously corrected distance correction values (AR and
AL).
7
Press the [ENTER/HOLD] key to confirm the A direction standard length.
• The B direction standard length can now be set.
8
Use to alter the standard length in the B (lateral) direction.
• Altering the standard length clears the previously corrected distance correction value (B).
9
Press the [ENTER/HOLD] key to confirm the B direction standard length.
10
Use to specify the printing position for the distance correction adjustment pattern, then
press the [ENTER/HOLD] key.
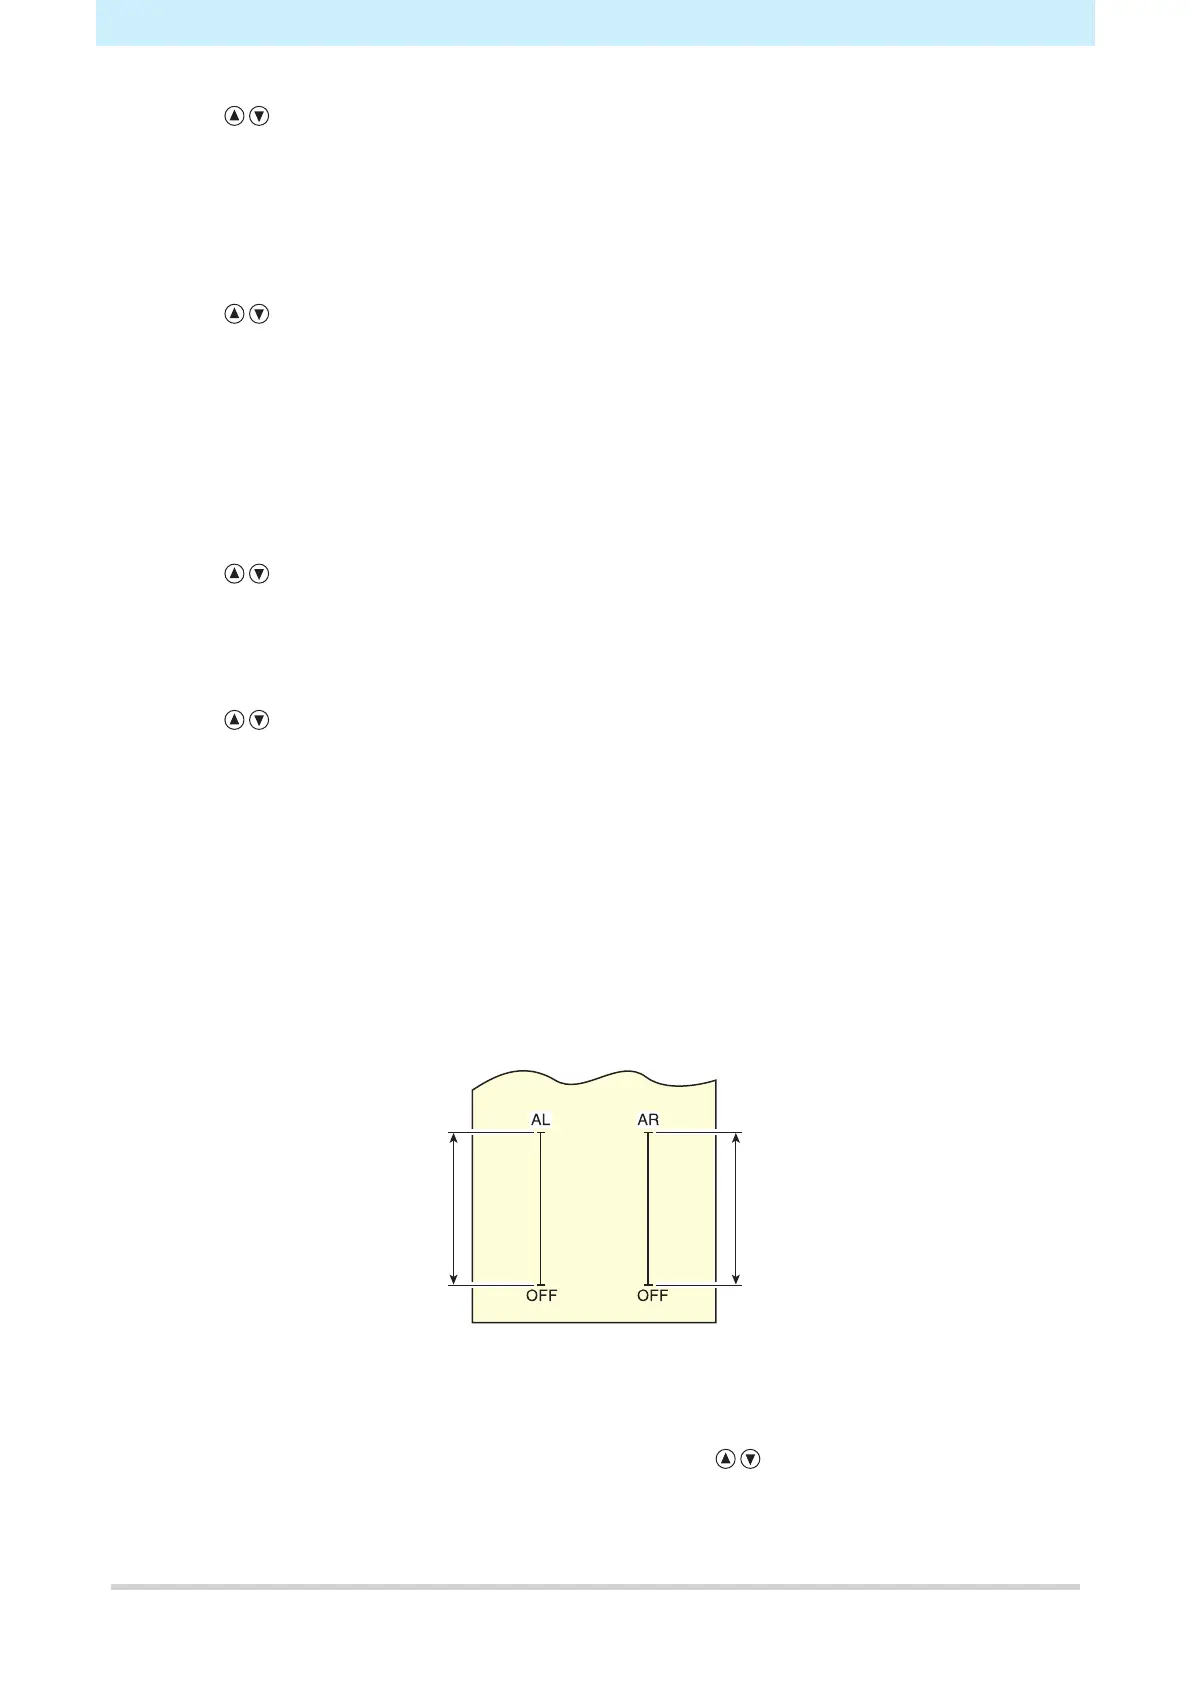
• All of the lines (AR, AL, and B) will be offset within the sheet.
• The adjustment pattern will be printed out.
• The adjustment pattern will not be printed if no sheet has been loaded or if the sheet is too small to
allow the standard length to be printed.
In such cases, press the [ENTER/HOLD] key to display the correction value input screen.
11
The current correction values are displayed once printing is complete.
12
Measure the AR, AL, and B OFF lines.
• Push the clamp lever to the rear to release the sheet for measurement.
13
Perform steps 3 to 10.
• As no sheet is loaded, printing will not occur, and the correction value input screen will appear.
14
If the measurement differs from the standard value, use to alter the correction value.

 Loading...