Set-up & Connections
5-8
z To connect a digital video printer (MITSUBISHI P93DC for example):
1
Unpack the printer.
2
Place the printer in the proper position.
3 Connect the power cord of the printer to a receptacle.
4 Use a USB cable to connect between the USB port of the system and the USB port
of the printer.
5
Load a paper roll, and turn on the system and printer.
6
Press [Setup] key on the control panel to show the [Setup] menu.
7
Click [Peripheral Preset] to open the [Peripheral Config] screen.
8
Click [I/O Config] tab to open the [I/O Config] page.
9
Set output size and output mode.
10
Click [Printer] tab to open the [Printer] page.
11
Click to select the printer in the list.
12
Click [Set Digi B/W] button for black and white printer;
Or [Set Digi Color] button for color printer.
13
Press the [PRINT] key on the printer’s panel to print.
z To use [Print] key on the control panel to print:
1 Press the [Setup] key to show the Setup menu.
2 Click [System] item to open the [System] screen.
3 Click [Key Config] tab to open the [Key Config] page.
4 Click to select [Print] in the [Key] box on the left side.
5 Click to select [Digital B/W Video Print] for black and white printer;
Or [Digital Color Video Print] in the [Output] box on the right side.
6 Click [OK] button to close the screen.
7 Click [Return] to make the settings to take effect.
8
Press the [Print] key on the control panel to print.
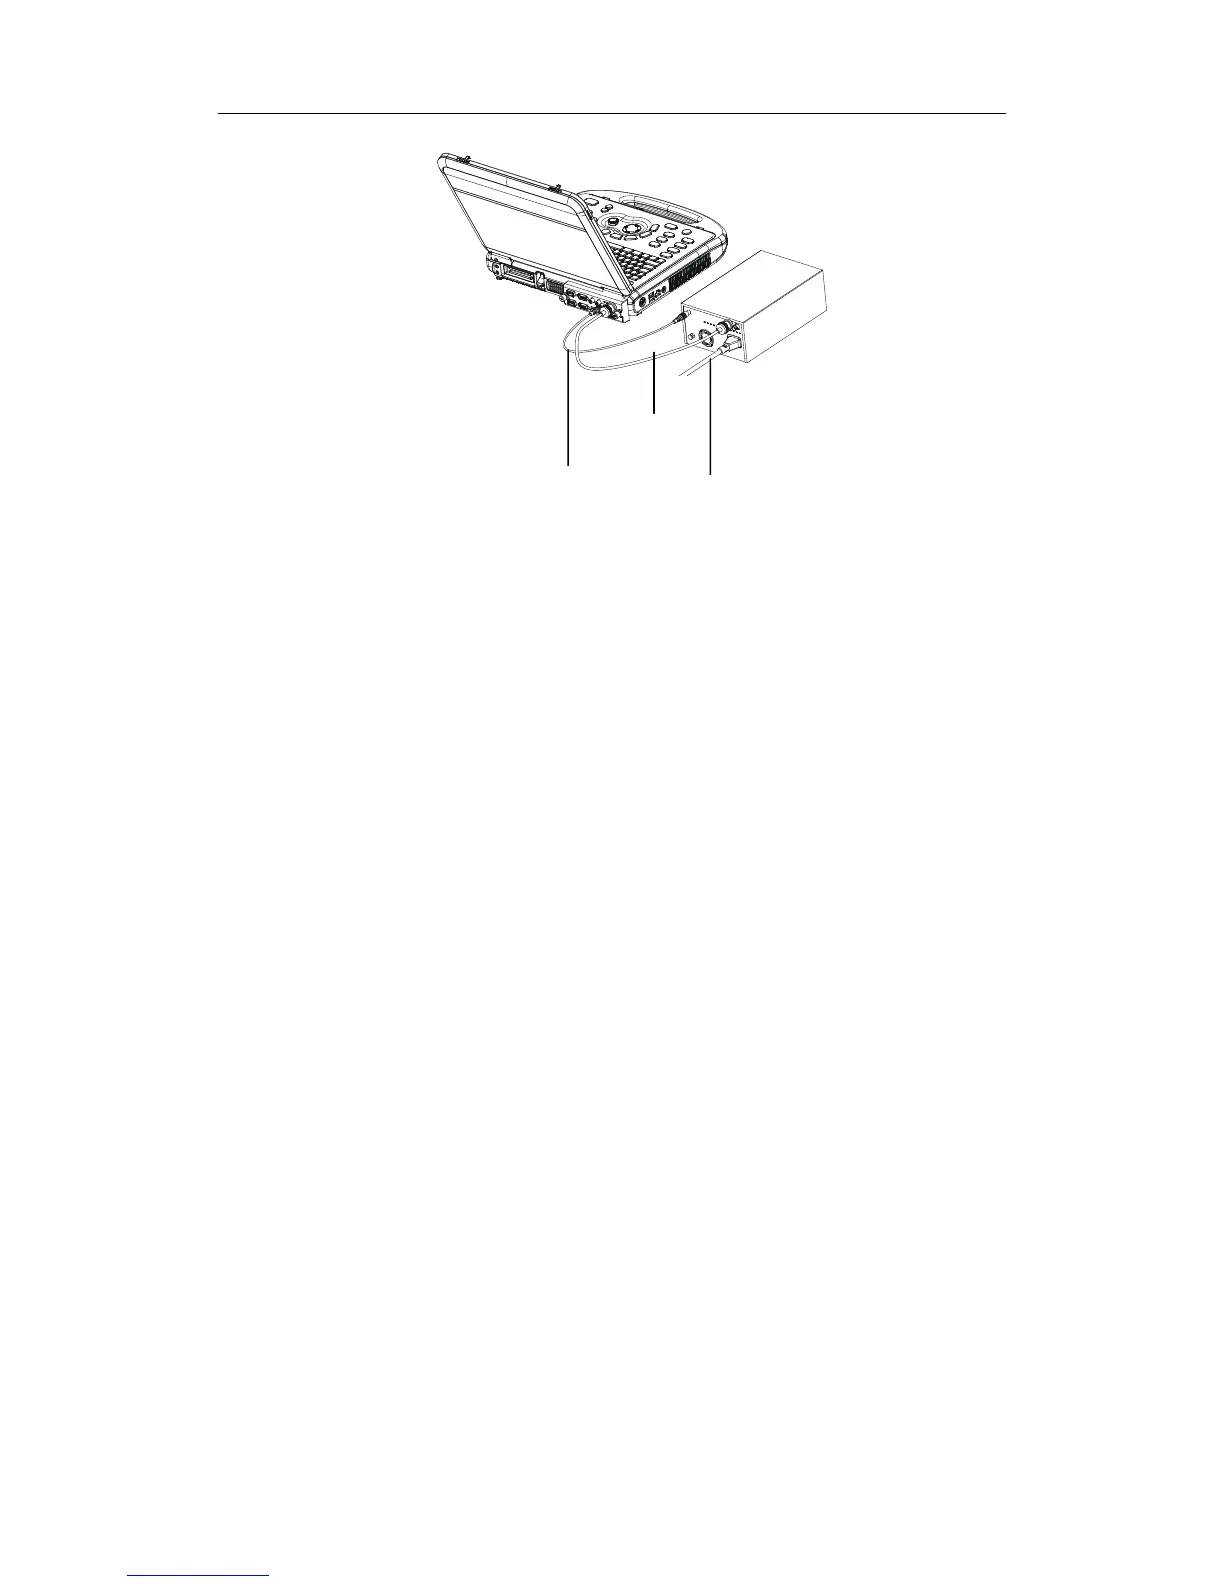
Data cable
Remote cable
Power cord