2.5 Quick function checking
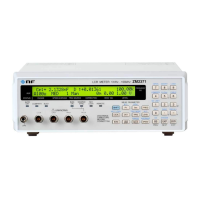
FRA5087
2.5 Quick function checking
This section introduces quick function checking methods for this instrument to be used for quickly
checking important functions of the instrument after delivery or long period of time of storage.
Refer to “8. Maintenance” for more detail on instrument check-out.
2.5.1 Checking functions and indications at power “ON”
When you first throw power supply “on”, all the lamps on the panel will be lit on. Confirm that
there are no lamps that are not lit. At the same time, the initialization pattern and the opening
message are displayed on the LCD screen, and then, the calibration and system-check windows
will be displayed on the screen. (The calibration window is for self-measurement to correct for
any errors.) After the system-check has been successfully completed, the window will
automatically be closed.
For more detail on lamp indications at the time of power supply “ON”, refer
to ”3.2 Display at power “ON” and initial settings”.
For more detail on error messages, refer to “7.1 Error messages”.
Smoke, odor, strange sound
In such event, immediately disconnect the power cable from the outlet and do
not use the equipment until repairs are completed.
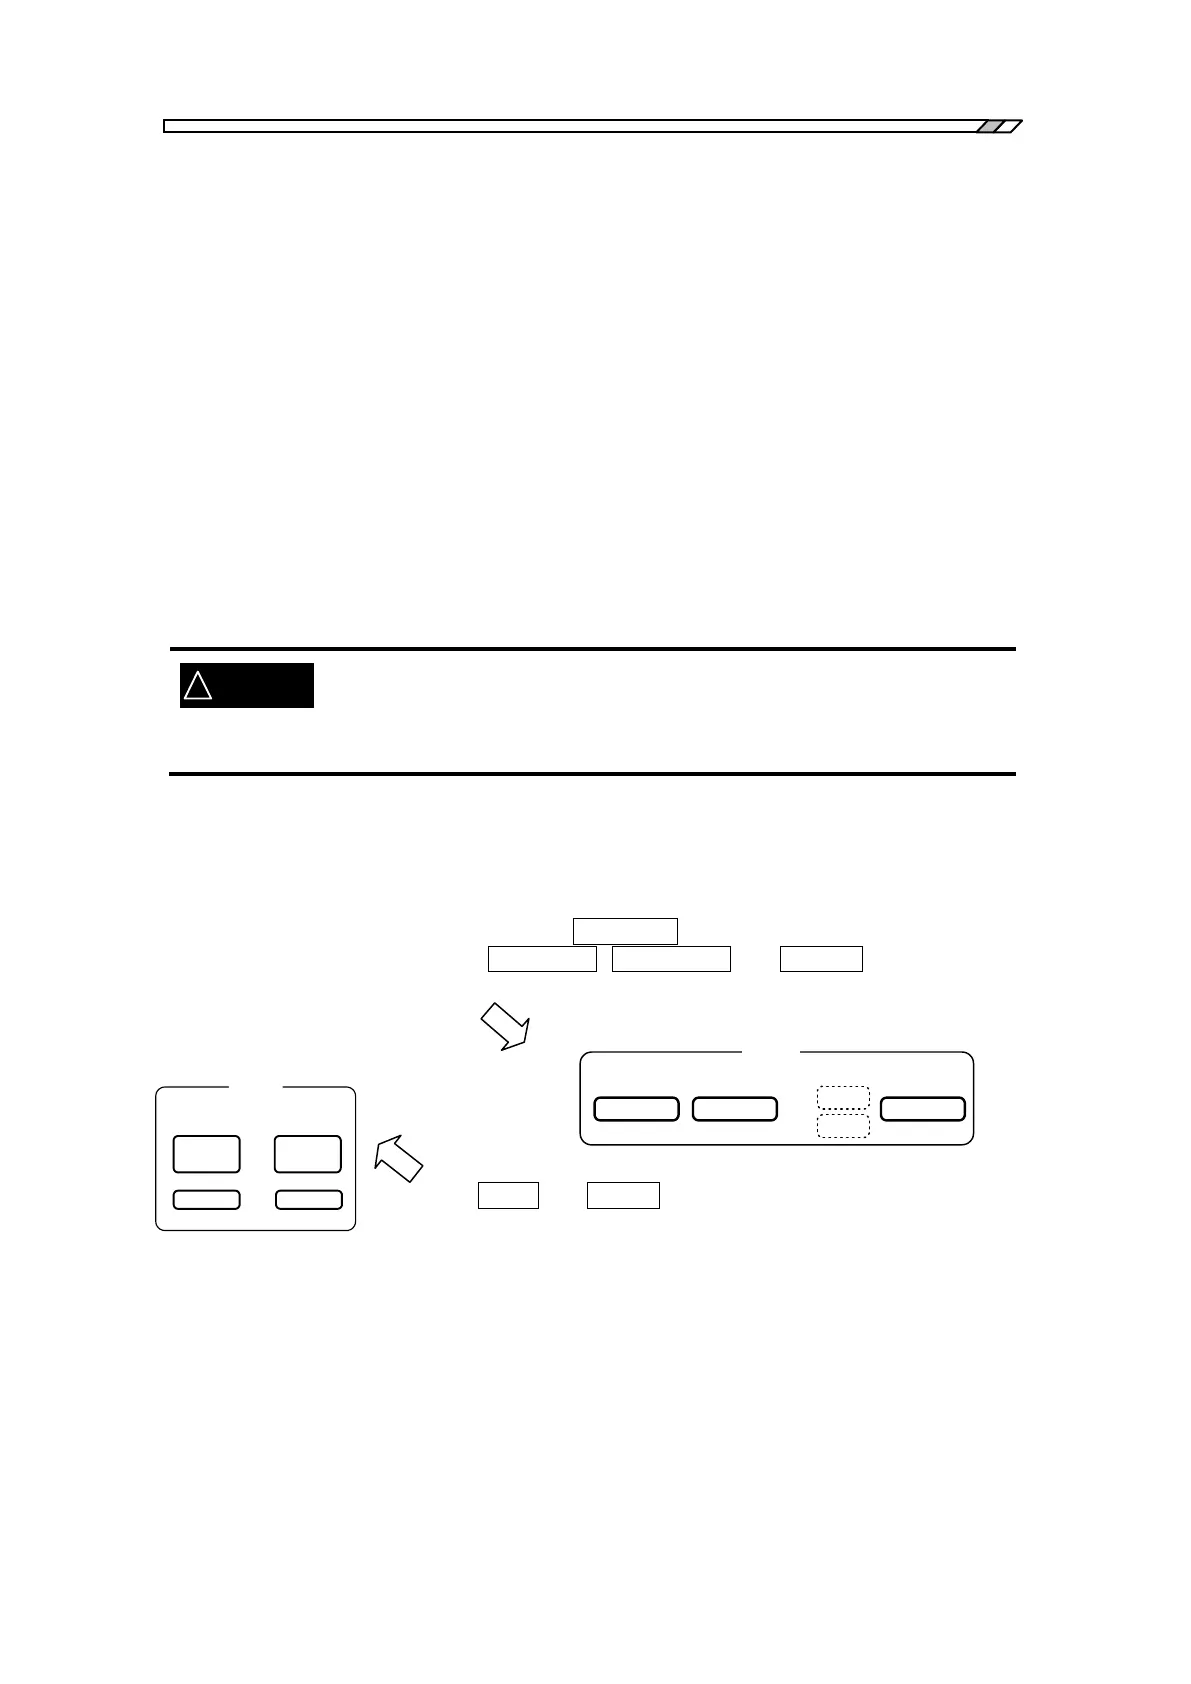
2.5.2 Checking responses for key actions
Check and ensure that all important keys function properly.
Check and ensure that the lamp at the left of AC/DC ON key is properly lit on and out (on/off) at
each time you push the keys of AC/DC ON, AC/DC OFF and AC OFF under the -OSC-
indication which is located on the right hand side of the panel.
Push the OPEN and CLOSE keys under MENU located in the upper
central part of the panel, and ensure that the menu window is properly
displayed and closed on the LCD screen.
Confirm also that key clicking sound can be heard at each time you press
a key.
OSC
OFF
AC/DC AC
ON
A C
D C
AC/DC