164
Fig.164-BATTO-RING
Fig.165-BATTINSTALLED
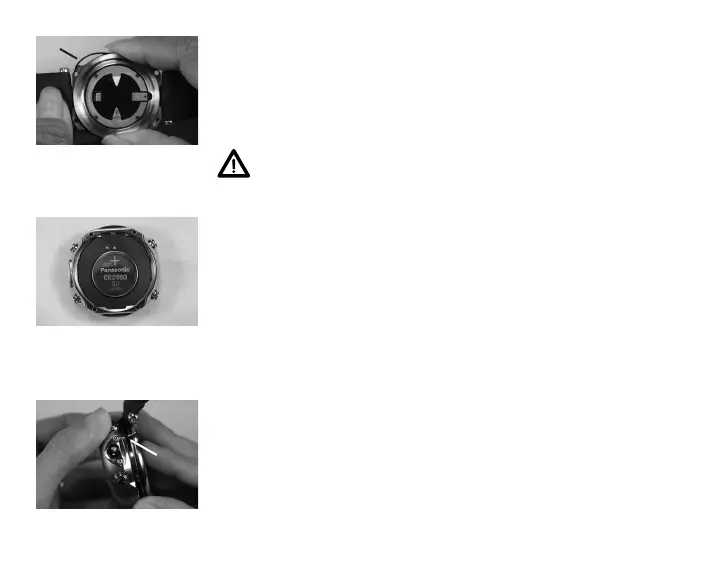
Inspection
• Closely check all of the sealing surfaces for any signs of
damage that might impair proper sealing.
• Inspect the Buttons, Lens, and Housing to ensure they are
not cracked or damaged.
WARNING: If damage or corrosion is found,
return your OC1 to an Authorized Oceanic
Dealer, and DO NOT attempt to use it until it has
received factory prescribed service.
• Remove the case back O-ring (Fig. 164a) by squeezing the
sides. Discard, and do not attempt to reuse it.
> It is located around the top rim of the battery case back.
> DO NOT use tools to remove the O-ring.
> To ensure proper sealing, O-ring replacement is required
each time the Battery is replaced.
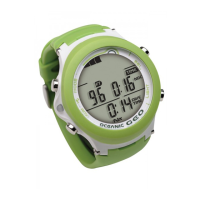
OC1 Battery Installation
• Very lightly lubricate the new O-ring with silicone grease
and place it on the top rim of the battery cover.
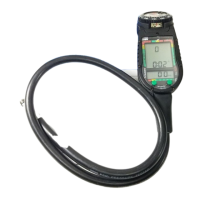
• Place a new 3 volt type CR2450 Lithium Battery, negative
side down into the Battery cavity and ensure that it is
evenly positioned (Fig. 165).
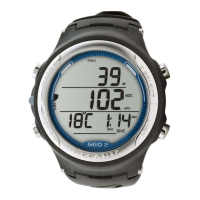
• Carefully align the front and back sections of the case,
inserting the guide pin (Fig. 166a) in the guide hole.
a
Fig.166-ALIGNMENTOF
FRONT/BACK
a