OMNI 4000/7000 Installation Guide – Rev H
If you are calibrating an input that has
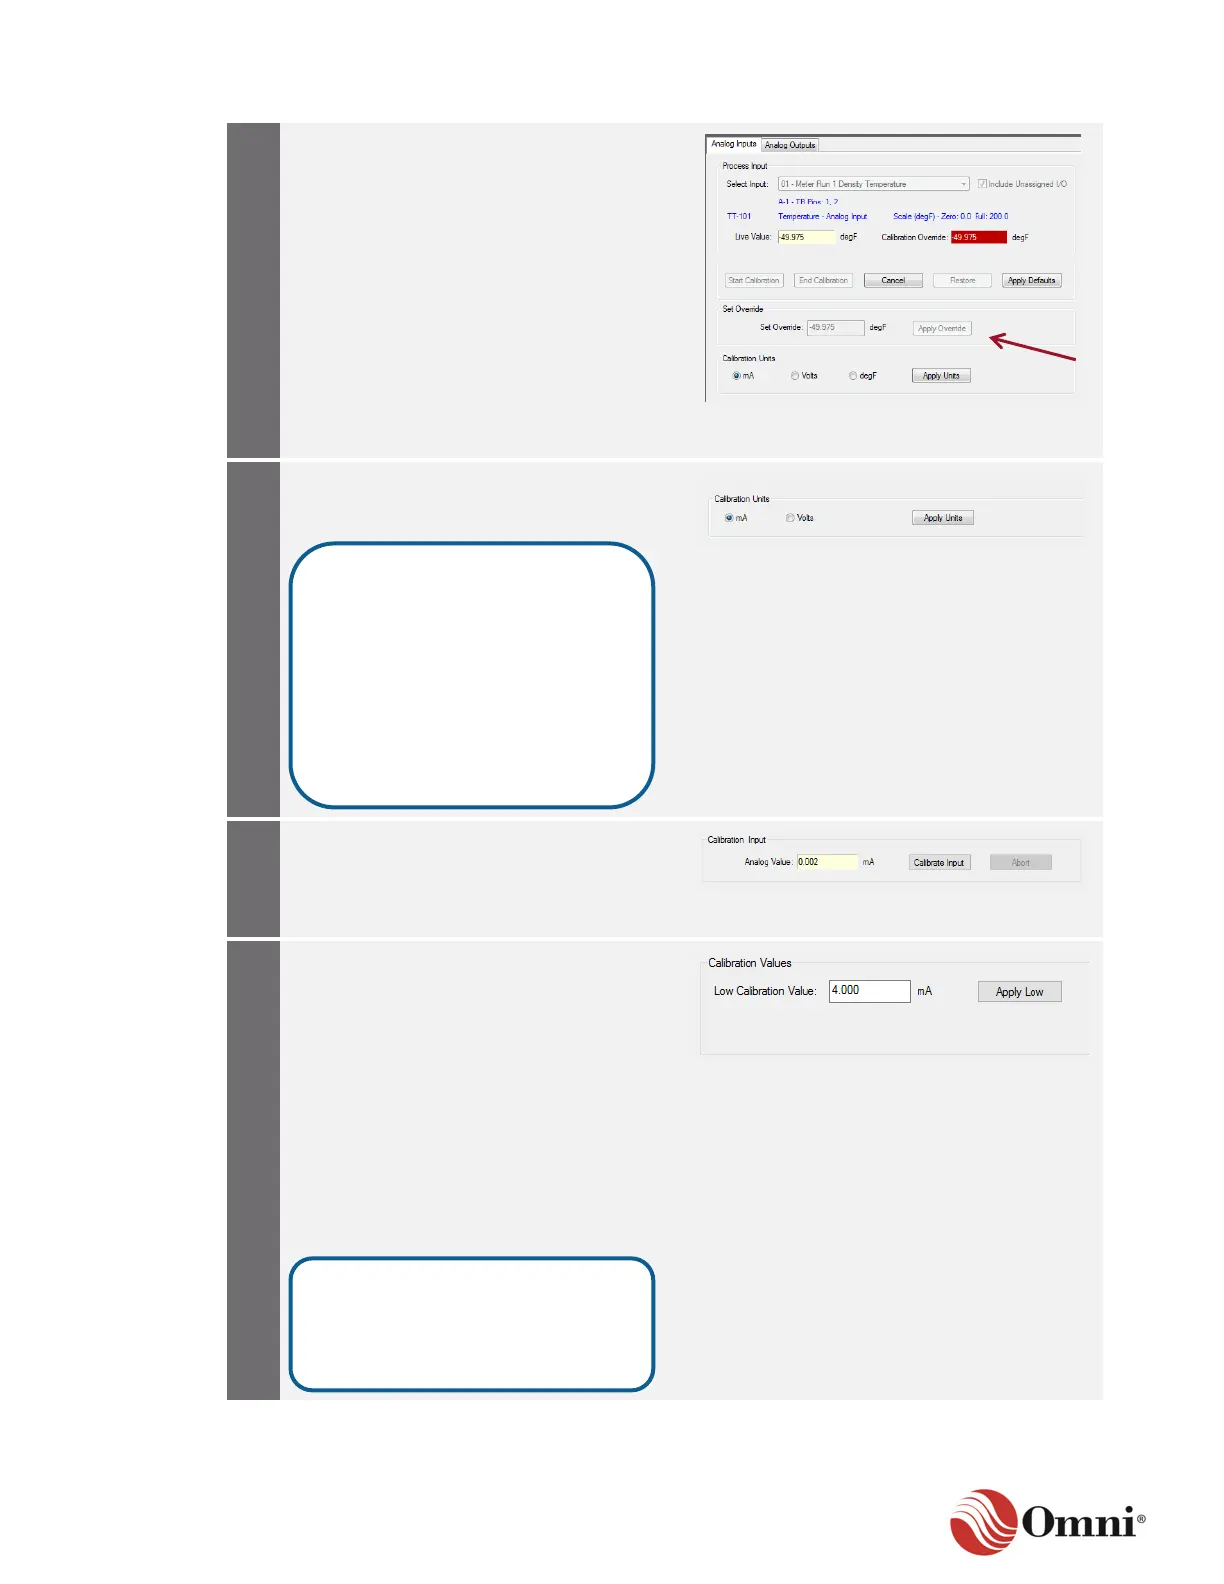
been assigned the Set Override box will
appear and you shall be able to enter the
override value:
a. Verify or edit the default value and
then click Apply Override.
b. Go to Step 10.
If you are calibrating an input that has not
been assigned, only the Calibration Units
box will appear (the Set Override box will
not appear).
Continue to Step 8 and then 9.
Select the type of signal (for which the
channel has been configured with the
hardware jumpers) and click Apply Units.
Click Calibrate Input.
Click Abort to abort the current calibration
sequence.
To apply the low calibration value in the
Calibration Values screen:
a. Adjust the Signal Generator or
configure the Transmitter, whichever
is connected, to output the lowest
value needed to calibrate.
b. Wait 20 to 30 seconds for the
readings to stabilize.
c. Enter an equivalent value in the
appropriate units into the Low
Calibration Value field (for example, 4
mA or 0.000 °F).
d. Click Apply Low.
The unit options are:
• mA
• Volts
• Ohms (if the channel has
been configured for an RTD
type signal)
• Engineering units (if an I/O
channel is assigned))
Low values are 4.00 mA for a
4‒20 mA input, 1V for a 1‒5V input,
and 25 ohms for an RTD input.
 Loading...