VS 2001
Technical Handbook
Installation
Page 58 Marconi Proprietary information
P/N: 779-0373/02
Revision 02
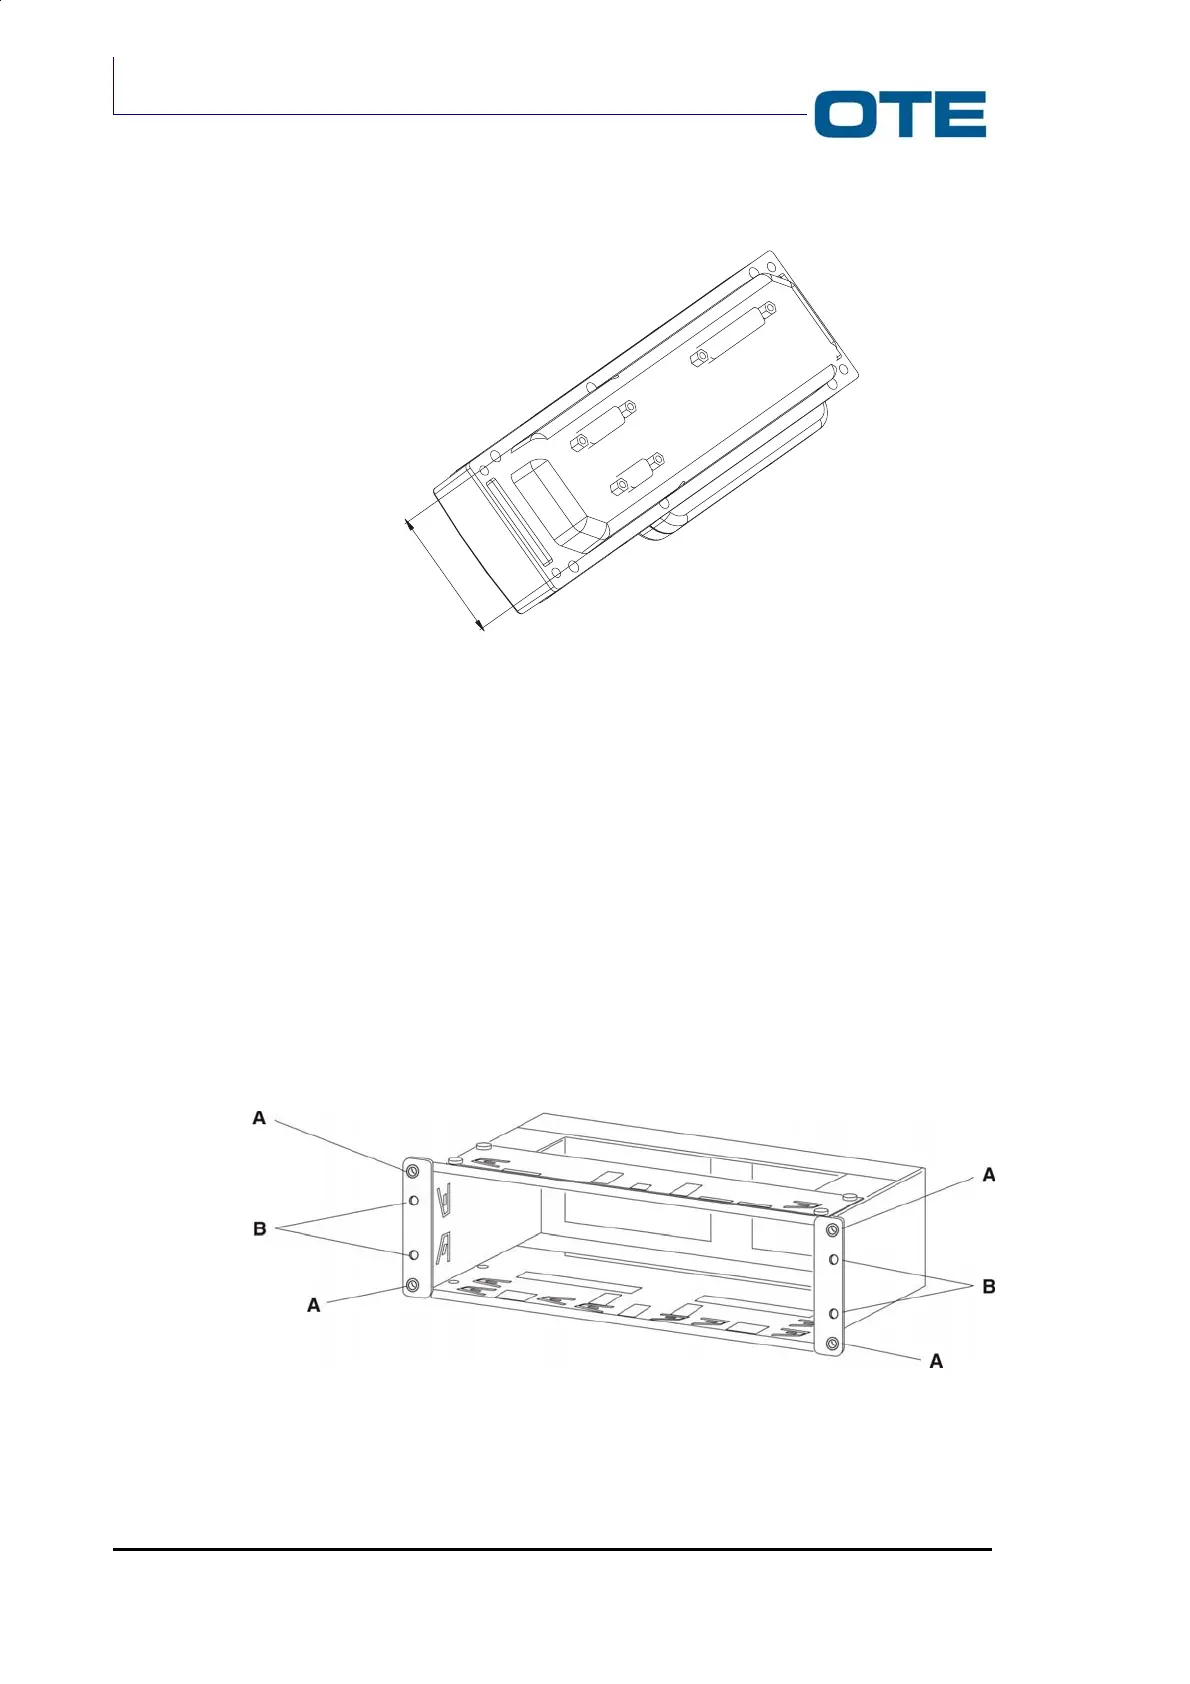
Fig. 3.5: Control panel (rear side)
3.4.1.1
Installation in the car radio cavity
Follow the instructions given below.
1. Drill four holes in the dashboard corresponding to “A”. The holes should have
a diameter of 9 mm.
2. Insert the bracket into the car cavity.
3. Bend the tabs to suit.
4. (Optional according to the type of vehicle). Insert the appropriate screws in
holes “B” (Ø = 3.5mm). Screws are supplied with a kit that contains 5 screws
of 25mm in length and 5 screws of 50 mm in length).
5. Insert the Control Panel into the bracket and fix the captive screws.
Fig. 3.6: Bracket for control panel (installation in the car radio cavity)
52