VS 2001
Technical Handbook
Accessories
P/N: 779-0373/02
Revision 02
Marconi Proprietary information
Page 59
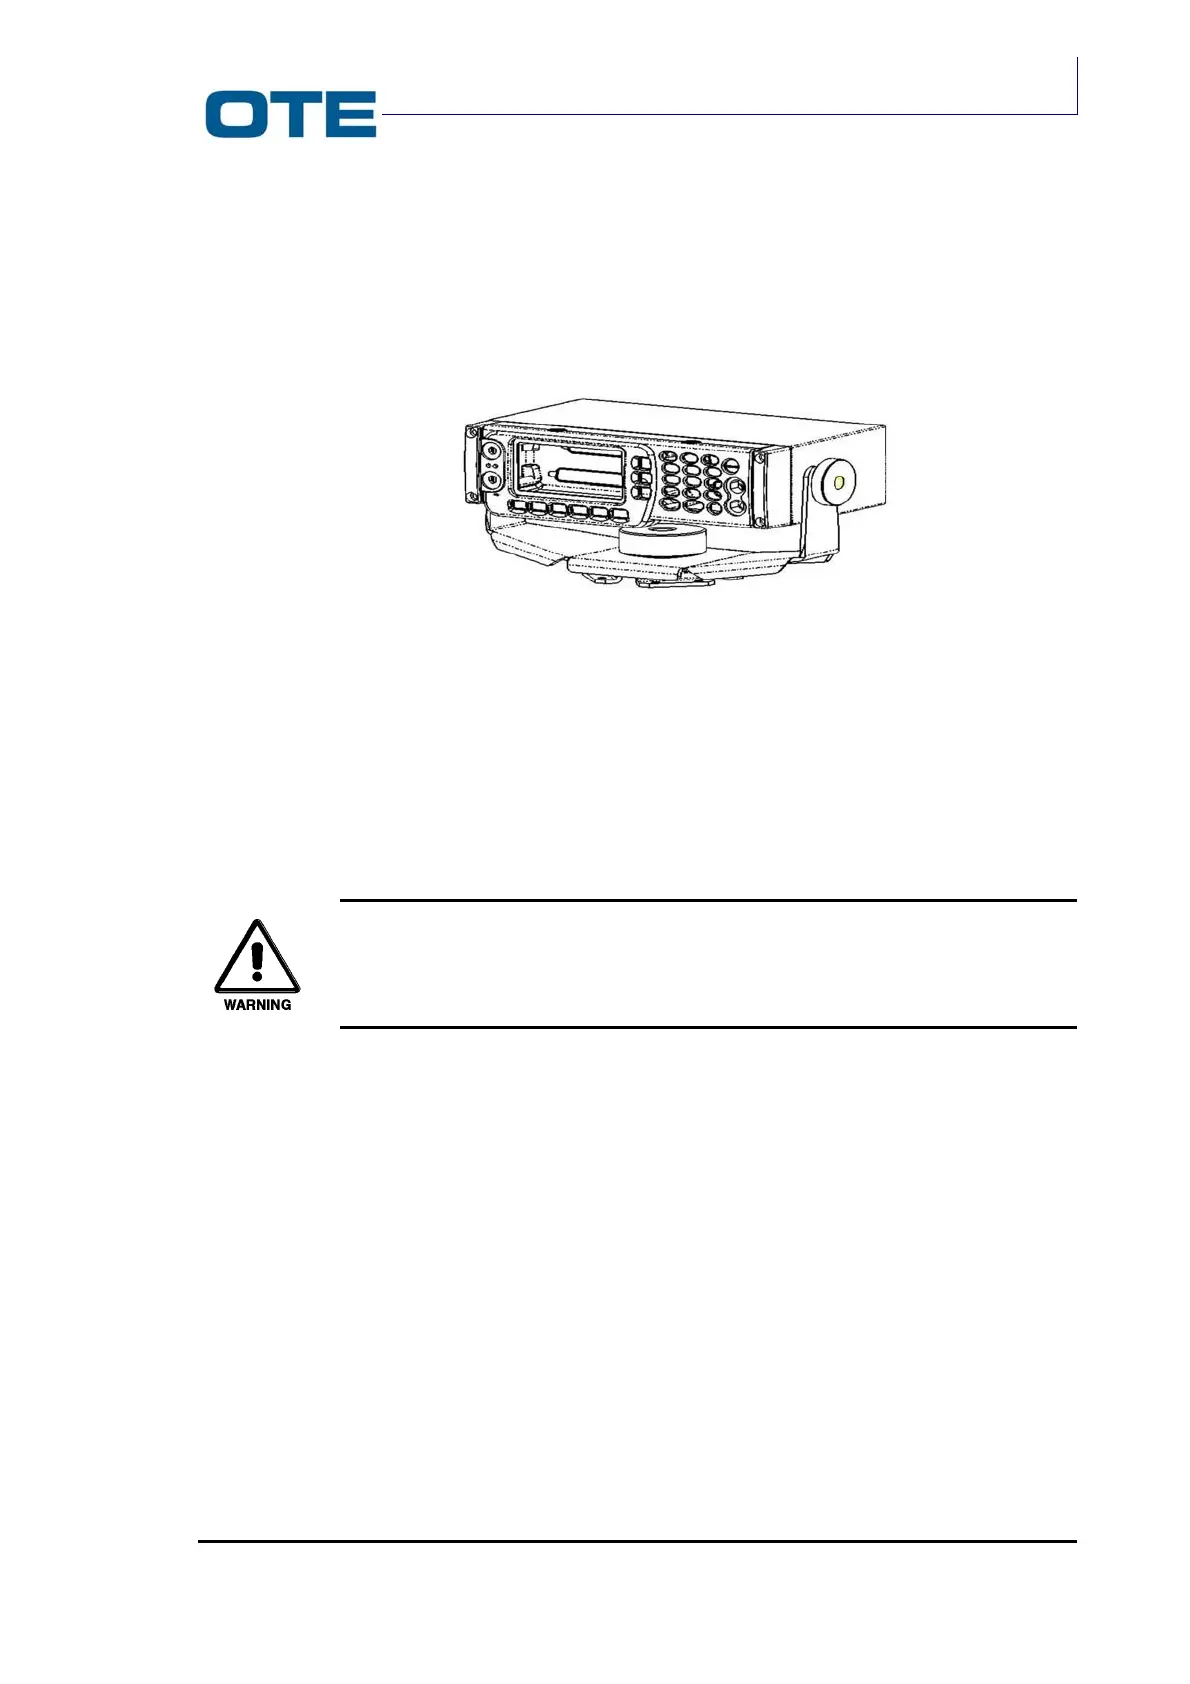
3.4.1.2
Installation with adjustable bracket
After disassembling the assembly shown in Fig. 3.7, follow the instructions of the
next list referring to Fig. 3.8.
Fig. 3.7: Adjustable bracket
1. Take out the sticker form washer (2) and stick the washer on the base of the
bracket (7).
2. Mount the bracket (7) to the surface where the control panel is required
ensuring that the mounting arrows (11) point across the width of the car.
By means of holes (10) fix the bracket (1) with a fastening system that
fits with the mechanical characteristics of the support base.
3. Put bracket (1) on the pin (12).
4. Put washer (8) in pin (12).
5. Mount knob (4).
6. Stick the washers (3) on the box (6), fitting in pins (13).
7. Mount box (6) on bracket (1), using the relevant holes (14).
8. Mount on pins (13) washers (9).
9. Mount knobs (5).
10. Connect cables to the rear connectors of the control panel.
11. Mount the control panel by fixing the captive screws.