Do not move the sensor cable
during calibration as this can
lead to signal variations.
ð
Calibration is running
.
[Please wait!]
flashes.
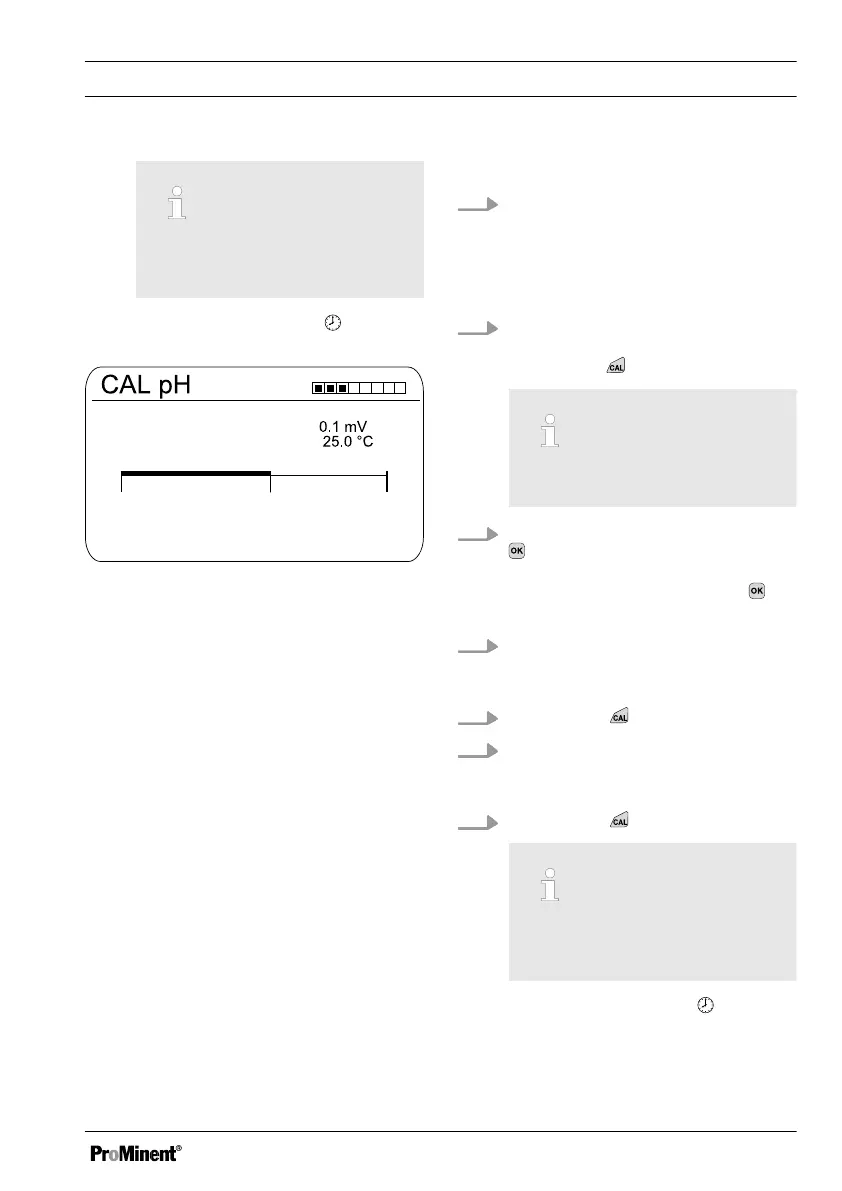
Sensor voltage
Sensor calibration in buffer 1
A1017
Buffer temperature
Stability
acceptable good
Continue with <CAL>
Fig. 40: Display of the sensor stability achieved
5. The range
[acceptable / good / very good]
is dis‐
played.
ð
The black part of the horizontal bar
indicates the determined range.
6. As soon as the black bar appears, the
display changes from
[Please wait!]
to
continue with .
The black bar does not need to
be at [very good].
7.
[Buffer detection]
e.g.
[Manual]
: Press
and, using the four arrow keys, set
the buffer value for buffer 1 to the value
of the buffer you are using. Press
to
confirm input of the value.
8. Remove the sensor from the buffer solu‐
tion, rinse thoroughly in water and then
dry with a cloth (pat dry, don't rub!)
9. Continue with .
10. Immerse the sensor in test container 2
which contains the buffer solution (e.g.
pH 4). Gently move the sensor.
11. Continue with .
Do not move the sensor cable
during calibration as this can
lead to signal variations.
ð
Calibration is running .
[Please wait!]
flashes.
Calibration
87