Setting the Printing Preferences
61
Functions to be Set Up with the Printer Driver (Computer Side/Driver Side)
To print an original which is bigger than A2 size
To print an original which is bigger than A2, it is recommended to use the following steps:
1 Select the original size from [Original size] of the Printer Driver.
Enter the original size in [Custom] or register the size in [Custom paper entry] beforehand.
2 Select one of the followings in [Output size] of the Printer Driver.
(1) Select [Same as original] and print without scaling.
In this case, the image which is outside the maximum print area are not be printed.
(2) Select either [A2-R 594×420], [A3-R 420×297], or [B3-R 515×364].
In this case, the original size will be reduced to fit the selected [Output size].
In both cases 1 and 2 above, only the "maximum area" is printed.
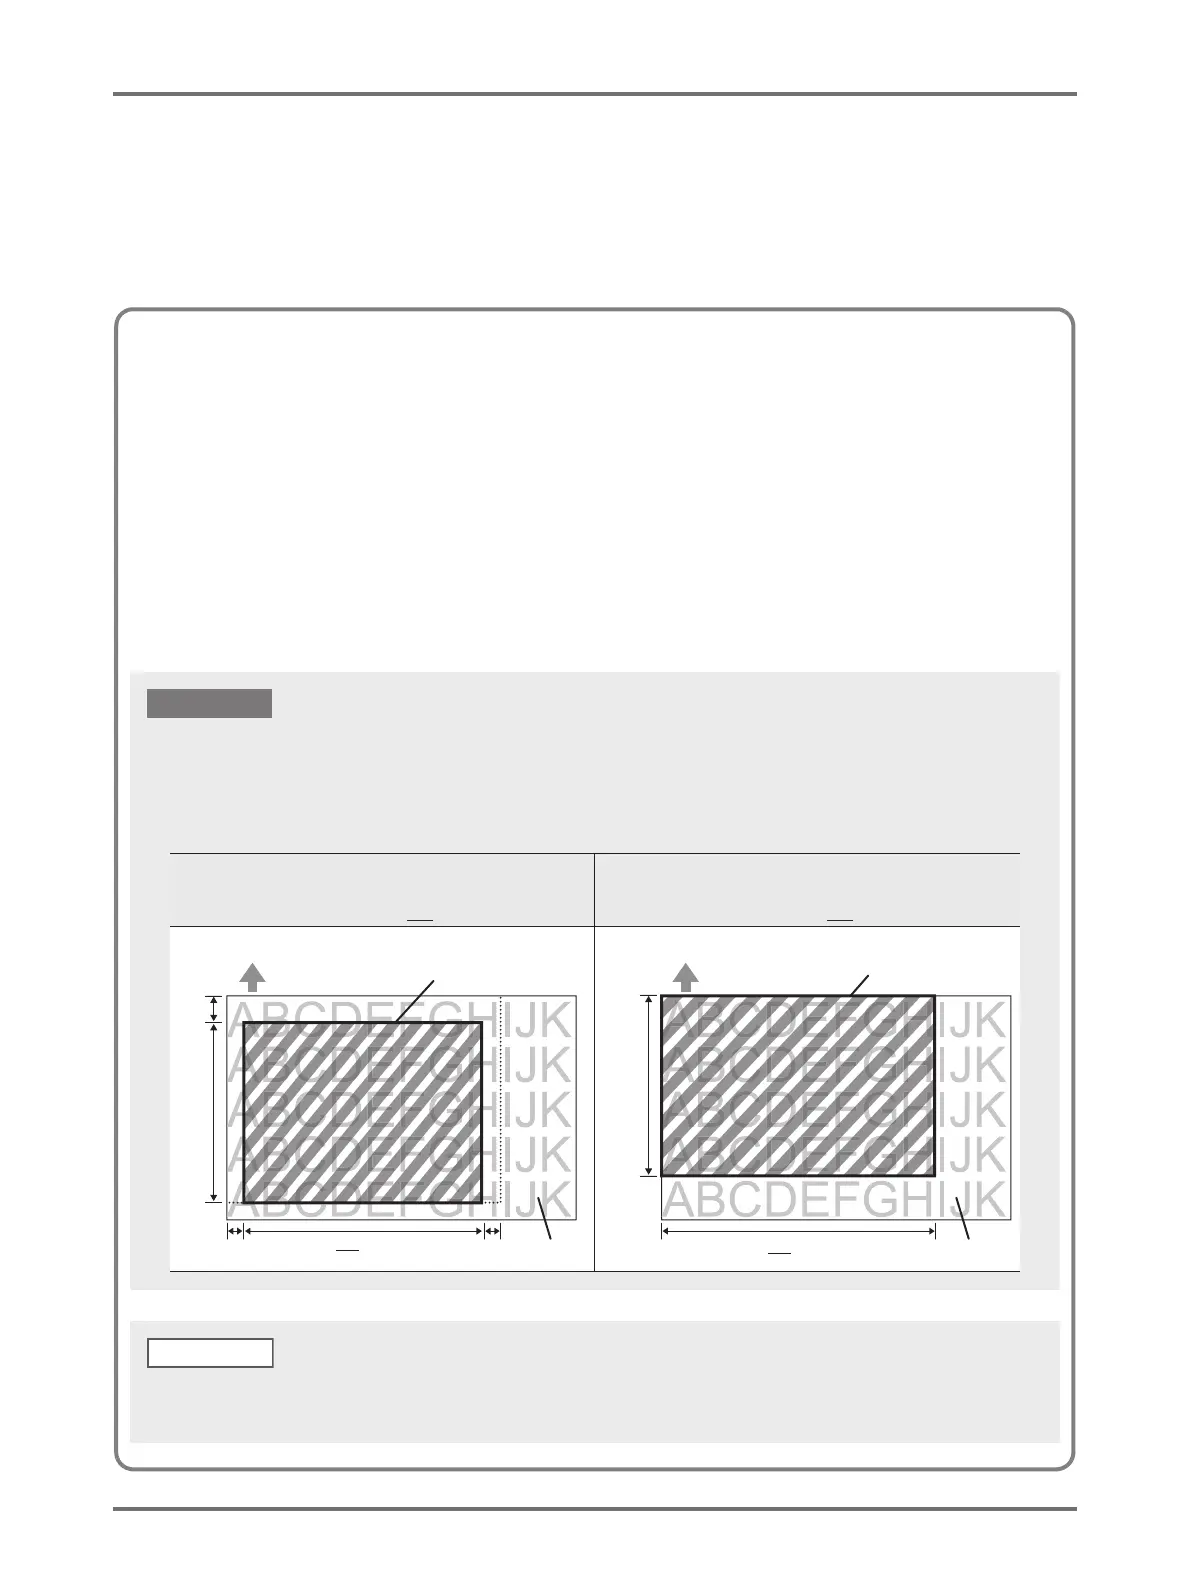
[Marginless master making] OFF
(Normal master-making)
Maximum printing area: 596 mm×425 mm
[Marginless master making] ON
Maximum printing area: 598 mm×425 mm
3 mm
596 mm
5
mm
425
mm
3 mm
598 mm
425
mm
Original Original
Printing Area
Printing Area
Top Edge
Original Data
Top Edge
Original Data
Depending on the status of Marginless master-making (ON/OFF), the maximum print area changes as follows:
• In the figure, the base point is at the upper left corner. Depending on the application (or its setting), however, the base point of
the print area may vary. (The base point can be in the center.)
• The area in gray is the area actually printed.
IMPORTANT!
With some types of application software, reduction and partition functions can be used.
For details, refer to the User's Guide of the application software in question.
NOTE