89
Creating a Patch
Overview Sound 1 Sound 2 Sound 3 Pad Sampler
Menu/System
AppendixSequencer
6.
Turn the VALUE dial or use [INC] [DEC] to select the patch
number.
By pressing [F6 (Compare)] you can check the save-destination
patch (Compare function).
7.
Press [F8 (Write)].
A message will ask you for confirmation.
Never switch off the Fantom-G while data is being saved.
8.
Press [F7 (OK)] to execute the save operation.
To cancel the operation, press [F8 (EXIT)].
Before you save a patch, you can audition the patch which currently
occupies the save destination to make sure that it is one you don’t
mind overwriting. This can help prevent important patches from
being accidentally overwritten and lost.
1.
Follow the procedure in “Saving Patches You’ve Created
(Write)” through step 6 to select the save destination.
2.
Press [F6 (Compare)] to turn on.
3.
Play the keyboard or pad to sound the save destination
patch, then check whether you really want to overwrite it.
The patch auditioned using the Compare function may sound
slightly different than when it is played normally.
4.
If you wish to change the save destination, re-specify the
save-destination patch by turning the VALUE dial.
5.
Press [F8 (Write)].
A message will ask you for confirmation.
6.
Press [F7 (OK)] once again to execute the Save operation.
This section explains the functions the different patch parameters
have, as well as the composition of these parameters.
Parameters marked with a “
★
” can be controlled using
specified MIDI messages (Matrix Control). Settings in Matrix
Ctrl screen will determine how these parameters are controlled
(p. 109).
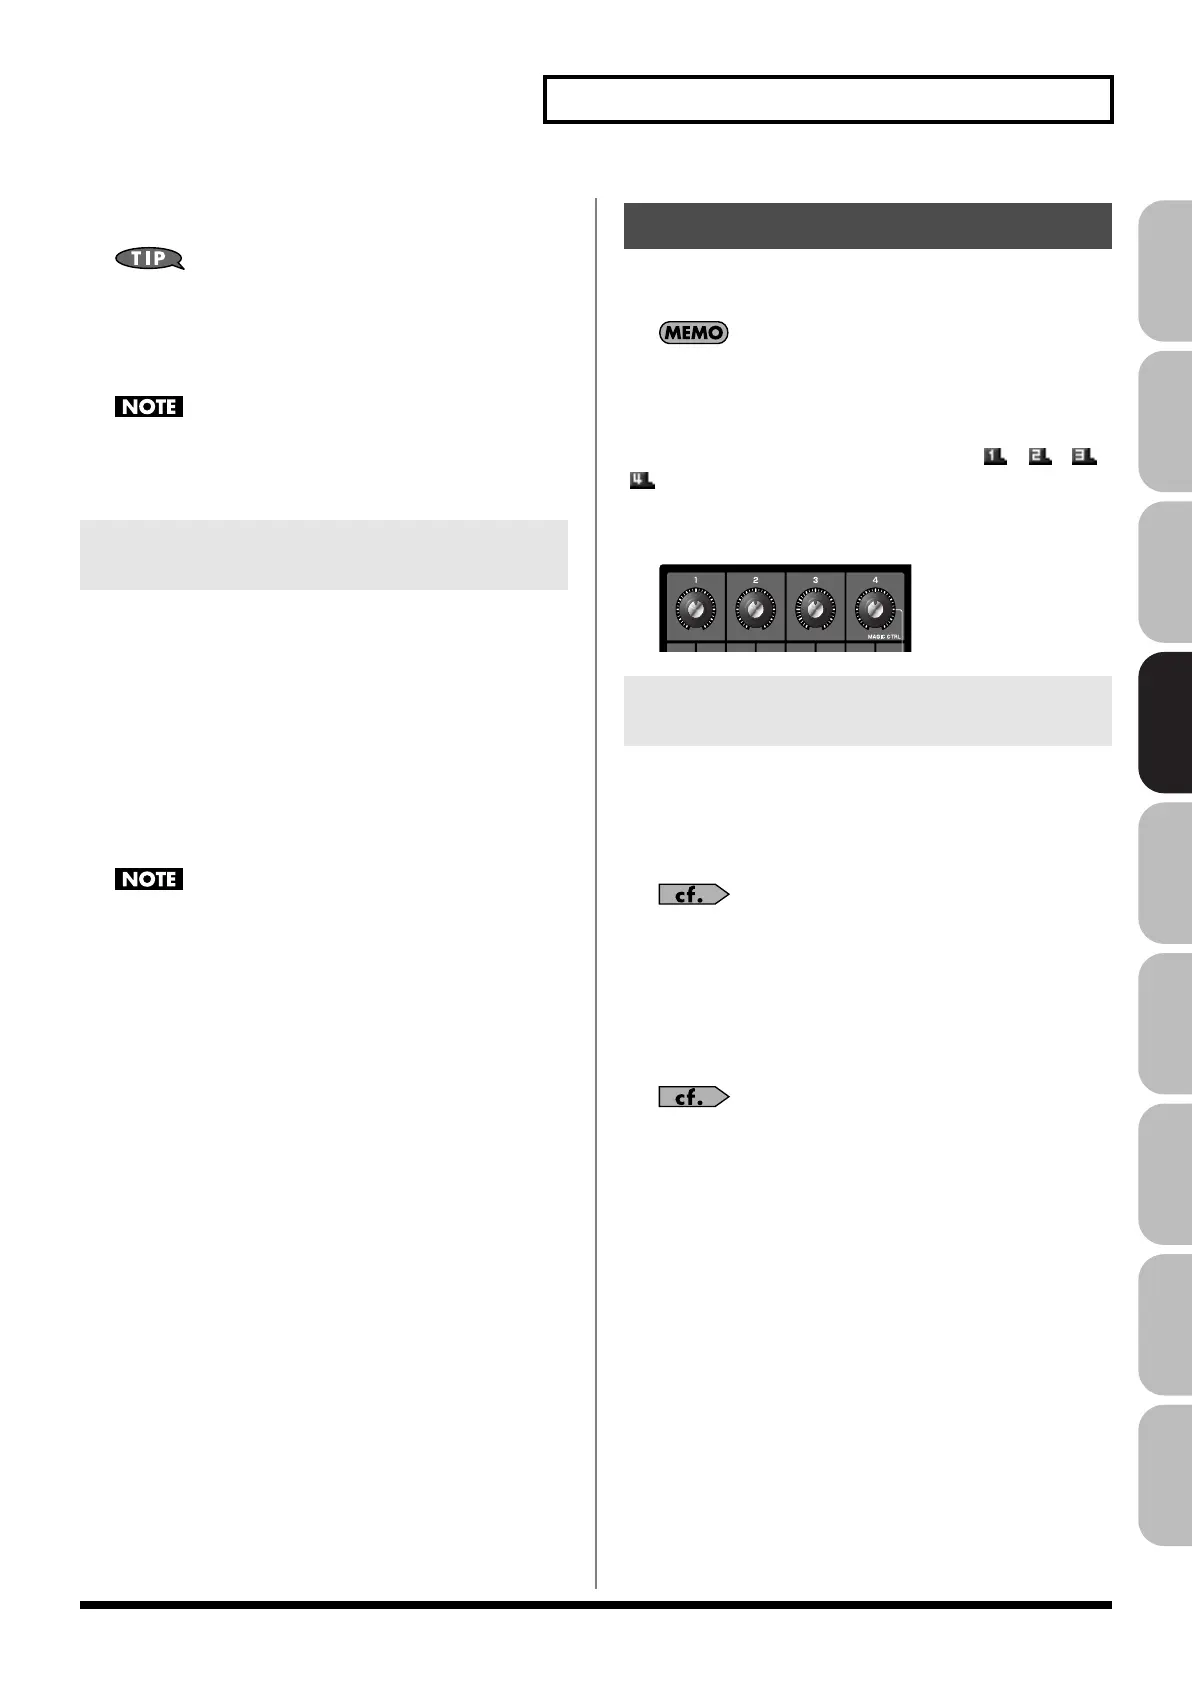
If a number is displayed for the parameter name, ( , , ,
), you can use the realtime controller knob of the corresponding
number (the left most knob is number 1, the right most knob is
number 4) to set the value.
fig.06-010
Patch Name
Specifies the name of the patch.
By pressing [ENTER], you can assign a name to the patch.
Value:
space, A–Z, a–z, 0–9, ! ” # $ % & ’ ( ) * + , - . / : ; < = > ? @ [ \ ] ^ _ ` { | }
For details on entering a name, refer to
“Assigning a Name”
(p. 42).
Patch Category
Specifies the type (category) of the patch.
It also determines the phrase that will be sounded when using the
Phrase Preview function.
For details on the possible category names, refer to (p. 48).
Patch Level
Specifies the volume of the patch.
Value:
0–127
Patch Pan
Specifies the pan of the patch. “L64” is far left, “0” is center, and
“63R” is far right.
Value:
L64–0–63R
Auditioning the Save-Destination
Patch (Compare)
Functions of Patch Parameters
Settings Common to the Entire Patch
(General)
Fantom-G_r_e.book 89 ページ 2009年7月2日 木曜日 午後2時55分
 Loading...