1. Installation Method
1-11
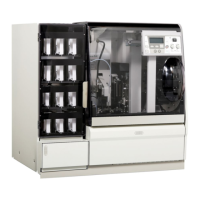
[4] How to set the Reagent bottle
How to set the Reagent bottle is explained.
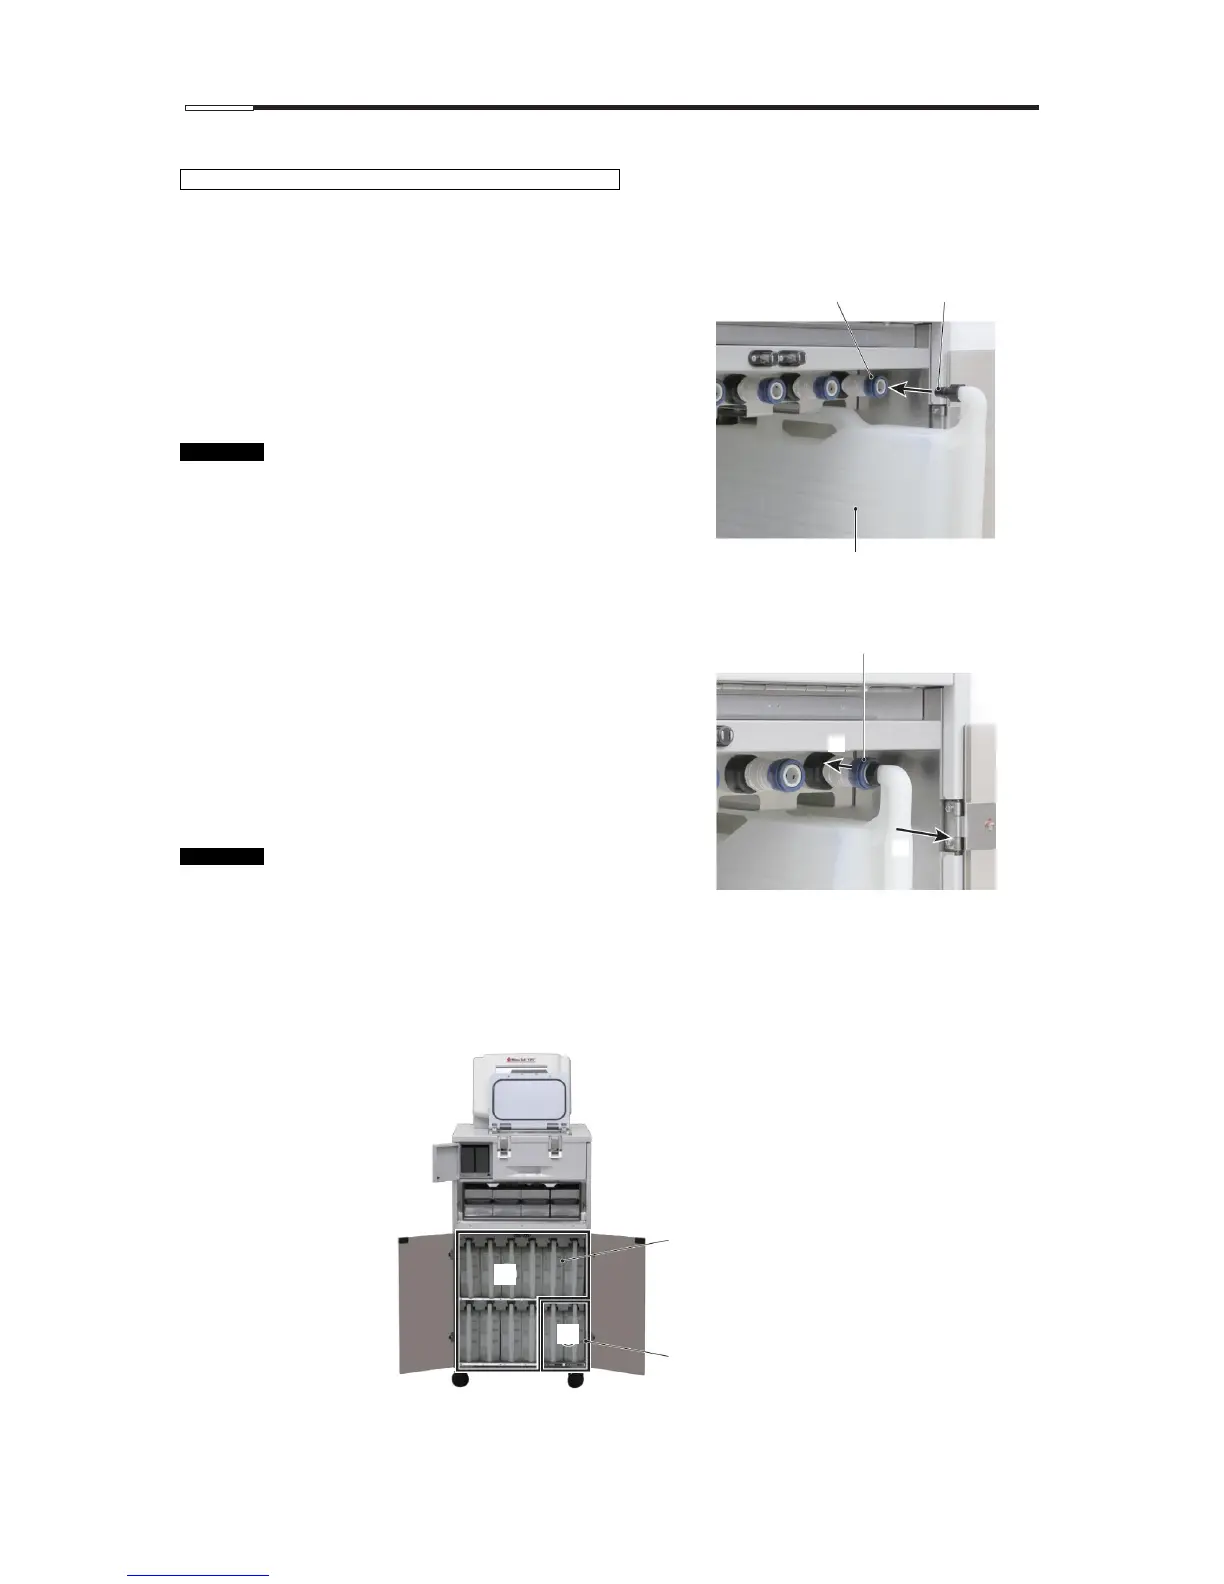
Installing the Reagent bottle
1. Open the Reagent bottle rack door. Push in the top of the
door to open the door.
2. Connect the Reagent bottle to the blue connection port
(coupler) on the instrument side above the Reagent bottle
rack, and insert the bottle until you hear a click. Pull the
Reagent bottle gently and confirm that it does not come off.
3. Close the Reagent bottle rack door.
Connect an empty bottle or container to all stations
including those not used in tissue processing.
Removing the Reagent bottle
1. Open the Reagent bottle rack door. Push in the top of the
door to open the door.
2. Push the blue part at the connection port (coupler) on the
instrument side toward the back of the instrument [1], and
the coupler will be unlocked and you can now access the
Reagent bottle.
Pull out the bottle horizontally [2].
3. Close the Reagent bottle rack door.
Refer to p. 2-3 for the solution level.
Where to set the bottles
Processing bottles and cleaning bottles are set in the specified locations. Do not set them in wrong locations.
Set a processing bottle at the location indicated by [1] in the figure below.
Set a cleaning bottle at the location indicated by [2] in the figure below.
Connection port (coupler)
on the instrument side
Connection port (plug)
on the bottle side
Connection port (coupler)
on the instrument side
Processing bottles are
set at 1 to 10 in the
reagent bottle rack.
Cleaning bottles are set
at C1 and C2 in the
reagent bottle rack.
 Loading...