37
8009389/YN39/V3-0/2015-08| SICK OPERATING INSTRUCTIONS|GM35
Subject to change without notice
INSTALLATION
4.2 Fitting system components
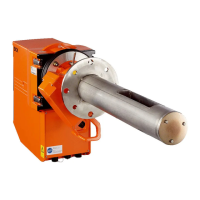
4.2.1 Information on the SR-unit and measuring probe
The GM35 SR-unit and measuring probe are first fitted on the duct during start-up (
see
“Connecting the System Control Unit - SCU”) because these components first require an
adjustment away from the gas-carrying duct. To avoid problems during start-up, the SR-unit
and measuring probe must be stored in a dry place free from dust, preferably at room
temperature, until start-up.
4.2.2 Installing the purge air unit
Note A dimension drawing can be seen in “Purge air unit dimension drawing”, page 137.
Brackets should have M8 threadholes or M8 separator bolts for fastening to the base
plate.
Fig. 12: Installing the purge air unit
1 Secure the base plate for the purge air unit using 4 M10 x 45 screws on the brackets
provided by the customer.
2 Cut the purge air hose to a suitable length for the respective purge air fixture, attach it to
the open outlet of the Y-distributor and secure it with a hose clamp.
3 Close off the hose ends when the purge air unit is not going to be used for a longer
period.
If the purge air unit is not connected electrically immediately:
4 For outdoor installations, fit the weatherproof cover planned during project planning
(optional in scope of delivery).
5 Protect the open end of the purge air hose from humidity or contamination until SR-unit
start-up.
CAUTION: Damage to the measuring system due to assembly of the SR-unit
and/or measuring probe before start-up
Unfavorable ambient conditions or atmosphere in the measuring duct can
damage the measuring system which prevents start-up. Apart from that, there
is a health risk when opening the duct depending on the pressure, gas
temperature and composition in the sample gas duct.
Assembly holes
Base plate
Y-distributor

 Loading...