92
8009389/YN39/V3-0/2015-08| SICKOPERATING INSTRUCTIONS|GM35
Subject to change without notice
START-UP
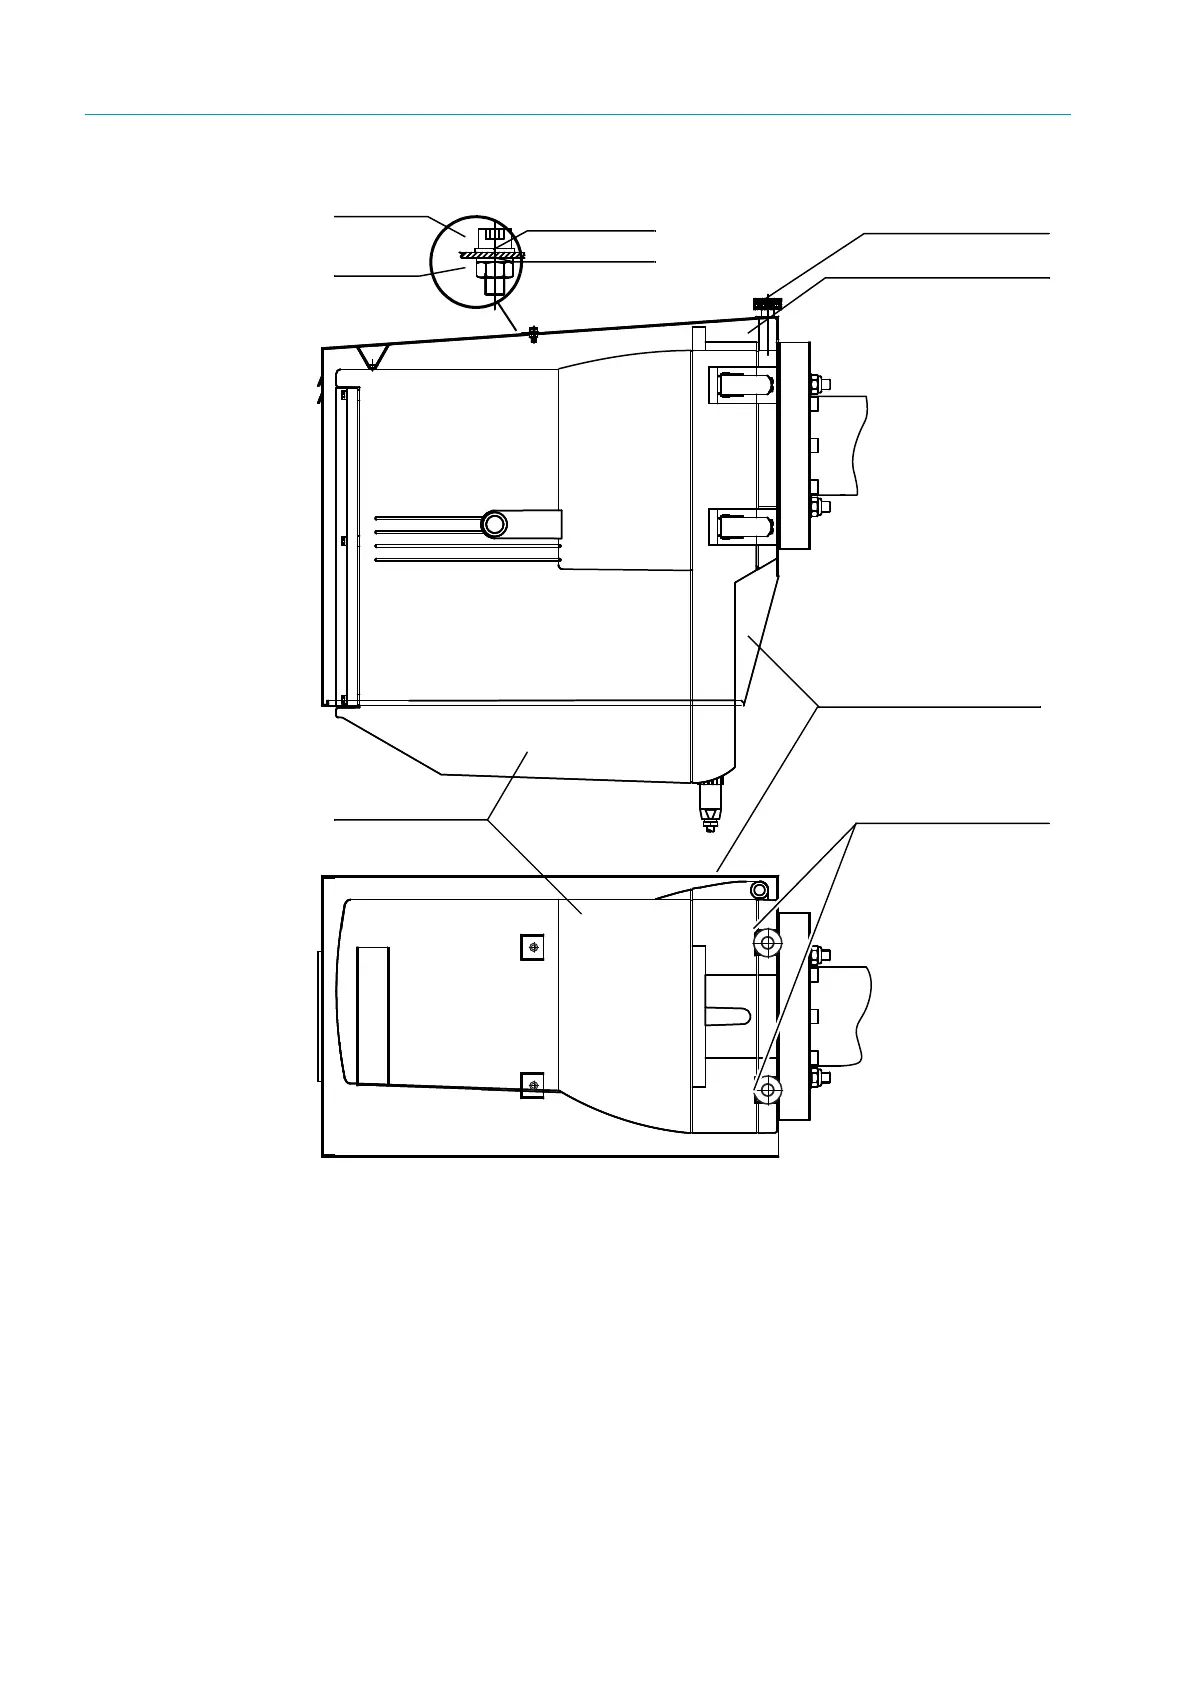
7.6.5 Weatherproof cover
Fig. 58: Fitting the weatherproof cover for the GM35 SR-unit
1 As shown on
page 92, bond the two spacer pins supplied centered on the flange fixture
of the SR-unit at a distance of 170 mm to each other, i.e. so that each pin is 85 mm
from the center. A quick-drying epoxy resin adhesive is best here.
2 Seal the two unused mounting holes in the center of the weatherproof cover with
dummy screws as shown in
“Fitting the weatherproof cover for the GM35 SR-unit”, page
92.
3 Position the weatherproof cover on the SR-unit. The threads of the spacer pins now
protrude through the front fixing holes of the weatherproof cover.
4 Secure the weatherproof cover in position with the two knurled nuts.
GM35 SR-unit
2 spacer pins,
secured with
adhesive
Weatherproof cover
2 knurled nuts
Washer
Spring washer
Screw
Nut
Spacer pins with
knurled nuts