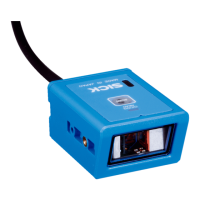
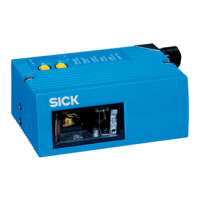
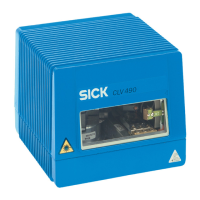
7 Commissioning
7.1 Start SOPAS ET
Overview
SOPASET is used for parameterization and servicing purposes (e.g., diagnostics, data
logger, firmware update). If the product has been parameterized with the operating
buttons, use SOPASET to continue parameterization. The product outputs the recorded
images to SOPASET for display.
Prerequisites
•
Computer with the SOPASET software installed
Use SOPASET version 3.0 or above.
The most up-to-date version of the SOPASET software can be downloaded
from www.sick.com/SOPAS_ET. The respective system requirements for installing
SOPASET are also specified there.
•
Ethernetconnection
•
SDD file (device description file)
You can install the SDD file using the device catalog in SOPASET. Use the wizard
in SOPAS ET to do this. The SDD file can be installed from the product or the SICK
website. To install it from the SICK website, you need an Internet connection.
Approach
1. Install the latest version of the SOPASET software and the current device
description file (SDD file) for the product variant. In this case, select the “Com‐
plete” option as suggested by the installation wizard. Administrator rights may be
required on the computer to install the software.
2. Start “SOPAS ET” after completing the installation.
3. Establish a connection between SOPASET and the product.
✓
The connection wizard starts automatically.
The following IP addresses are configured by default on the product:
°
IP address P1: 192.168.0.1
°
Subnet mask: 255.255.255.0
4. Double-click on the desired product to add it to the project.
5. To open the product window, double-click the product in the New Project window.
6. Select display of the user interface.
✓
SOPAS ET establishes communication with the product and loads the associated
device description file for the product.
7. In the Wizard window, click on the Code Reading button.
✓
The Initial Setup window appears.
8. Position the code within the displayed region. Follow the instructions.
✓
The effects of any parameter changes are directly visible.
✓
The product will continuously record images and automatically attempt to find the
appropriate settings for the image and the decoder. If the read is successful, these
settings can be saved directly.
7.2
Configuration with SOPAS ET
7.2.1 Configuring the product manually
1. In the Online Image window, click the Live button.
✓
In the Live mode, the product starts recording images consecutively. The product
uses the current settings to decode them. The effects of any parameter changes
are thus directly visible.
7 COMMISSIONING
42
O P E R A T I N G I N S T R U C T I O N S | Lector61x 8024830/1MBT/2024-05-22 | SICK
Subject to change without notice