Chapter 7
MSC800
84 Operating instructions | SICK 8011540/14B8/2019-06-06
Subject to change without notice
7.5 Replacing components of the MSC800
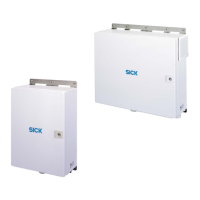
Faulty or damaged components of the MSC800 (logic unit, power supply unit modules)
must be dismantled and replaced with new or repaired components.
Risk of damage to the MSC800
Repair work on the MSC800 may only be performed by qualified and authorized service
personnel from SICK AG.
7.5.1 Replacing logic unit of the MSC800-1100, MSC800-2100, or MSC800-2300
Removing connecting cables
1. Switch off the supply voltage to the MSC800.
2. Disconnect all male cable connectors, female cable connectors, and pluggable
terminals from the logic unit and pull them out.
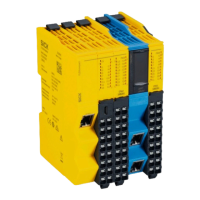
Replacing the MSC800-0000 logic unit
1. Remove the memory card (SD 1) with the saved parameter set from the defective logic
unit (see chapter 3.5.1 Operator interface on page 34).
2. Insert the memory card into the opening (SD 1) in the new logic unit.
3. Dismantle the defective logic unit from the cabinet of the MSC800. To do this, loosen
the fixing screw on the left side of the logic unit and push the logic unit out to the right.
4. Install the new logic unit into the cabinet of the MSC800 in the reverse order.
Reconnecting the cables
1. Insert and re-connect all male cable connectors, female cable connectors, and
pluggable terminals into the logic unit.
2. Switch on the supply voltage to the MSC800. The MSC800 starts and, after
initialization, loads the parameter set from the memory card to the permanent
parameter memory (Flash PROM) of the logic unit.
3. If the real-time clock of the logic unit is used as the system time in the process, set it to
the correct time based on the location. See chapter 7.5.3 Replacing the battery in the
logic unit on page 86.