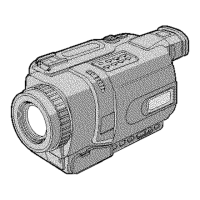
Step 3 Inserting a cassette
We recommend using Hi8 Him/Digital8 []1video cassettes.
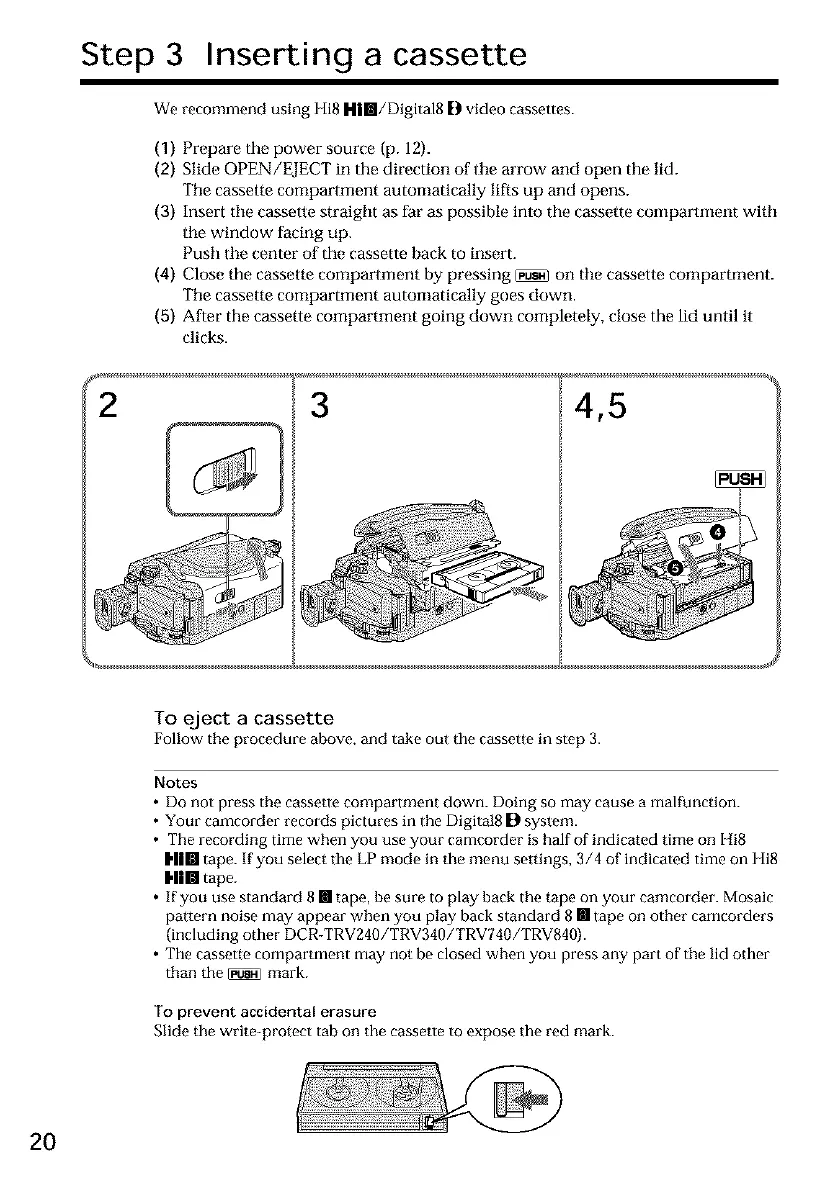
(1) Prepare the power source (p. 12).
(2) Slide OPEN/EJECT in the direction of tile arrow and open the lid.
Tile cassette compartment automatically lifts up and opens.
(3) Insert tile cassette straight as far as possible into the cassette compartment with
tile window facing up.
Push tile center of the cassette back to insert.
(4) Close the cassette compartment by pressing _ on tile cassette compartment.
The cassette compartment automatically goes down.
(5) After the cassette compartment going down completely, close the lid until it
clicks.
F _
2 3
4,5
To eject a cassette
Follow the procedure above, and take out the cassette in step 3.
Notes
• Do not press the cassetle compartment down. Doing so may cause a malfunction.
• Your camcorder records pictures in the Digital8 D system.
• The recording time when you use your camcorder is half of indicated time on Hi8
I,||lll tape. If you select the LP mode in the menu settings, 3/4 of indicated time on Hi8
Him tape.
• If you use standard 8 [] tape, be sure to play back the tape on your camcorder. Mosaic
pattern noise may appear when you play back standard 8 [] tape on other camcorders
(including other DCR-TRV240/TRV340/TRV740/TRV840).
• The cassette compartment may not be closed when you press any part of the lid other
than the _ mark.
To prevent accidental erasure
Slide the write-protect tab on the cassette to expose the red mark.
2O