6 - Recorder functions
Automatic punch in/out function
Using the automatic punch in/out function, you can
automatically record between punch in and out points set in
advance.
To use the automatic punch in/out functions, start playback
from a pre-roll point before the punch in point where recording
will start.
Recording will stop when the punch out point is reached, but
playback will continue for two seconds before stopping.
Setting the punch in/out points
1. When the recorder is stopped, select MTR on the MENU
Screen, and open the MTR Screen. (see "Menu operation
procedures" on page 18.)
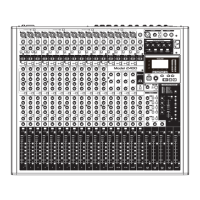
2. Select AUTO PUNCH on the MTR Screen, and open the
AUTO PUNCH Screen.
3. Press the 7/9 button to start playback.
4. Press the MULTI JOG dial to set the punch in and out points.
The set points are shown next to the IN and OUT items.
NOTE
i You can also turn the MULTI JOG dial to set the points.
i Set the punch in and out points at least one second apart.
i Press the F2 button to clear set punch in and out
points.
i Press the F3 button to select either the punch in or
out point. An icon will appear next to the selected item.
5. Press the 8 button to stop playback.
6. Press the F4 button to turn the automatic punch in/
out function on.
The icon appears on the AUTO PUNCH Screen.
7. Press the F1 button to return to the MENU Screen.
TIP
i By setting only the punch in point, you can start recording
with automatic punch in and then continue recording
until you press the 8 button to stop.
i By setting only the punch out point, you can start
recording by pressing the 0 button and then stop
recording with automatic punch out.
Setting a pre roll point
When using automatic punch in, the amount of playback time
before the punch in point can be set (pre roll point).
1. When the recorder is stopped, select MTR on the MENU
Screen, and open the MTR Screen. (see "Menu operation
procedures" on page 18.)
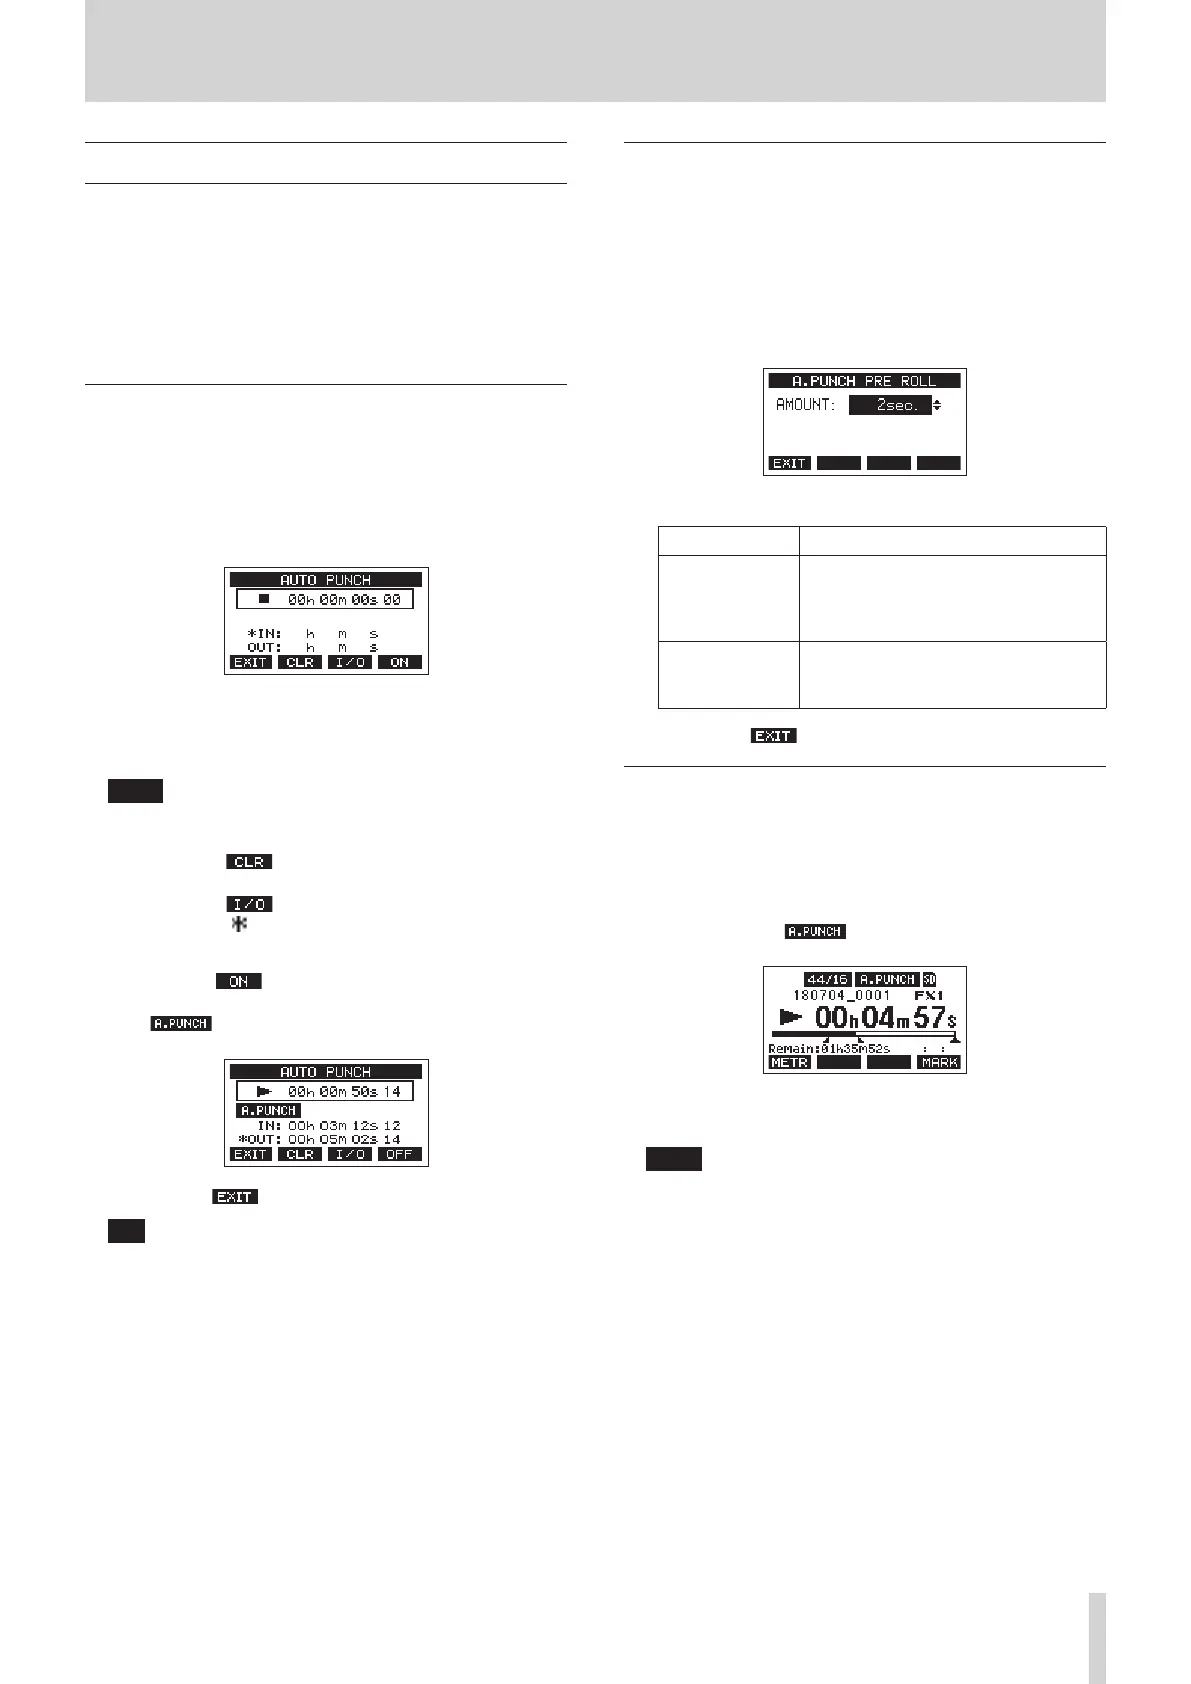
2. Select A.PUNCH PRE ROLL on the MTR screen to open the
A.PUNCH PRE ROLL screen.
3. Set the pre-roll point.
Option Meaning
OFF
Do not locate to a point before the
punch in point. Manually moving to
somewhere before the punch in point
beforehand will be necessary.
1sec. – 10sec.
(default: 2sec.)
Locate to a pre roll point the set time
before the punch in point and start
playback.
4. Press the F1 button to return to the MTR Screen.
Rehearsing punching in and out
You can rehearse before punch in/out recording. In rehearsal,
recording will not occur, but monitoring will be the same as if
recording.
1. Press the MENU button when the recorder is stopped to
open the Home Screen.
Conrm that the icon appears on the Home Screen.
2. Press the REC buttons for the tracks you want to record
using automatic punch in/out.
NOTE
Punching in can be used simultaneously with a maximum
of 8 tracks. Press REC buttons to reduce the number of
recording tracks to 8 or less.
3. Press the 7/9 button.
Auto punch in/out rehearsal starts.
i The transport starts playback from the pre-roll point.
Both track playback and input source signals can be
monitored. (see "Setting a pre roll point" on page
35.)
i When the punch in point is reached, only input source
signals will be monitored. The 0 button will blink,
showing that rehearsal mode is active.
i When the punch out point is reached, both track
playback and input source signals will be monitored.
The 0 button will become unlit.
i Playback will automatically stop two seconds after the
punch out point. The 7/9 button will blink.
Rehearsal can be repeated.
TASCAM Model 2400 35
 Loading...