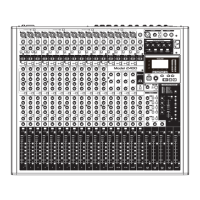
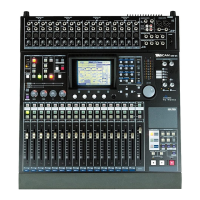
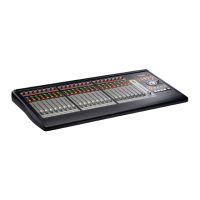
12 - USB audio interface functions
Installing the dedicated software
To use this unit as a USB audio interface with a Windows
computer, dedicated software must be installed on the
computer.
Download the latest software from the product page on the
TEAC Global Site (https://teac-global.com/).
Installing the dedicated software will install a driver and a
Settings Panel application.
ATTENTION
Before starting to install software, quit other applications.
NOTE
With a Mac, the standard OS driver will be used, so installation
of dedicated software is not strictly necessary. We recommend
installing this software, however, because it has a notication
function about updates for the unit rmware and software.
Installing the Windows dedicated
software
ATTENTION
i Complete installation of the Windows dedicated software on
the computer before connecting the unit to it with the USB
cable.
i If you connected the unit to the computer using the USB
cable before installing the Windows dedicated software and
the “Found New Hardware Wizard” launched, close the Wizard
and disconnect the USB cable.
Windows dedicated software installation
procedures
1. Download the latest Windows dedicated software from the
TEAC Global Site (https://teac-global.com/) and save it on
the computer to be used with the unit.
2. Uncompress the saved software (zip le) on the computer
desktop or another location.
3. Double-click the “TASCAM_Model_Mixer_Installer_x.xx.exe”
le in the folder that appears after uncompression to launch
the installation software.
ATTENTION
If you open a zip le without decompressing it and
doubleclick the “TASCAM_Model_Mixer_Installer_x.xx.exe”
le in the folder that opens, installation will not start. Right-
click the zip le and select “Extract All”, for example, to
decompress it and then try again.
4. When a “Security Warning” or “User Account Control” screen
appears, click the “Yes” button.
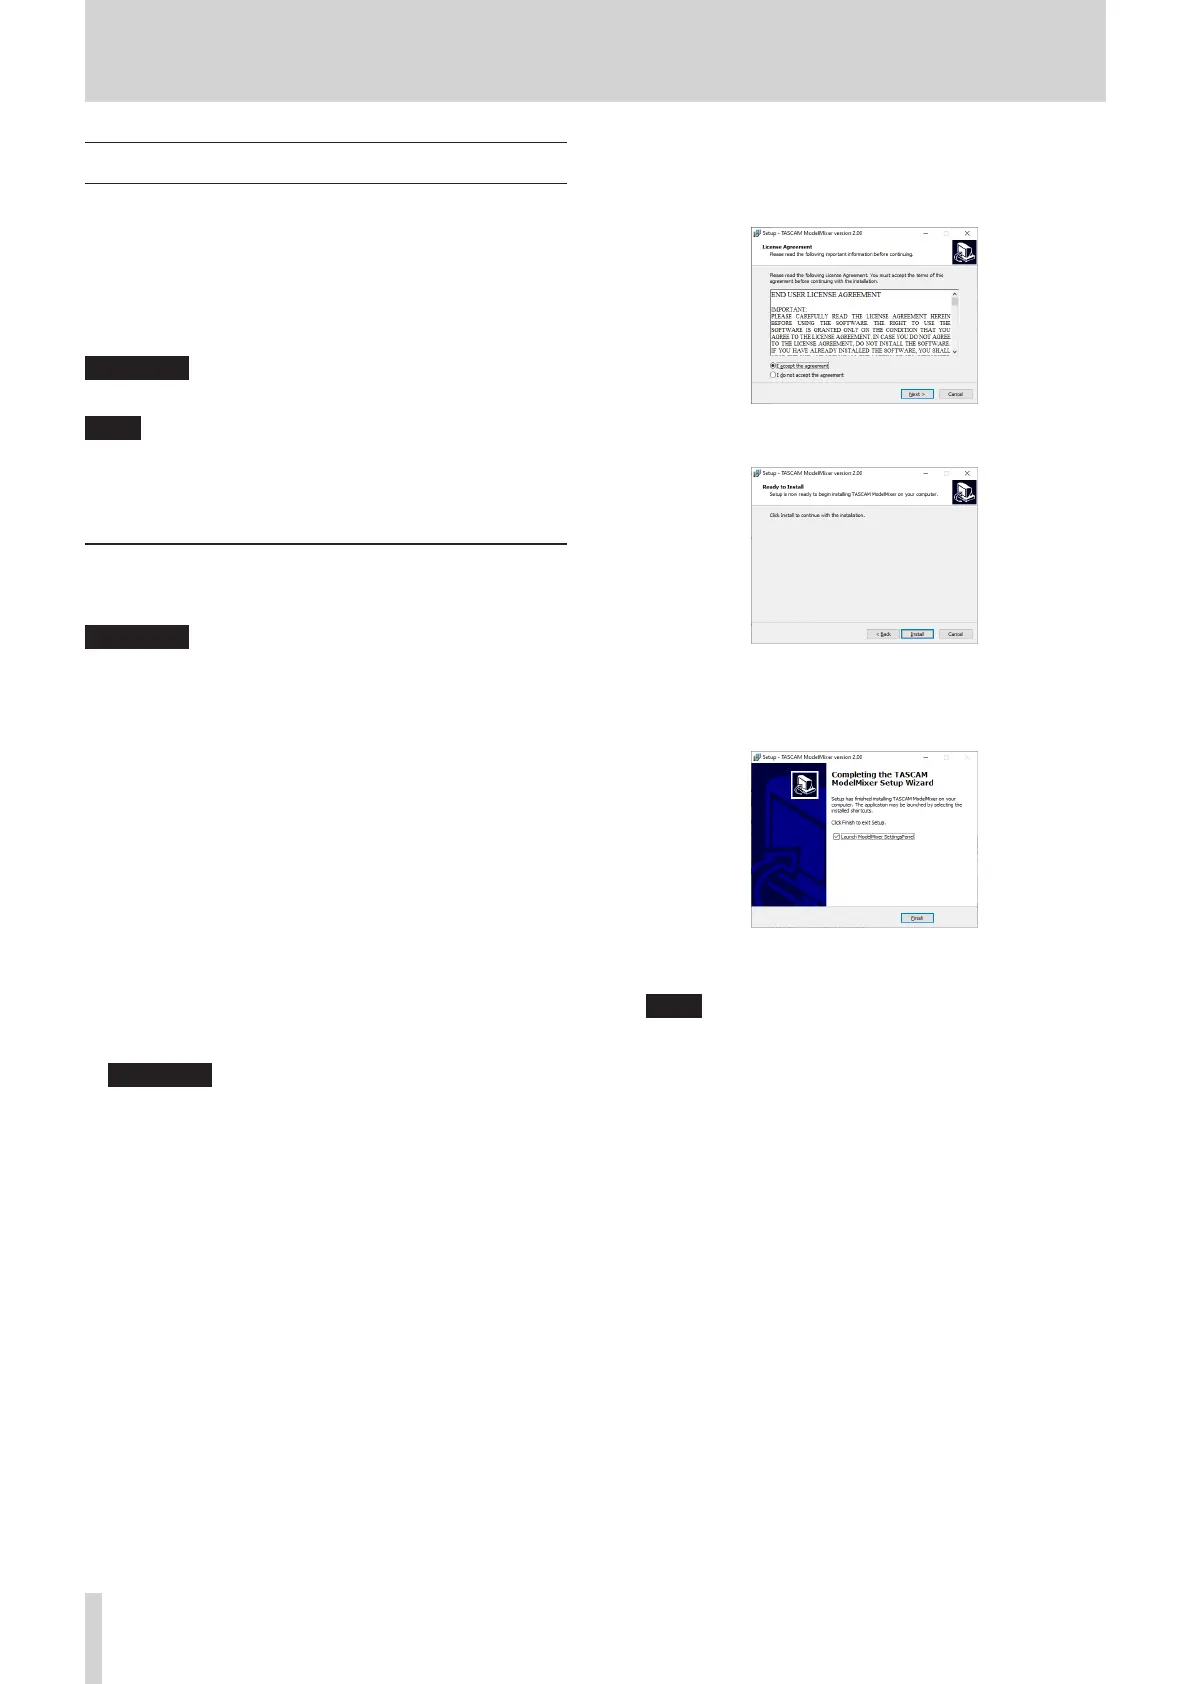
5. Read the contents of the License Agreement, and select “I
accept the agreement” if you agree to the terms.
Then, click the “Next >” button.
6. Next, click the “Install” button.
7. The following screen appears when installation has
completed.
Click the “Finish” button.
The installer will quit and the Windows Settings Panel will
launch.
NOTE
The rst time you connect the unit by USB to the computer
after installing the software, installation of the device driver
will be executed. Some time might be necessary before
the unit is recognized because Windows Update will be
automatically searched at this time. If the unit is still not
recognized after a while, open the software installation
screen from the notication area at the bottom right of the
computer display, and click “Skip obtaining driver software
from Windows Update” to stop the search.
56 TASCAM Model 2400