> Click on the Enter password field.
> Enter the allotted password. If the correct password has been entered, the Timer
page now appears.
10.3 Programming a new timer event
> Now click on New DVR timer, new video recorder timer or new channel change timer
to open the corresponding input mask for the new timer. Please select the channel list,
channel slot, date, start time, stop time and playback mode you want.
10.4 Network status
Clicking on the Network status field will display information concerning the receiver’s network
settings.
10.5 Logging out of the receiver
> Click on the Logout field in the upper right corner of the page to log out of remote
access to the receiver.
11 Software update via USB interface
In addition to the automatic software updates via satellite, you have the option of updating the
receiver’s software via the USB interface. To be able to run the software update via the USB
interface, you first need to download the current software version from the Technisat
homepage (www.technisat.de).
To update the receiver via the USB interface, you will need a standard USB flash stick.
> Format this USB stick using the FAT32 file system format.
> Now copy the software file (with the suffix “.tpad”) onto the stick.
> If you only want to run a single update, copy the singleupdate file to the USB flash
stick as well. If you want to run multiple updates with this flash stick, copy the
autoupdate file to the USB stick instead.
Please note: The singleupdate or autoupdate files must not
have a file extension!
Caution!
You should not have multiple PAD software files located on the flash stick. The “autoupdate“
and “singleupdate“ files should not both be on the USB flash stick at the same time.
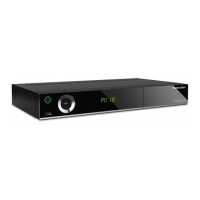
> Now switch the receiver to stand-by and insert the USB stick into the receiver’s USB
port. You can now switch the receiver on. After a few seconds the message “LoAd”
appears. Then “USbL” appears, followed by further status messages in the display.
The update has finished when the receiver returns to normal mode.
If the USB update does not start, please repeat all the steps or try using a different USB stick.
Caution!
The update should not be interrupted at any stage by extracting the
USB stick or cutting off the power supply, as this can cause the receiver to
malfunction.
61
ENCZSKPLHURU
 Loading...
