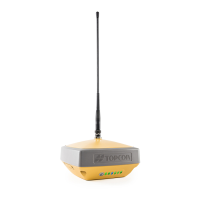
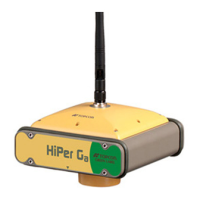
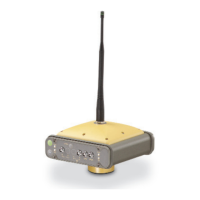
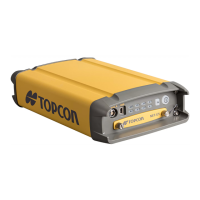
Setting Up the Rover Receiver
6-3
P/N: 1023998-01
System Setup
4. Press the Power button to turn on the receiver. The integrated wireless device inside the receiver
turns on when the receiver is powered.
5. Run MAGNET Field software on the field controller and connect the rover receiver to the
controller via Serial Port or Bluetooth.
6. Configure
UHF/FH or cell modems:
• select for the receiver with the UHF or FH modems:
– an elevation mask;
– the RTK input format;
– the radio modem parameters (for UHF modem: Modulation, Protocol, Scrambling, FEC; for
FH modem: Channel, Protocol, Location);
– the parameters of raw data logging if it is required.
• select for the receiver with the cell modem:
– the type of correction data that will be used for survey (VRS or Single Base or MAGNET
Relay);
– the protocol of the input correction data: TCP/IP or NTRIP 2.0/1.0 or NTRIP 1.0;
– an elevation mask;
– the RTK output format;
– the Internet address and TCP port number of the remote server, a password and user ID to
login to the selected server and configure parameters for a dial-up Internet connection.
– the parameters of raw data logging if it is required.
7. Click Connect icon on the main screen of the MAGNET Field and click the Connect button in the
Connections screen to establish Internet connection to the remote server and obtain the
correction data from it.
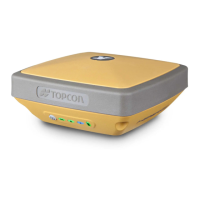
8. View the LED display panel for the receiver’s current status. See “Display Panel” for more
information about LEDs.