Figure93
7.Assemblethebarbofthespraygun(Figure94)that
youremovedinDisconnectingtheOptionalHand
Spray-WandKit(page10)tothesupplyhosewitha
hoseclamp6to11mm(1/4to7/16inch).
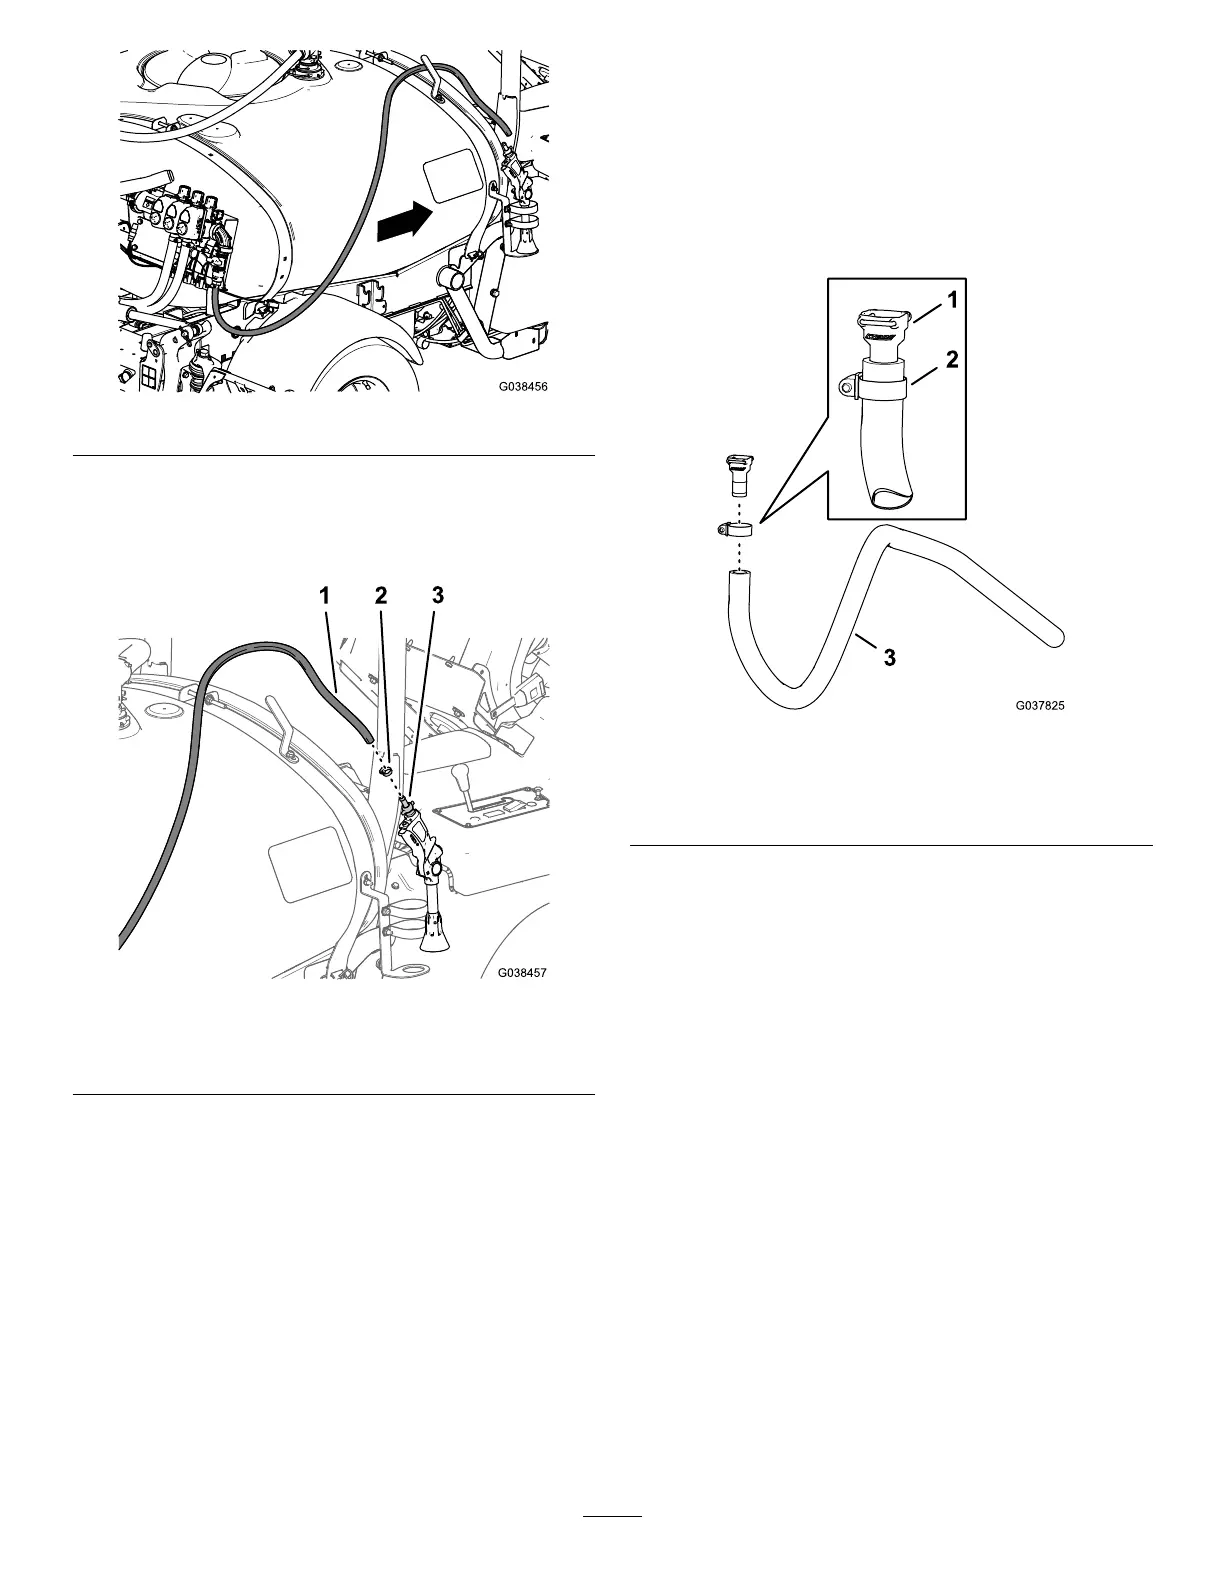
Figure94
1.Supplyhose3.Hosebarb(spraygun)
2.Hoseclamp
8.Placethesprayguninthespray-gunbracket,andhose
ontothehosehook.
InstallingtheSupplyHose—Machines
withtheOptionalElectricHose-ReelKit
1.Assemblethestraightbarbedtting(3/4inch)thatyou
removedinstep3ofInstallingtheShutoffValvefor
theOptionalSprayGunKitortheElectricHoseReel
Kit(page42)tothehose—1.3x180cm(1/2x71
inches)withahoseclamp13to32mm(1/2to1-1/4
inches)asshowninFigure95.
Figure95
1.Straightbarbedtting(3/4
inch)
3.Hose—1.3x180cm(1/2
x83inches)
2.Hoseclamp
2.Assemblethestraightbarbedttingofthehoseto
thequick-connectttingoftheangeshutoffvalve
(Figure96).
44