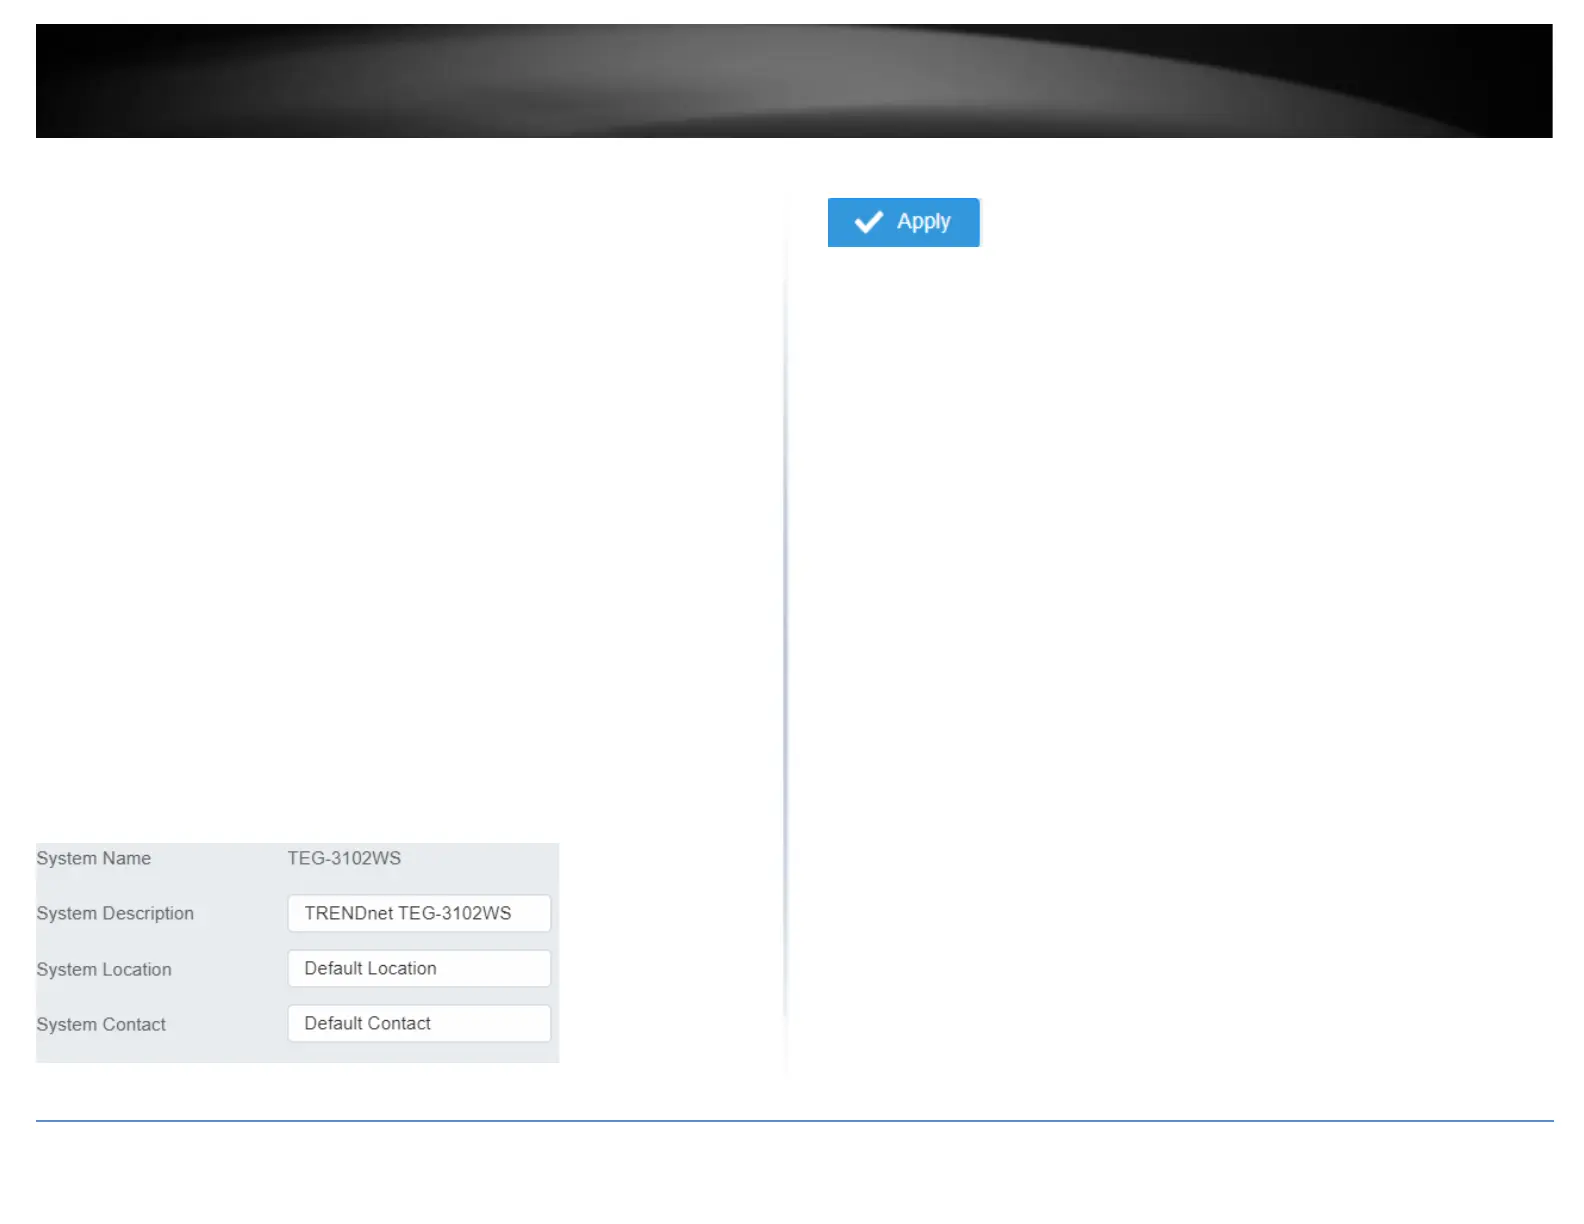
This section explains how to assign a name, location, and contact information for the
switch. This information helps in identifying each specific switch among other switches
in the same local area network. Entering this information is optional.
1. Log into your switch management page (see “Access your switch management page”
on page 5).
2. Click on System, and click on System Management.
3. Review the settings. When you have completed making changes, click Apply to save
the settings.
• System Name - Specifies the Switch model. You cannot change this parameter.
• System Object ID - Indicates the unique SNMP MIB object identifier that
identifies the switch model. You cannot change this parameter.
• System Description - Specifies a name for the switch, the name is optional and
may contain up to 255 characters.
• System Location - Specifies the location of the switch. The location is optional
and may contain up to 255 characters.
• System Contact - Specifies the name of the network administrator responsible
for managing the switch. This contact name is optional and may contain up to
255 characters.
4. Click Apply.
Note: Clicking Apply will save all configuration changes to the NV-RAM to ensure that if
the switch is rebooted or power cycled, the configuration changes will still be applied.