• Source IP Mask & Destination IP Mask: Enter the mask of the Source MAC and
Destination MAC.
• Protocol: Select the protocol
o Select from list: Select from a pre-defined list below under “IGMP List”
o Select from Protocol ID: Input the protocol ID between the range of 0-
255.
• IGMP: Select the from the drop down menu
o Select from list: Select from a pre-defined list below under “Protocol
List”
o Select from IGMP ID: Input the protocol ID between the range of 0-
255.
Port Binding
Security > Access Control > Port Binding
1. Log into your switch management page (see “Access your switch management page”
on page 5).
2. Click on Security, click on Access Control, and click on Port Binding.
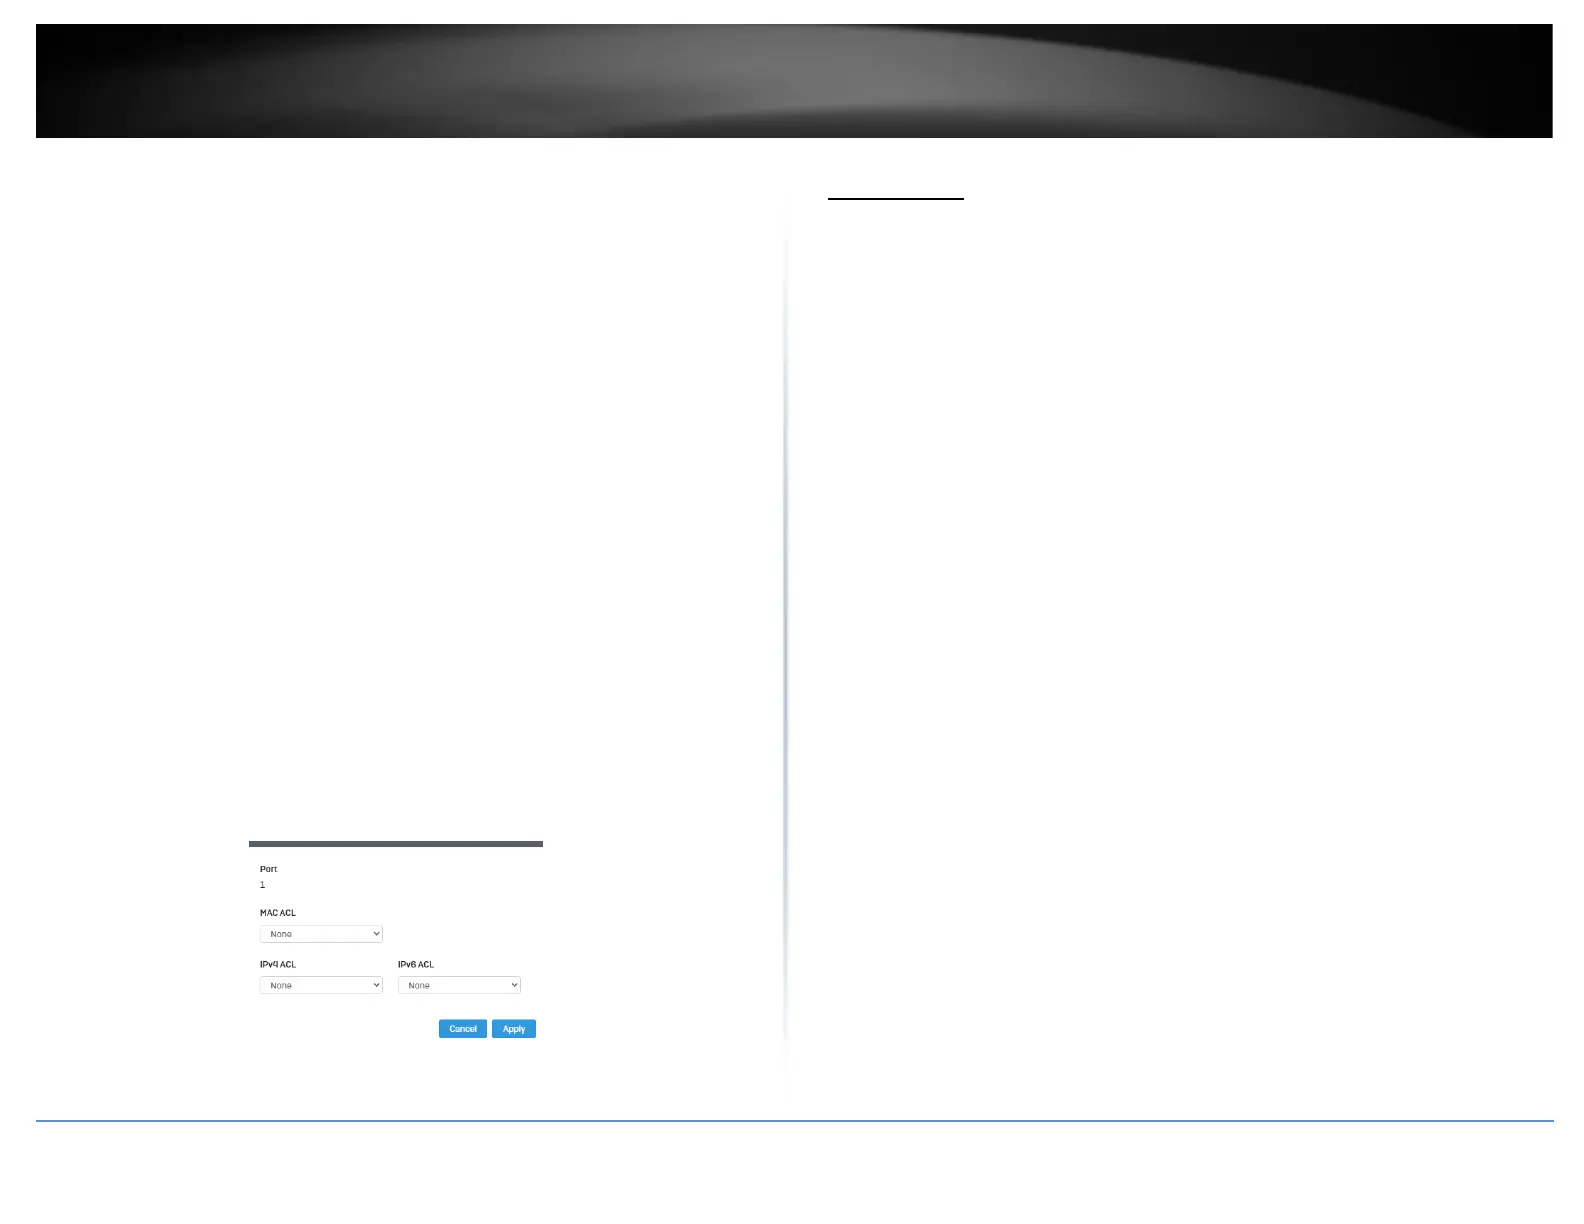
3. Select the port you would like to bind to a specific ACL and click Edit.
4. Select from the list of ACLs and click Apply to save your settings.
Dial-in User
Create Dial-In Users (Local Authentication Method)
Security > Dial-in User
Dial-in User feature provides the local authentication server for port security when a
remote (RADIUS) server is not available.
The Dial-in User (local) authentication method allows you to set up 802.1x
authentication parameters internally in the Switch. In this case, the user name and
password combinations are entered with an optional VLAN when they are defined.
Based on these entries, the authentication process of a supplicant is done locally by the
Switch Management Utility using a standard EAPOL (EAP over LAN) transaction.
1. Log into your switch management page (see “Access your switch management page”
on page 5).
2. Click on Security and click on Dial-In User.
3. Click Add to create a dial-in user for local authentication.
4. Review the settings.
To create a dial-in user for local authentication, use the following procedure:
• In the User Name field, type a name for the user.
• In the Permission field, select Allow to allow this user to access or Deny to not
grant this user access.
• In the Password field, type a password for the user.
• In the Password Retype field, re-type the password to confirm.
Click Apply to add the entry to the table.