IPv4 ARP Aging Time
System > System Settings > ARP Settings
This section allows you to set the timeout for the switch’s ARP Table per each
configured VLAN.
1. Log into your switch management page (see “Access your switch management page”
on page 5).
2. Click on System, System Settings, and then ARP Settings.
3. Edit the Max Retries and Timeout
4. At the top right of the screen, click Apply.
Note: This step saves all configuration changes to the NV-RAM to ensure that if the
switch is rebooted or power cycled, the configuration changes will still be applied.
IPv4 Static ARP
System > System Settings > ARP Settings > ARP Table
This section allows you to statically set ARP entries per each configured VLAN.
1. Log into your switch management page (see “Access your switch management page”
on page 5).
2. Click on System, System Settings, ARP Settings and then ARP Table.
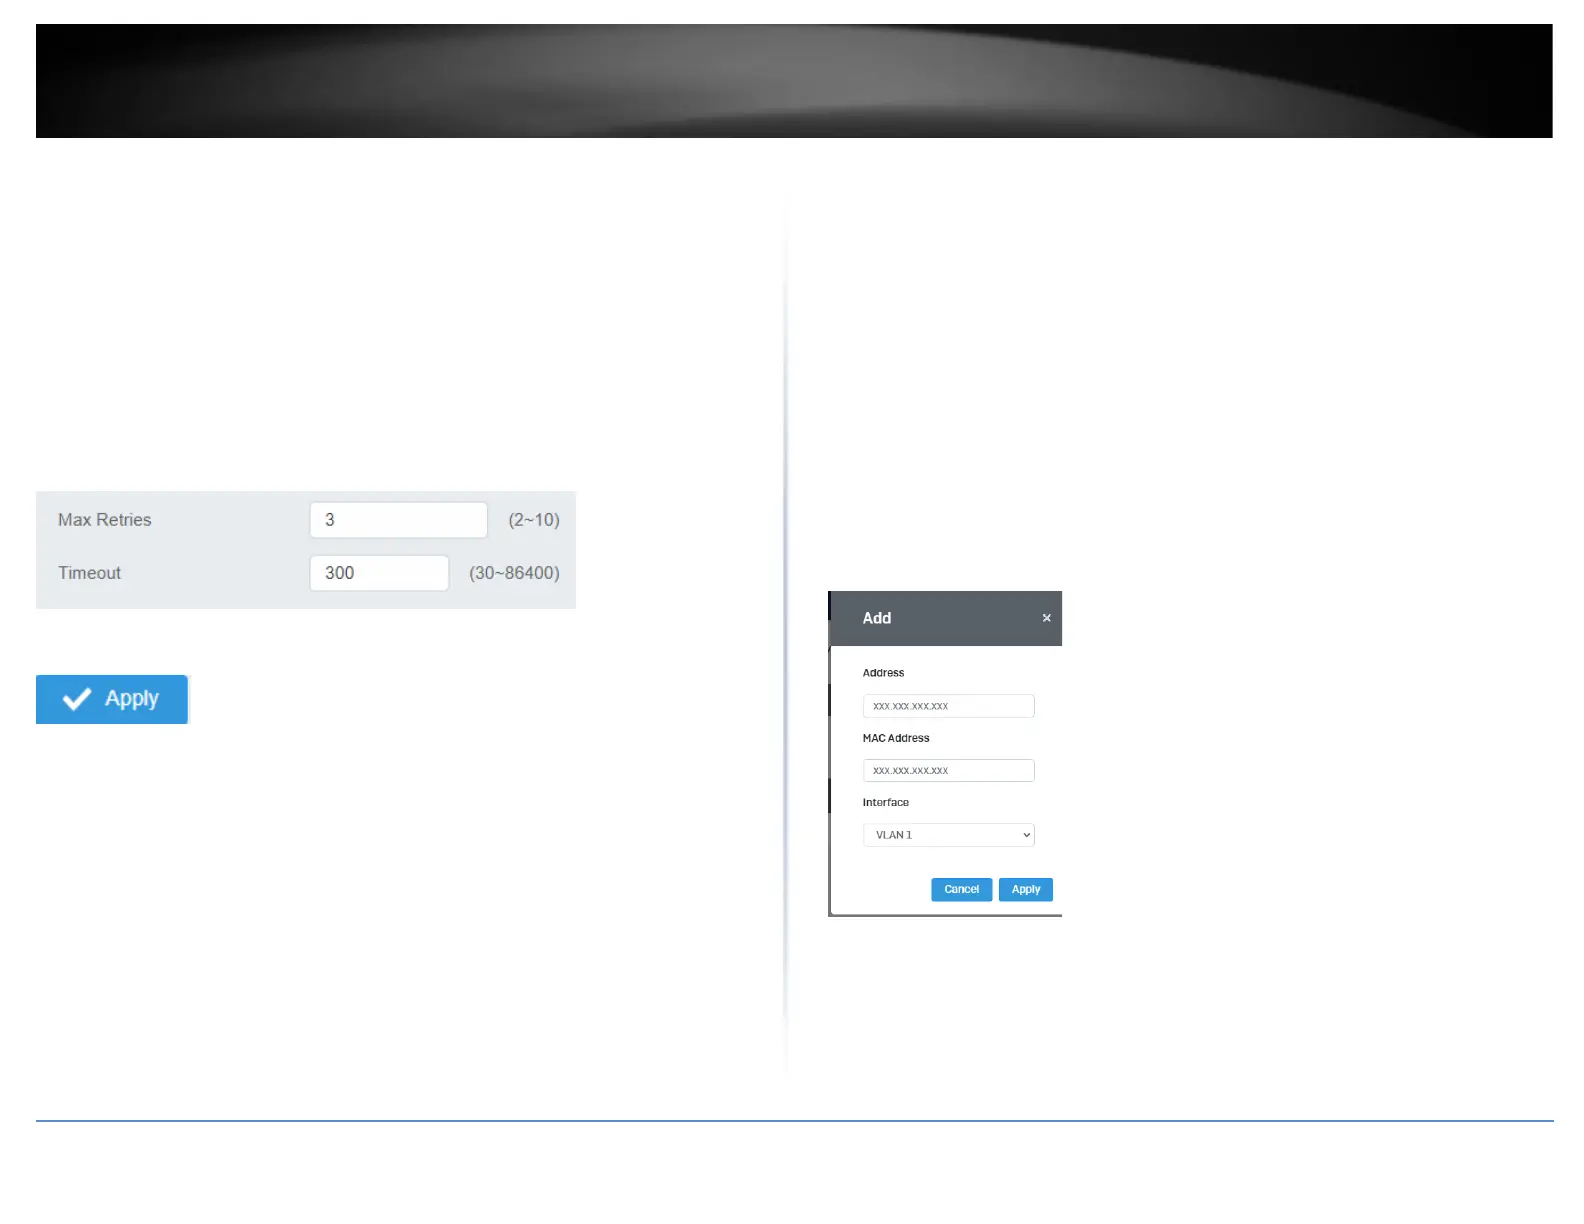
3. To add a static ARP entry, click Add to fill out the fields and then press Apply. To
delete an entry, press Delete in the lower table.
• Address: enter the IP address you would like to statically set to the ARP table.
• MAC Address: enter the MAC address that you would like to assign to the IP
entered above.
• Interface: Select the VLAN ID to add the ARP entry to
4. At the bottom of the left hand panel, click Apply.
5. Click the Apply button on the top right of the screen.
Note: This step saves all configuration changes to the NV-RAM to ensure that if the
switch is rebooted or power cycled, the configuration changes will still be applied.