• Current Time: Displays the current time that is saved on your switch
• SNTP: Enable to allow the switch to automatically pull the time from an
SNTP/NTP Address, and select disable to manually input the time.
• Manual Time: Manually input the current date and time
• Time Zone: Sets the current time zone you are in
• Daylight Savings Time: Enable to set if daylight savings is on and disable if it is
not currently in daylight savings
• Recurring From / Recurring To: Configures when daylight savings goes into
effect and when it ends.
• SNTP/NTP Server Address: Sets the primary and back up SNTP/NTP Server
Address
• Server Port: Sets the port that the switch needs to access.
4. At the top right of the screen, click Apply.
Note: This step saves all configuration changes to the NV-RAM to ensure that if the
switch is rebooted or power cycled, the configuration changes will still be applied.
SNMP
Global Settings
System > SNMP > Global Setting
1. Log into your switch management page (see “Access your switch management page”
on page 5).
2. Click on System, click on SNMP, and click on Global Settings.
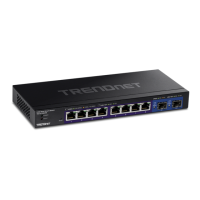
3. Select Enabled to enable SNMP or Disabled to disable it.
4. Input the SNMP OID engine
User List
System > SNMP > User List
1. Log into your switch management page (see “Access your switch management page”
on page 5).
2. Click on System, click on SNMP, and click on User List.
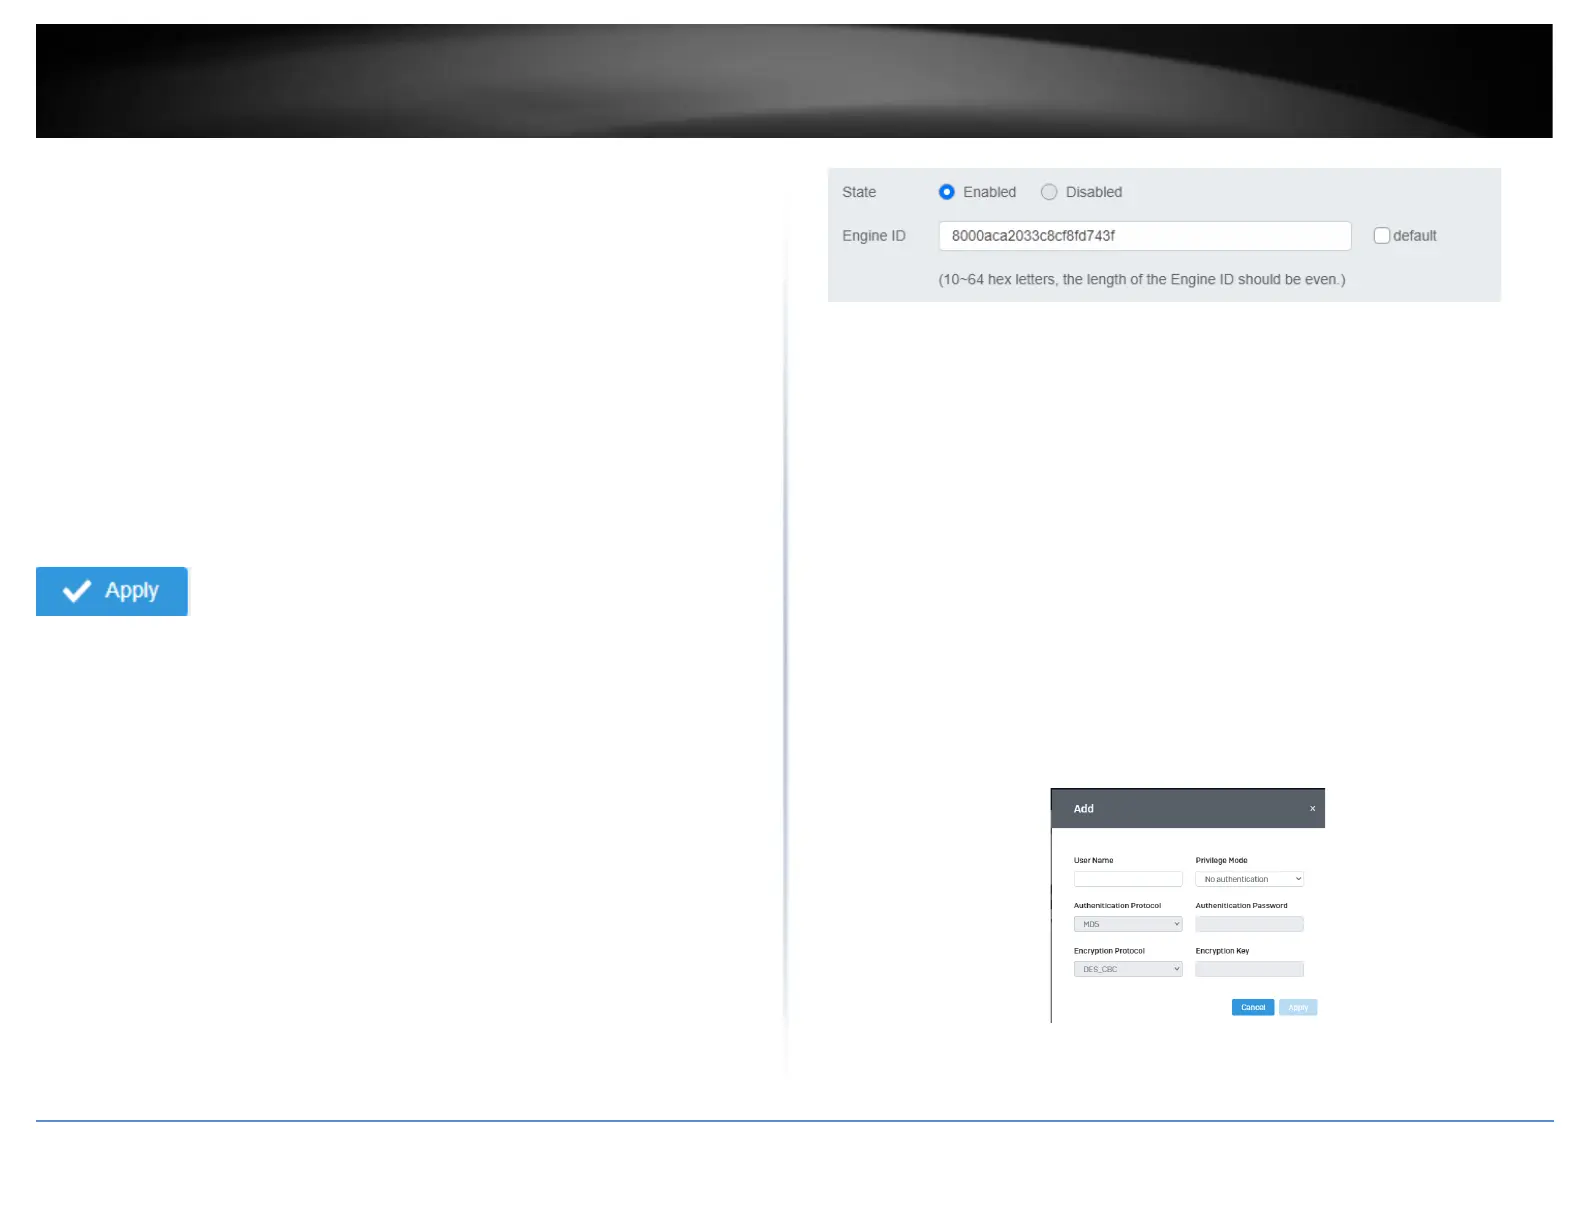
3. Click Add to add username to the user list.
4. Review the settings and click Apply.
• User Name: Enter the User Name to grant access to