Logs
Settings
Network > Logs > Global Settings
1. Log into your switch management page (see “Access your switch management page”
on page 5).
2. Click on Network, click on Logs, and click on Global Settings .
3. Select Enabled to enable logs, or Disabled to disable this feature.
Remote Logging
Network > Logs > Remote Logging
1. Log into your switch management page (see “Access your switch management page”
on page 5).
2. Click on Network, click on Logs, and click on Remote Logging .
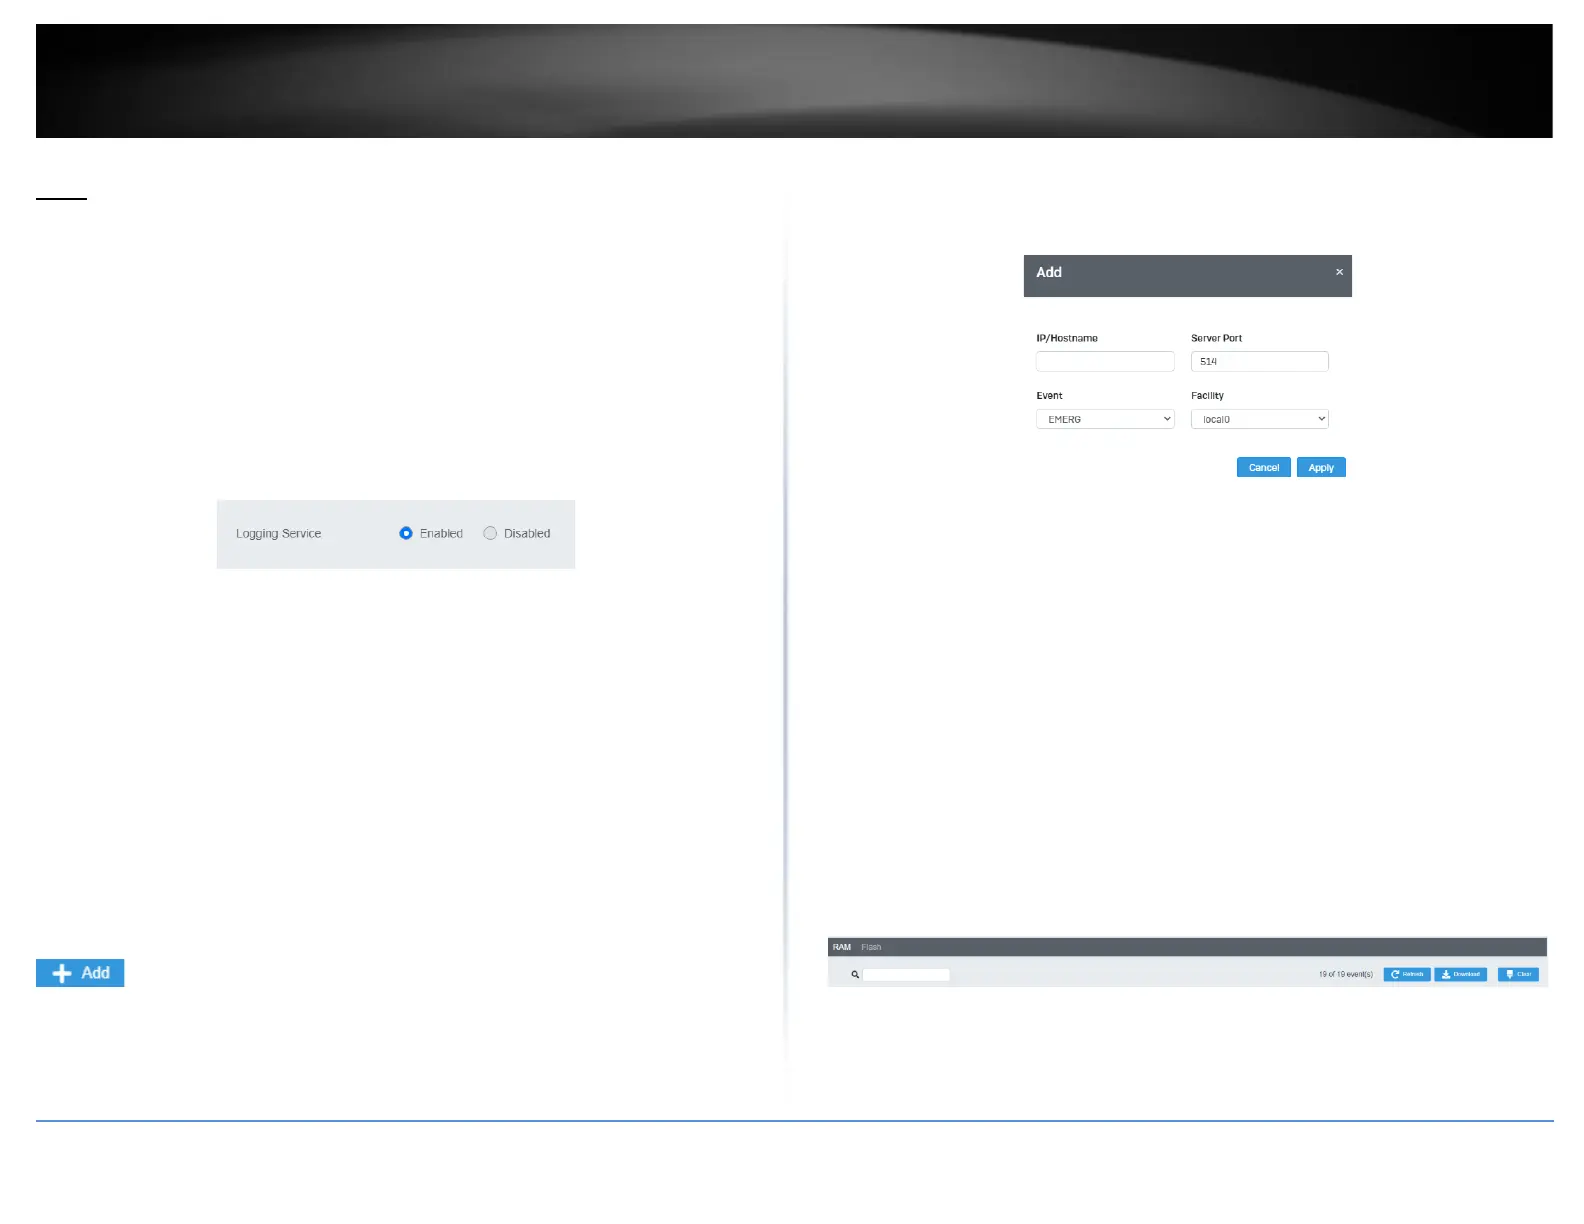
3. Click on Add on the top right corner to create a new username and password. To
modify an existing username, click Edit to modify the selected login credentials
4. Review the settings and click Apply to save the changes to the Flash.
• IP/Hostname: Enter the IP address of the location you want the Log files to go
to.
• Server Port: Enter the port number of the IP address
• Event: Select what type of log events will be sent to the IP Address
Log Table
Network > Logs > Log Table
1. Log into your switch management page (see “Access your switch management page”
on page 5).
2. Click on Network, click on Logs, and click on Log Table.
3. Review the settings below.
• RAM: Displays only log files that are stored on the RAM
• Flash: Displays only log files that were stored on the Flash
• Refresh: Refreshes the page
• Download: Download the log file. Download files can only be saved as .txt
files.
• Clear: Erases all log files
QoS (Quality of Service)
When a port on an Ethernet switch becomes oversubscribed, its egress
 Loading...