• Privilege Mode: Select the level of privilege given
• Authentication Protocol: Select the type of protocol used for authentication
• Authentication Password: Input the password for the SNMP user
• Encryption Protocol: Select the encryption protocol type
• Encryption Key: Input the encryption key
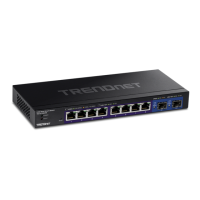
Community List
System > SNMP > Community List
1. Log into your switch management page (see “Access your switch management page”
on page 5).
2. Click on System, click on SNMP, and click on Community List.
3. Select Edit to edit the selected community name or Delete to delete it.
4. To add a new entry, click the Add button
5. Review the settings and click Apply,
• Community Name: Input the community name for the new entry
• Security Name: Select the security type
• Transport Tag: Input the transport tag in the field
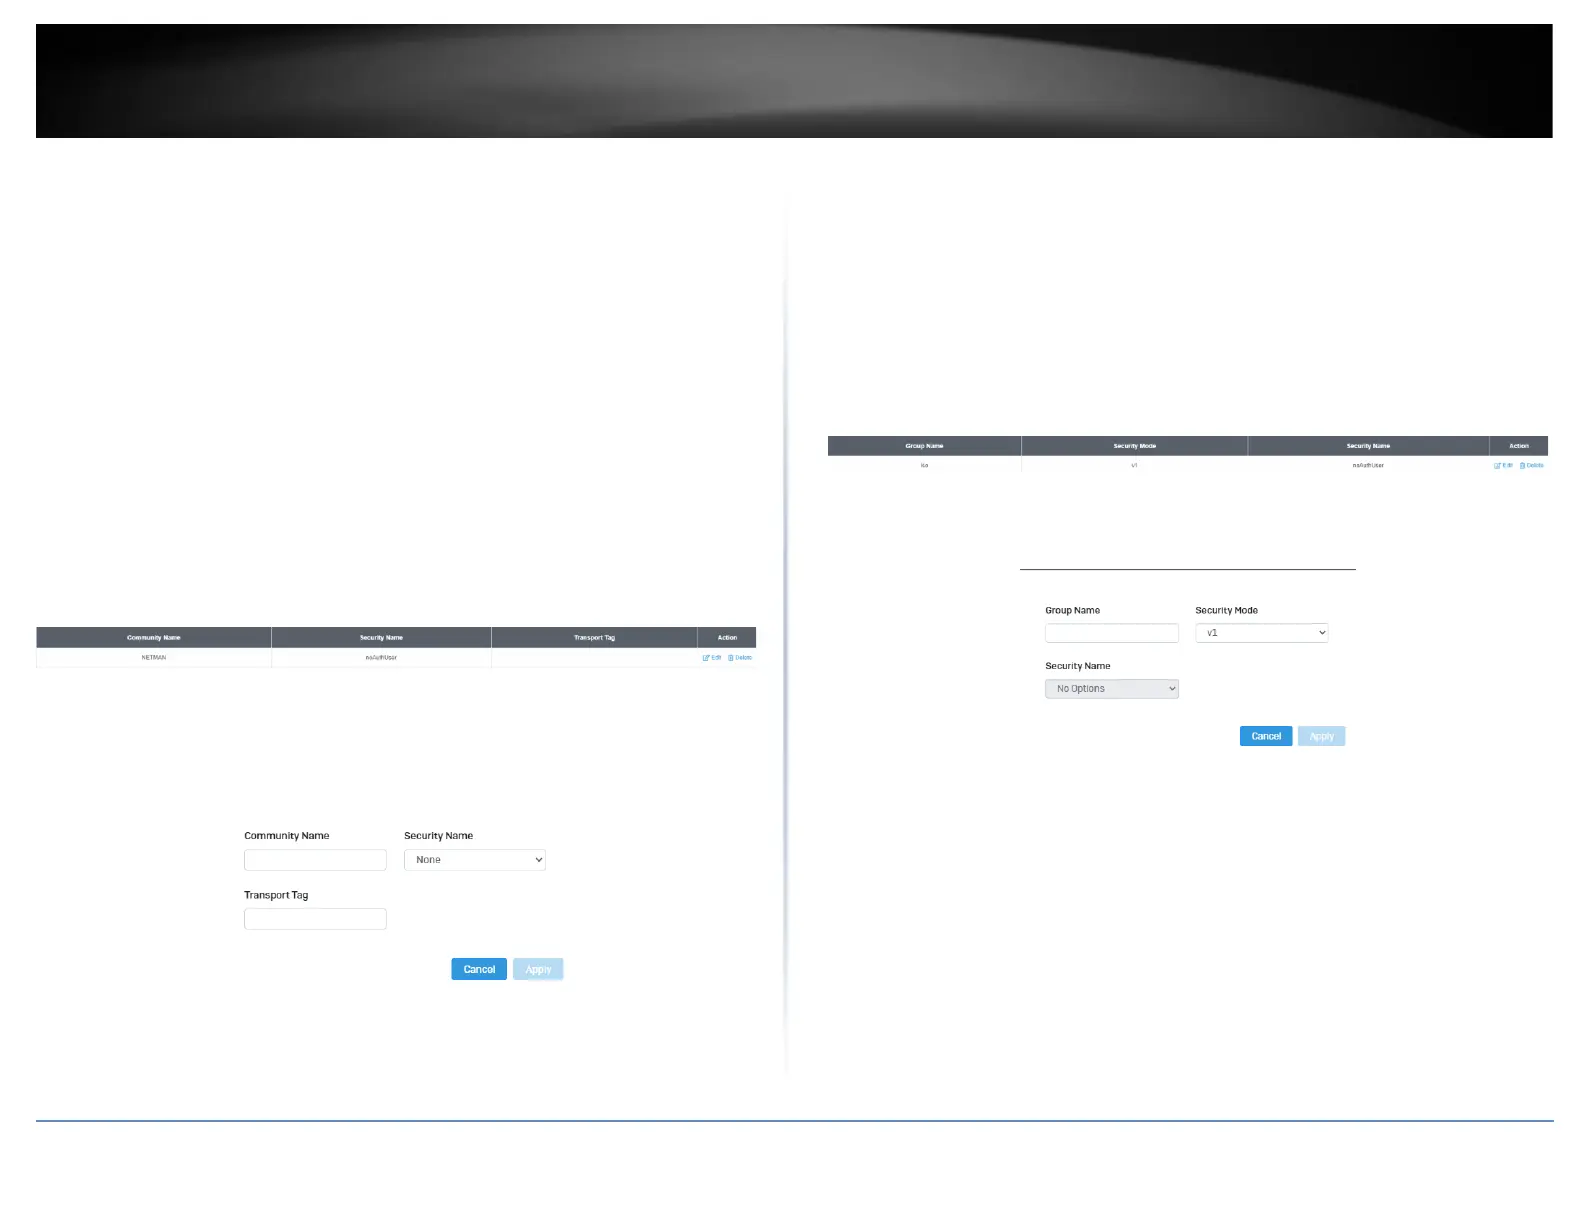
Group List
System > SNMP > Group List
1. Log into your switch management page (see “Access your switch management page”
on page 5).
2. Click on System, click on SNMP, and click on Group List.
3. Select Edit to edit the selected group name or Delete to delete it.
4. Click Add to add username to the user list.
5. Review the settings and click Apply,
• Group Name: Input the desired group name
• Security Mode: Select the security mode for this SNMP group
• Security Name: Select the Security name from the drop down menu
Access List
System > SNMP > Access List
1. Log into your switch management page (see “Access your switch management page”
on page 5).
2. Click on System, click on SNMP, and click on Access List.