186 RT System 2 v2.3 Deployment Guide R01.i
© 2010-2014 Wireless Seismic, Inc. All rights reserved.
F. Using a Compass
3 Adjust for declination.
Ɣ If you have an adjustable compass – Move the Orienting Arrow to the right or left by
the declination number. When you align the magnetic needle with the Orienting
Arrow, the declination is accounted for.
Ɣ If you do not have an adjustable compass – Mark the declination on your compass
with a piece of tape. Align the magnetic needle with the tape mark.
Ɣ Adjust the Orienting Arrow to the left or right. For example:
Ź For a declination of 0, no adjustment is necessary.
Ź For a declination of 9 (9 degrees East), move the Orienting Arrow (or place a
tape mark) to the right 9 degrees.
Ź For a declination of -9 (9 degrees West), move the Orienting Arrow (or place a
tape mark) to the left 9 degrees.
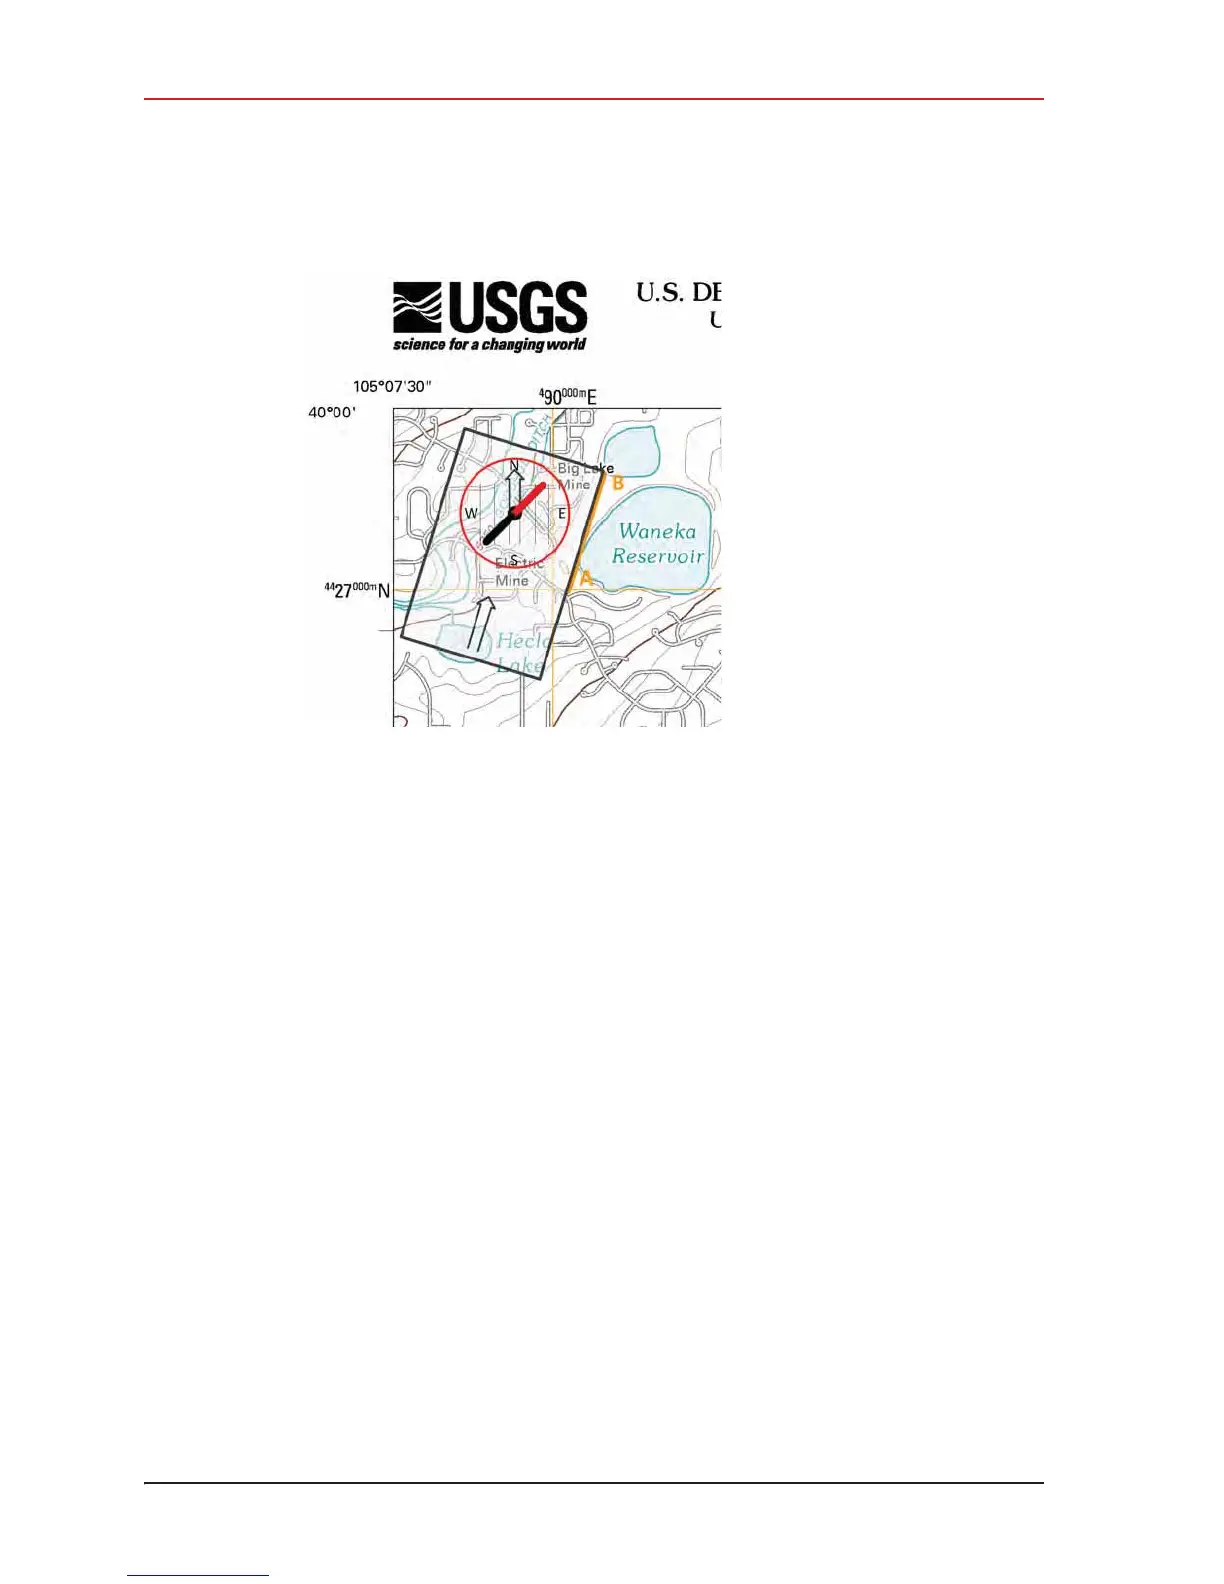
Figure F–3 Compass and Map