July 2019
3-4
Xerox® B210 Service Manual
IQ1, IQ2
Initial Release
Image Quality
IQ1 Vertical Black Line and Band RAP
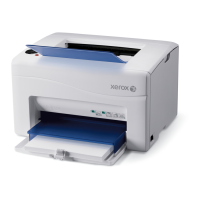
Thin black vertical lines or black vertical bands occur in the printed image, Figure 1.
Procedure
Switch off the machine.
Check the Transfer Roll P
L 4.1 Item 10, for wear or damage. The Transfer Roller is OK.
YN
Install a new Transfer Roll, PL
4.1 Item 10.
Switch on the power, then make a test print. If fault persists, Install a new Drum Cartridge.
Ref
er to the Xerox® B210 User Guide, Section 6 Maintenance, General Care, for detailed
instructions on how to Install a new Drum Cartridge.
Figure 1 Black lines and bands
IQ2 Vertical White Line and Band RAP
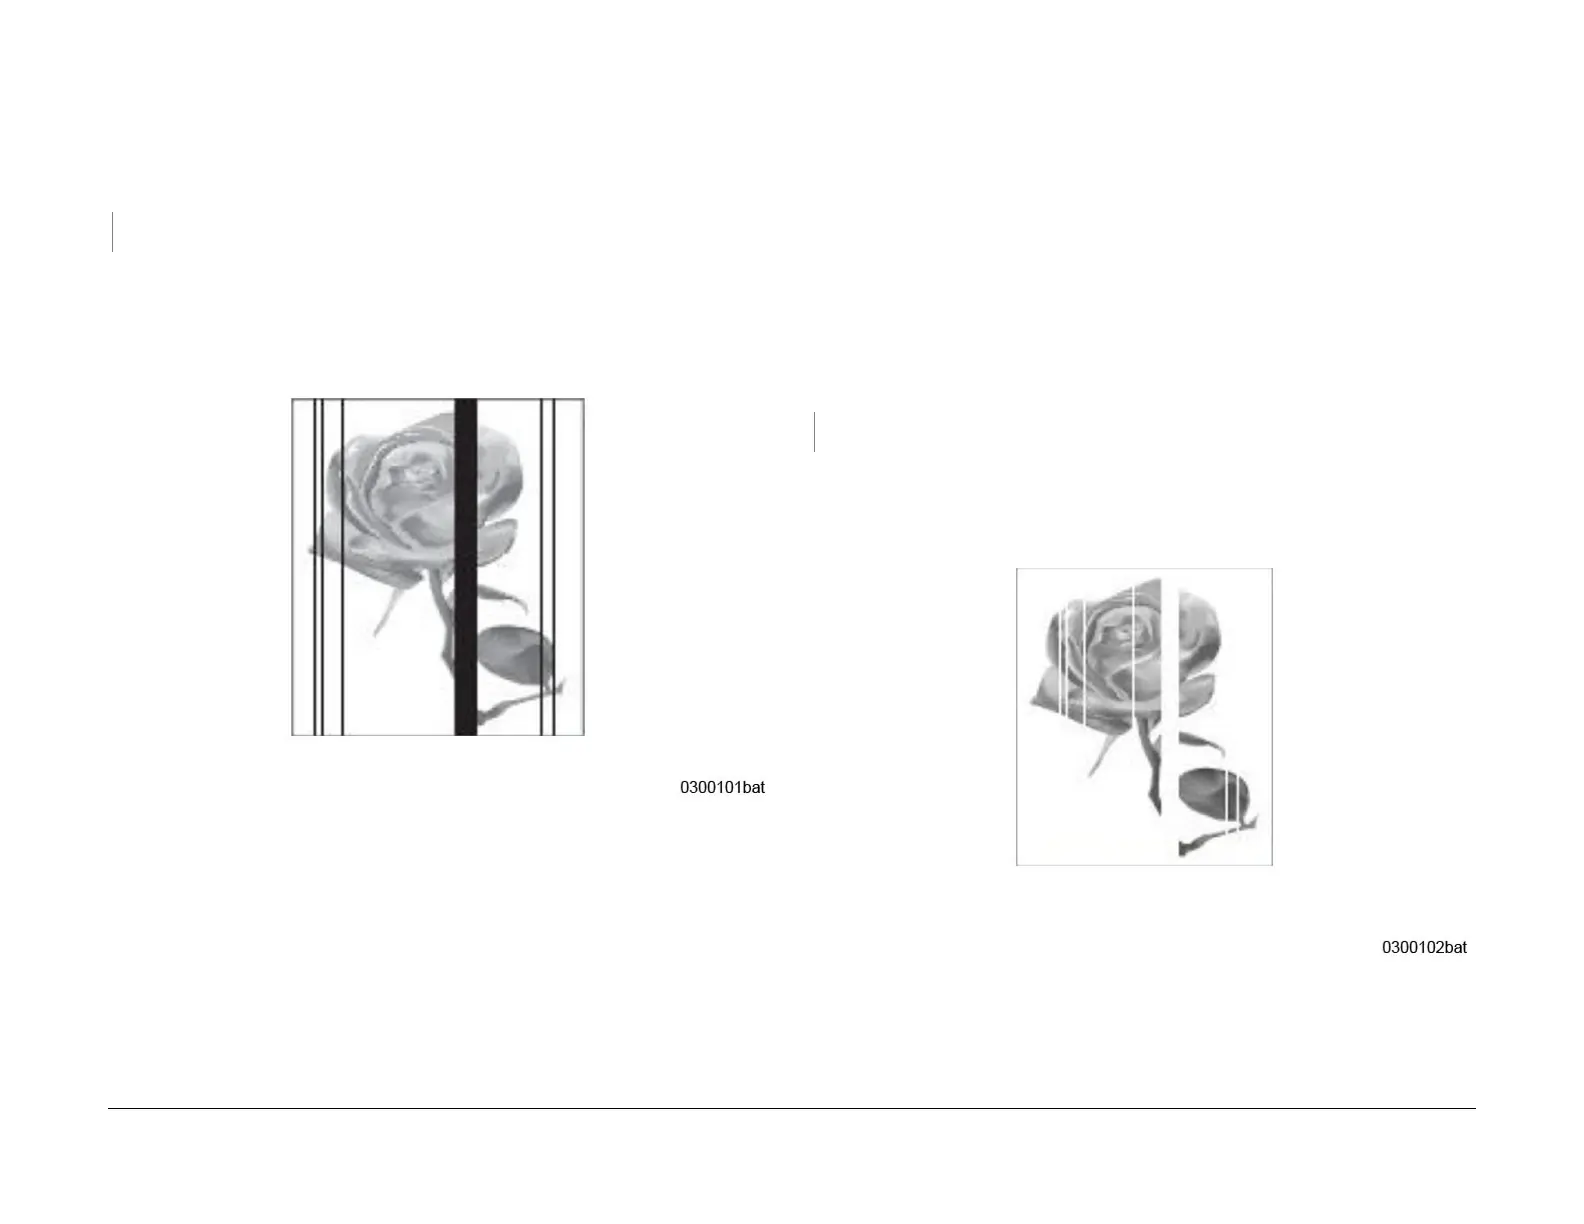
Thin white vertical lines or white vertical bands occur in the printed image, Figure 1.
Initial Actions
• Check the life of the Drum Cartridge, refer to GP 2, Machine Reports.
Install a new Drum Cartridge if it is at end of life, refer to the Xerox® B210 User Guide,
Sec
tion 6 Maintenance, General Care, for detailed instructions on how to Install a ne
w
Dr
um Cartridge.
• Clean the surface of the LSU window with a clean cotton swab and recomm
ended
cleaner
.
Procedure
Switch off the printer.
Check the space between the LSU and the Drum Cartridge, remove any debris or blockage.
Switch on the power, then make a test print. The defect is gone.
YN
Install a new Fuser Module, PL 5.
1 Item 26.
Switch on the machine, then perform SC
P 04, Final Actions.
Figure 1 White lines and bands
 Loading...