July 2019
4-4
Xerox® B210 Service Manual
REP 1.1, REP 1.2
Initial Release
Repairs - Adjustments
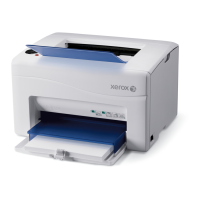
3. Run the USB Serial Number Writing Tool application. (Download the USB Serial Number
writing application to the PWS from the GSN website). Ref. GP 9.
a. Double-click the executable file and follow the steps listed in the USB Serial applica-
t
ion window to write the machine serial number, on Configuration Report in Step 1 of
the
removal, to the new Main PWB, Figure 2.
NOTE: Select
the [Check USB] button to ensure that there is a good USB connec-
tion BEFORE entering the serial number. If the connection is good, “USB Success,”
will dis
play in the area above the button. If there is an problem with the USB connec-
tion, “USB Fail” will display.
Figure 2 PWB Serial Number Screen
4. After successfully entering the serial number, exit the PWB Serial Number writing applica-
tion.
5. Perform a [Memo
ry Clear] operation.
a. Machine should be in IDLE state, no pending jobs in Job Q.
b. Open the Front door and Press the Stop key for 15-20 Seconds.
c. Close the front door, and device will perform a Memory Clear.
d. The process may take 1-2 mins to complete the Memory Clear, the device
will then
reboot.
e
. The device will print Config report after reboot.
6. Print a Configuration Report and check that the original machine serial number is dis-
played under the “Device Profile” heading.
NOTE: Performing a [Cle
ar All Memory] sets the SA Password back to the default value
(device serial number). Inform the customer to reset SA Password as desired.
REP 1.2 WiFi PWB
Parts List on PL 1.1
Removal
1. Switch off the machine, then disconnect the power cord.
2. Remove the Left and Right Side Covers, REP
2.2.
3. Remove the Rear Cover, RE
P 2.3.
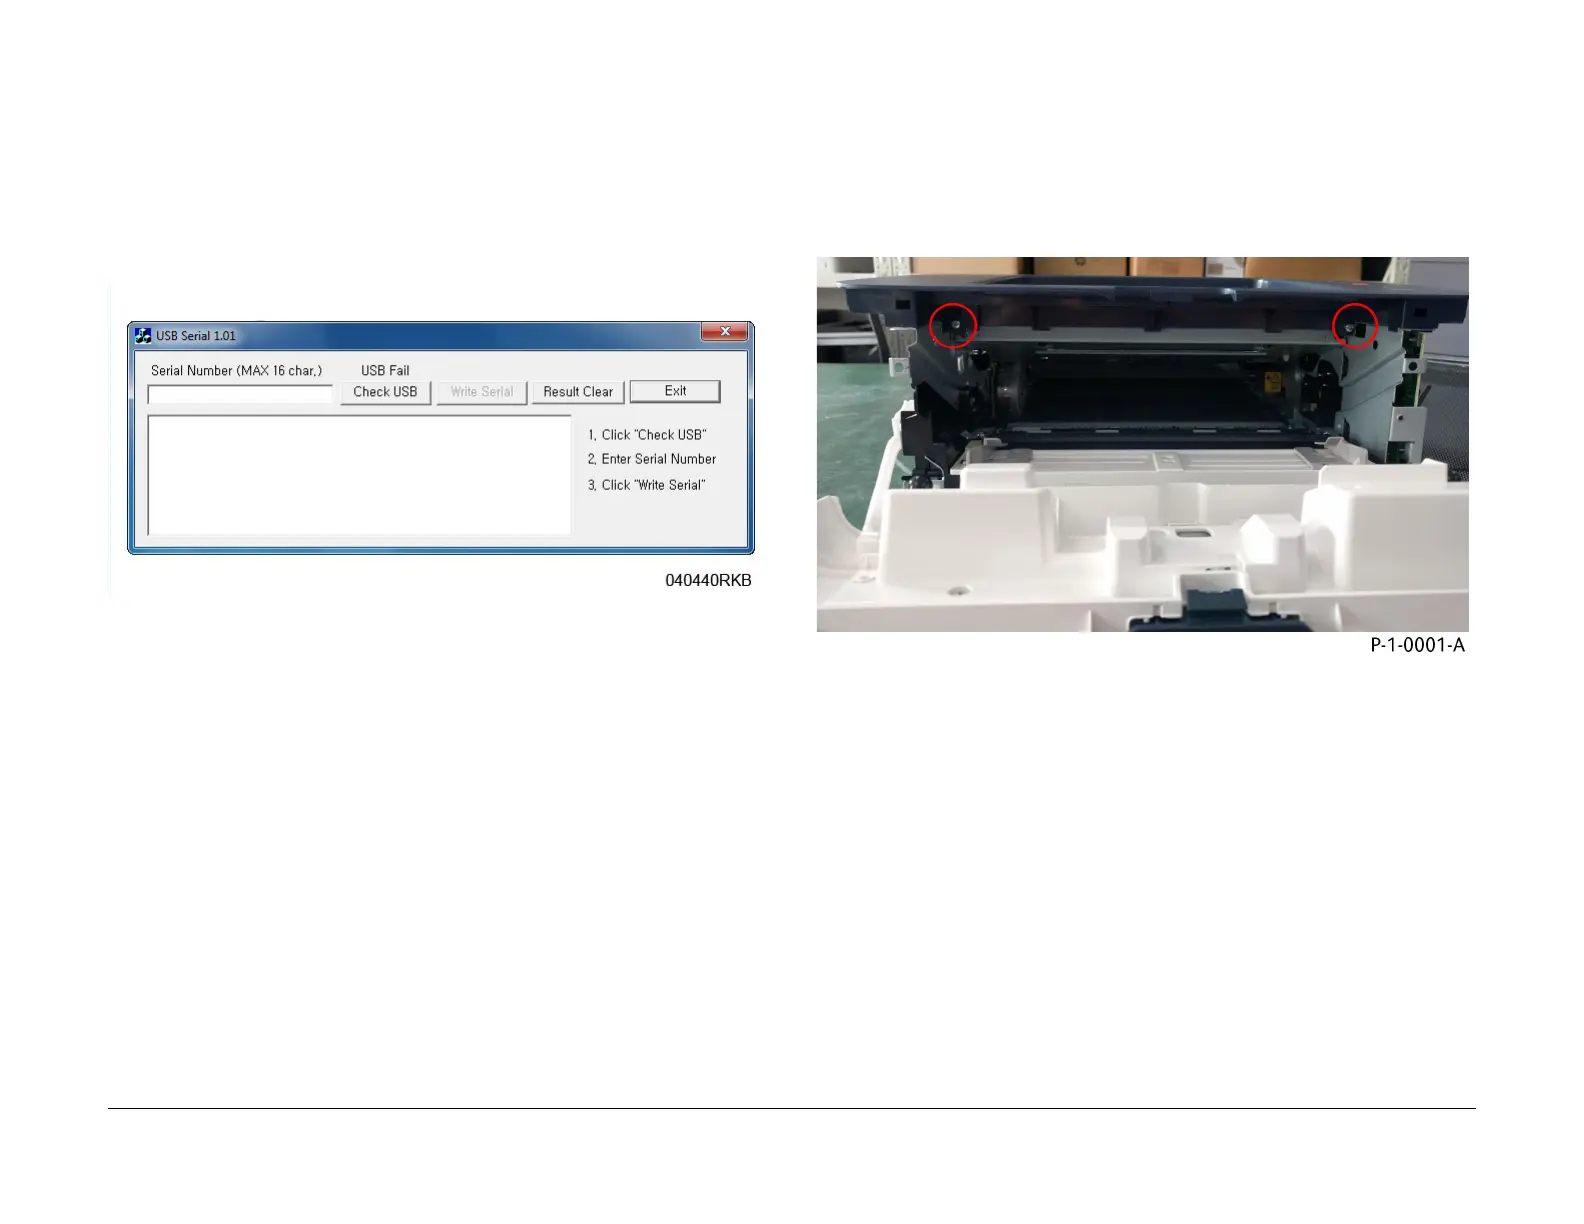
4. Open the Front Cover Door, then remove two screws from the Top Cover, F
igure 1.
Figure 1 Top cover screws removal
NOTE: After performing a Memory Clear, inform the customer that they will need to re-estab-
lish their Wireless or Ethernet connection.
 Loading...