19
SETUP
CONFIGURATION
Most of the functionality of the display is
not available until the basic setup
process is completed.
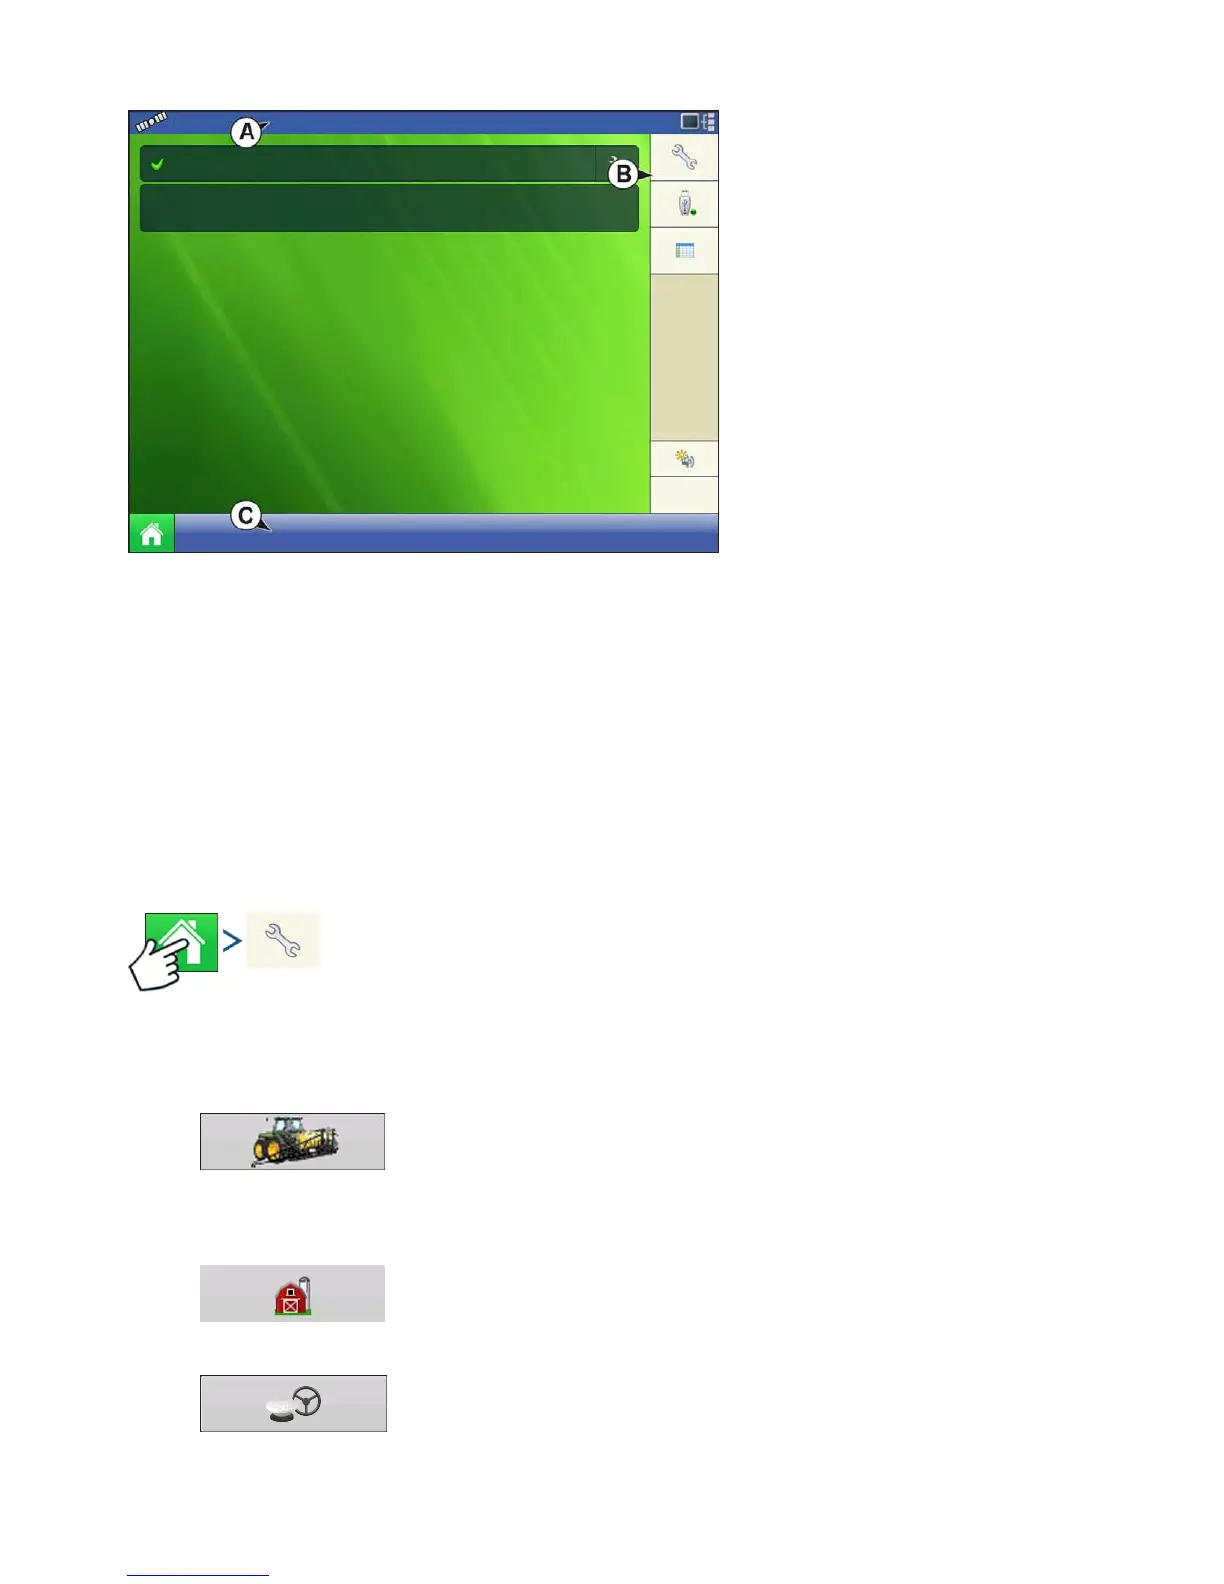
(A) Status bar
(B) Setup button
(C) Task bar
You must complete these initial
configuration steps for the Run Time
Environment to be active:
1. Grower, Farm, and Field
management
For more information, See “Management
button” on page 34.
2. Equipment Operating Configuration
You can access Configuration Setup by pressing the Setup (wrench) button (B) at the upper right-hand
portion of the Home screen. For more information, see
“Configuration button” on page 24
.
3. Product setup
For more information, see
“Product tab” on page 25
, as well as the additional configuration information
described in each Operations chapter.
4. Select Event
For more information,
“Setup Event” on page 49
.
SETUP BUTTONS
Press: Home button > Setup (wrench) button
The Setup buttons are used to toggle between screens that adjust settings for Configuration,
Management, GPS and display.
• Configuration button
Press to adjust the configuration settings particular to your vehicle and
equipment; as well as enter and edit product information. For more information,
see
“Product tab” on page 25
, as well as
“Configuration Setup Screen” on page 48
.
• Management button
Press to access and edit Grower, Farm, Field and Operator information. For more
information, see
“Management button” on page 34.
• GPS button
Press to adjust Guidance settings, GPS settings, and lightbar settings (if
applicable). For more information, see
“Guidance” on page 117
.
Select Event
12:25:14 PM
5/10/2012
Guidance