3-34 Agilent 4155C/4156C User’s Guide Vol.1, Edition 11
Connecting to Network
If You Use a Windows PC
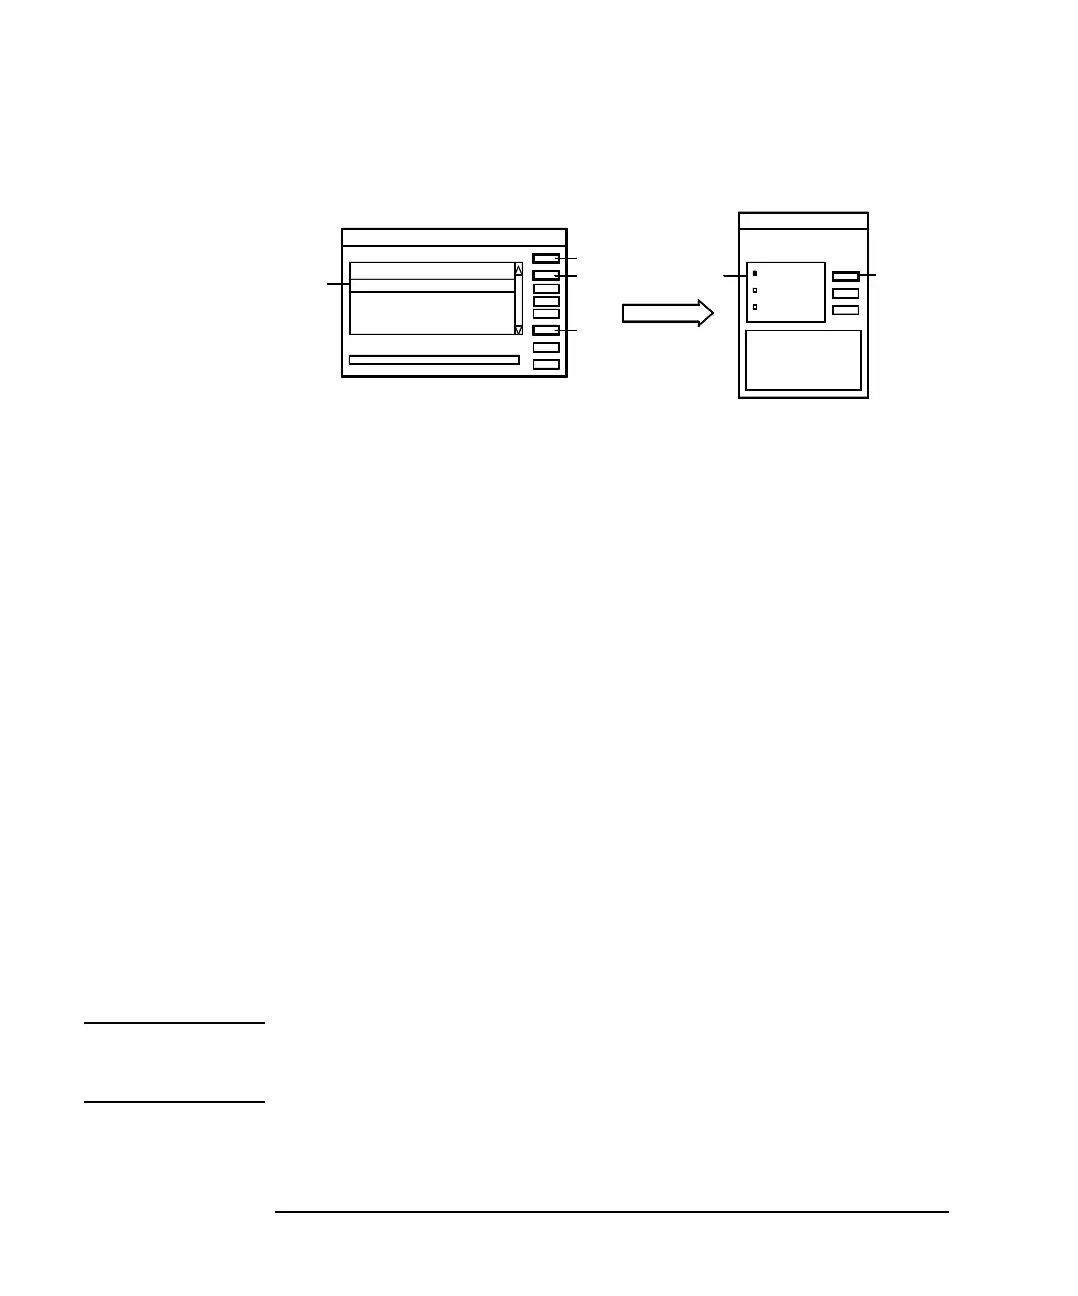
Figure 3-16 Enabling Print Server
Step 3. Services
1. Double-click the Services icon to open the Services dialog box. See Figure 3-16.
2. Click TCP/IP Print Server.
3. Click Startup to open the TCP/IP Print Server dialog box.
4. Set Automatic.
5. Click OK.
6. Click Start.
7. Click Close.
Step 4. Add Printer
If a remote printer is not defined in the computer, or you want to add a new printer,
use the Add Printer Wizard. This wizard will guide you in adding a new printer. Step
through the Add Printer Wizard. You will not need special instruction. Here is how
to open the Add Printer Wizard.
1. Click Start, Settings, and Printers to open the Printers folder.
2. Double-click the Add Printer icon. The Add Printer Wizard opens.
NOTE Do not forget sharing the printer, and its share name used to specify the printer. For
the share name, a maximum 15 alphanumeric characters is available. The first
character must be a letter of the alphabet.
Close
Start
Startup
Service
OK
Automatic
Manual
Disabled
TCP/IP Print Server
Services
Startup Paramters
TCP/IP NetBIOS
Started
TCP/IP Print Server
Telephony Service
Started
UPS
Workstation
Started
Service
Status
Auto
Auto
Auto
Startup
Manu
2
3
6
7
5
4
 Loading...