47
Making an Attenuation Sweep
Configuring the Hardware
3.1 Configuring the Hardware
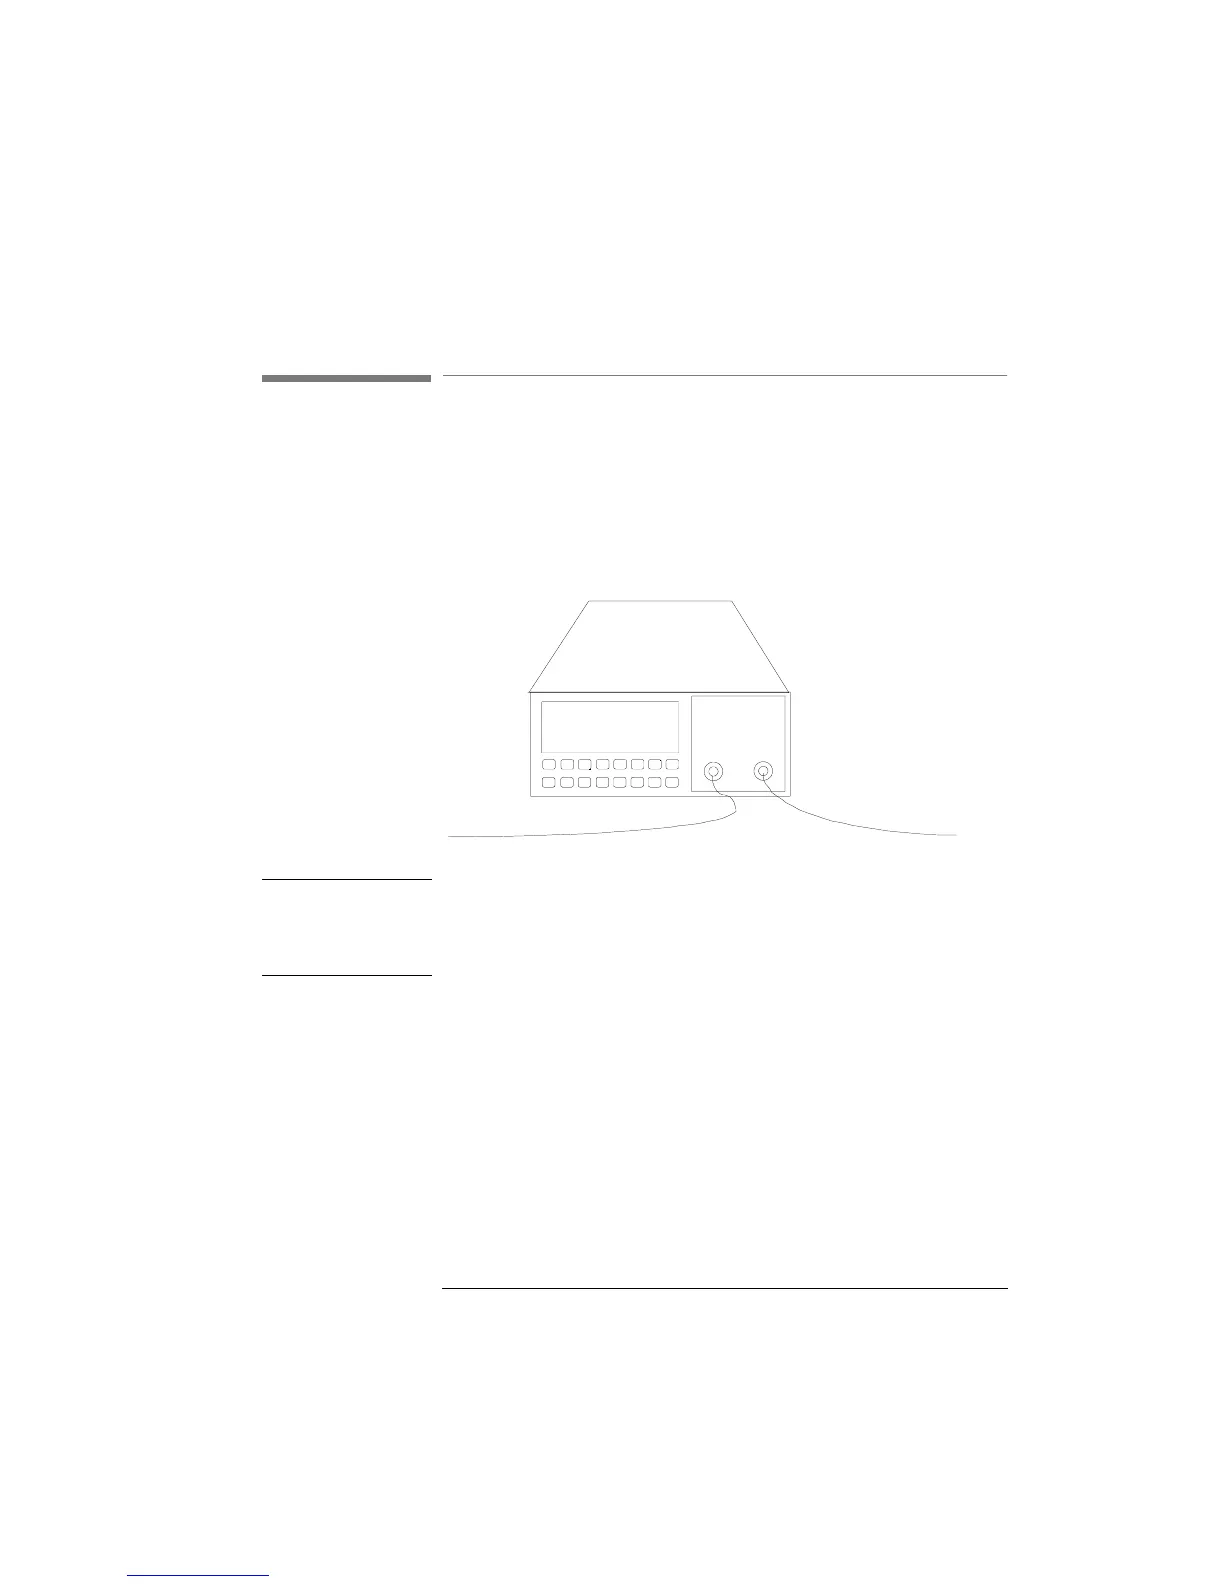
To use the attenuator for a sweep, you need to set up the hardware
as shown in the figure below. (This is the configuration as given for
simple attenuation in chapter 2).
Figure 3-1 The Hardware Configuration for the Attenuator
NOTE Before using the instrument, you should make sure that it is properly
warmed up. The instrument is properly warmed up when it has been
switched on for a minimum of 45 minutes. Failure to do this can cause
errors of up to 0.04dB in the attenuation.
The connector interface you need depends on the connector type
you are using (see “Connector Interfaces and Other Accessories”
on page 158).
If you have option 121 or option 221 (the monitor output), then the
Monitor Output provides a signal for monitoring the power getting
through the attenuator. The signal level is approximately 5% of the
output power level. For the most accurate results, you should
measure the coupling ratio, and its wavelength dependence, for the
Monitor Output yourself.
Artisan Technology Group - Quality Instrumentation ... Guaranteed | (888) 88-SOURCE | www.artisantg.com