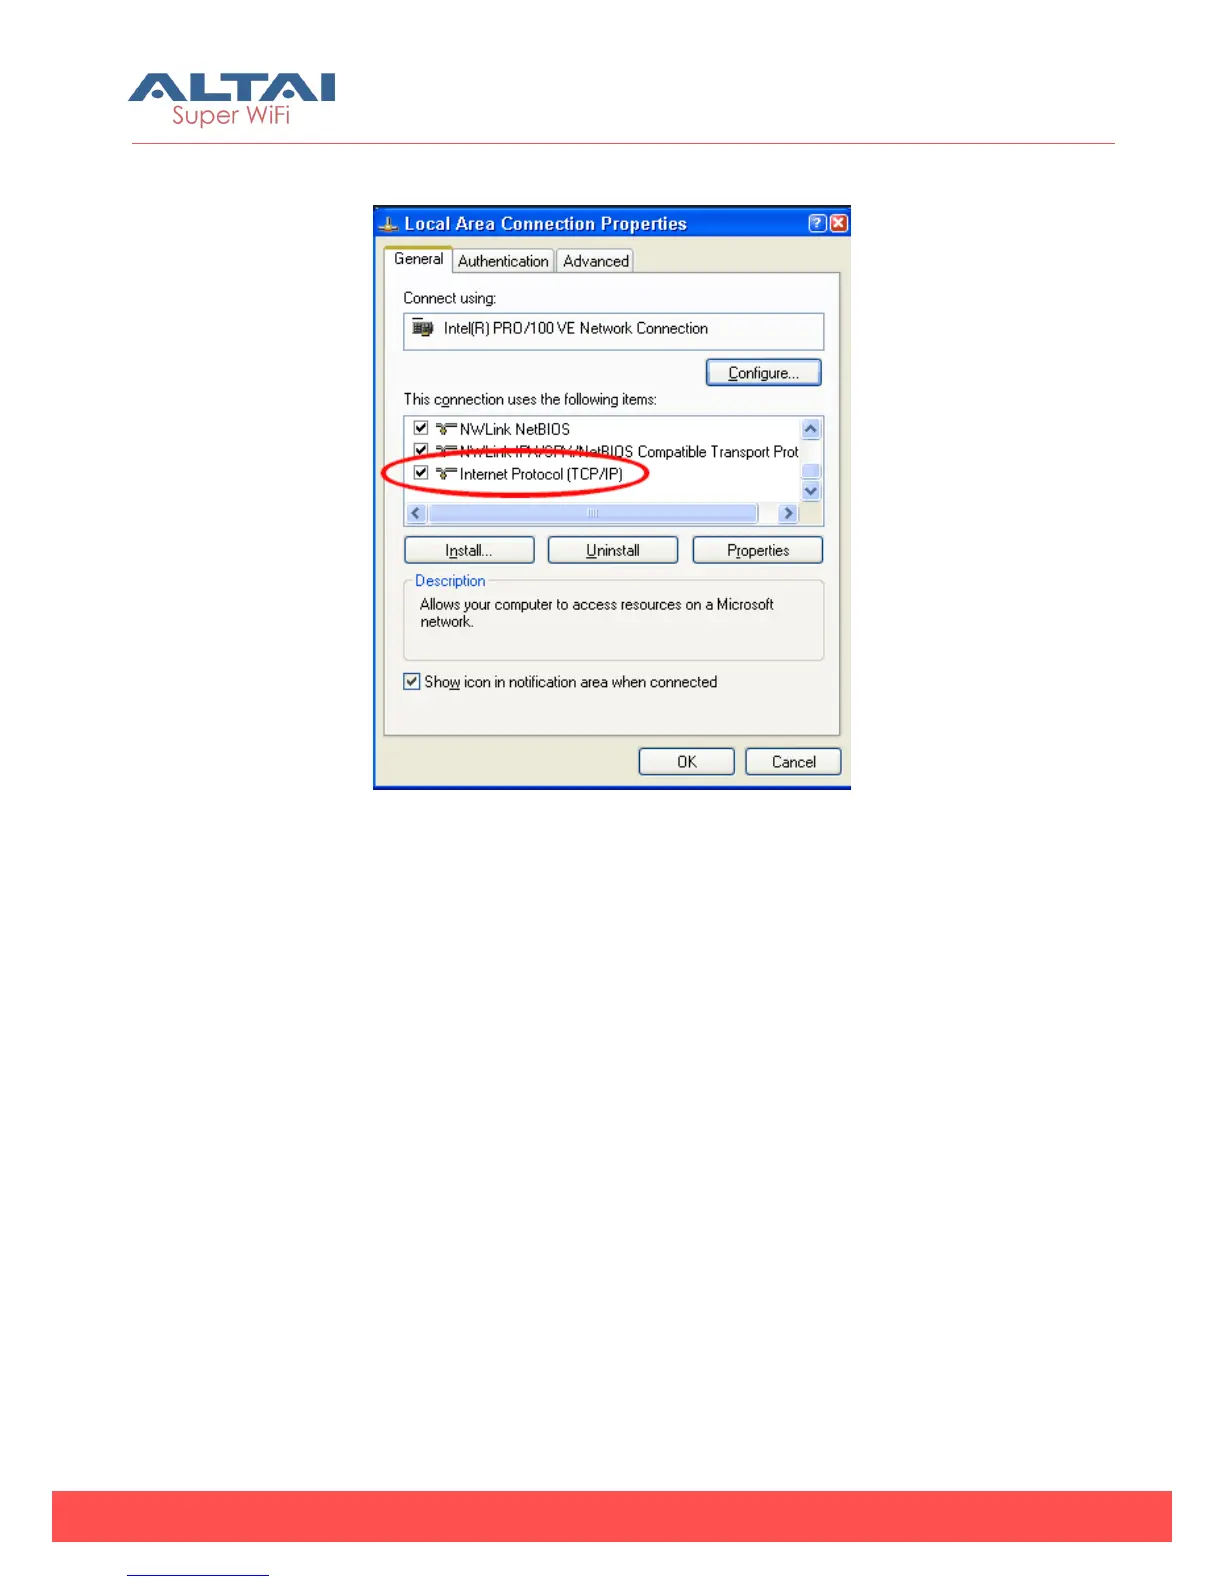
4. After clicking “Properties”, you will see the diagram as below.
Figure 3-3 Local Area Connection Properties in Windows XP
5. Mark the “Internet Protocol (TCP/IP)” and click “Properties”.
6. Type in an “IP address”, for example, 192.168.1.2, which is under the same
subnet as the Default IP Address of A2n Access Point/Bridge (192.168.1.222).
7. Using the default “Subnet mask” (default: 255.255.255.0) setting in the first time.
8. Keep the “Default gateway” as “Blank”.
9. Keep the “Preferred DNS server” and “Alternate DNS server” as “Blank” also.
10. Click “OK” when you finish setting and close the Window.