5.1 Achieving Error-Free Data Transmission
5-3
5
12. On the
tab of MP1861A, click the
button (
).
13. On the
tab of MP1862A, click the
button (
).
14. Turn on the output from MP1861A by click the
module
function button (
) or pressing the
key on the front panel
of MP1800A.
15 Click the
module function button ( ).
16. In the Auto Search window, select the
check box in
the
column, and then click
.
Refer to Section 4.5 “Executing Auto Search” in the
MP1862A
56G/64G bit/s DEMUX Operation Manual
.
17. Click the
module function button ( ).
18. On the
tab of MP1862A, check the measurement results.
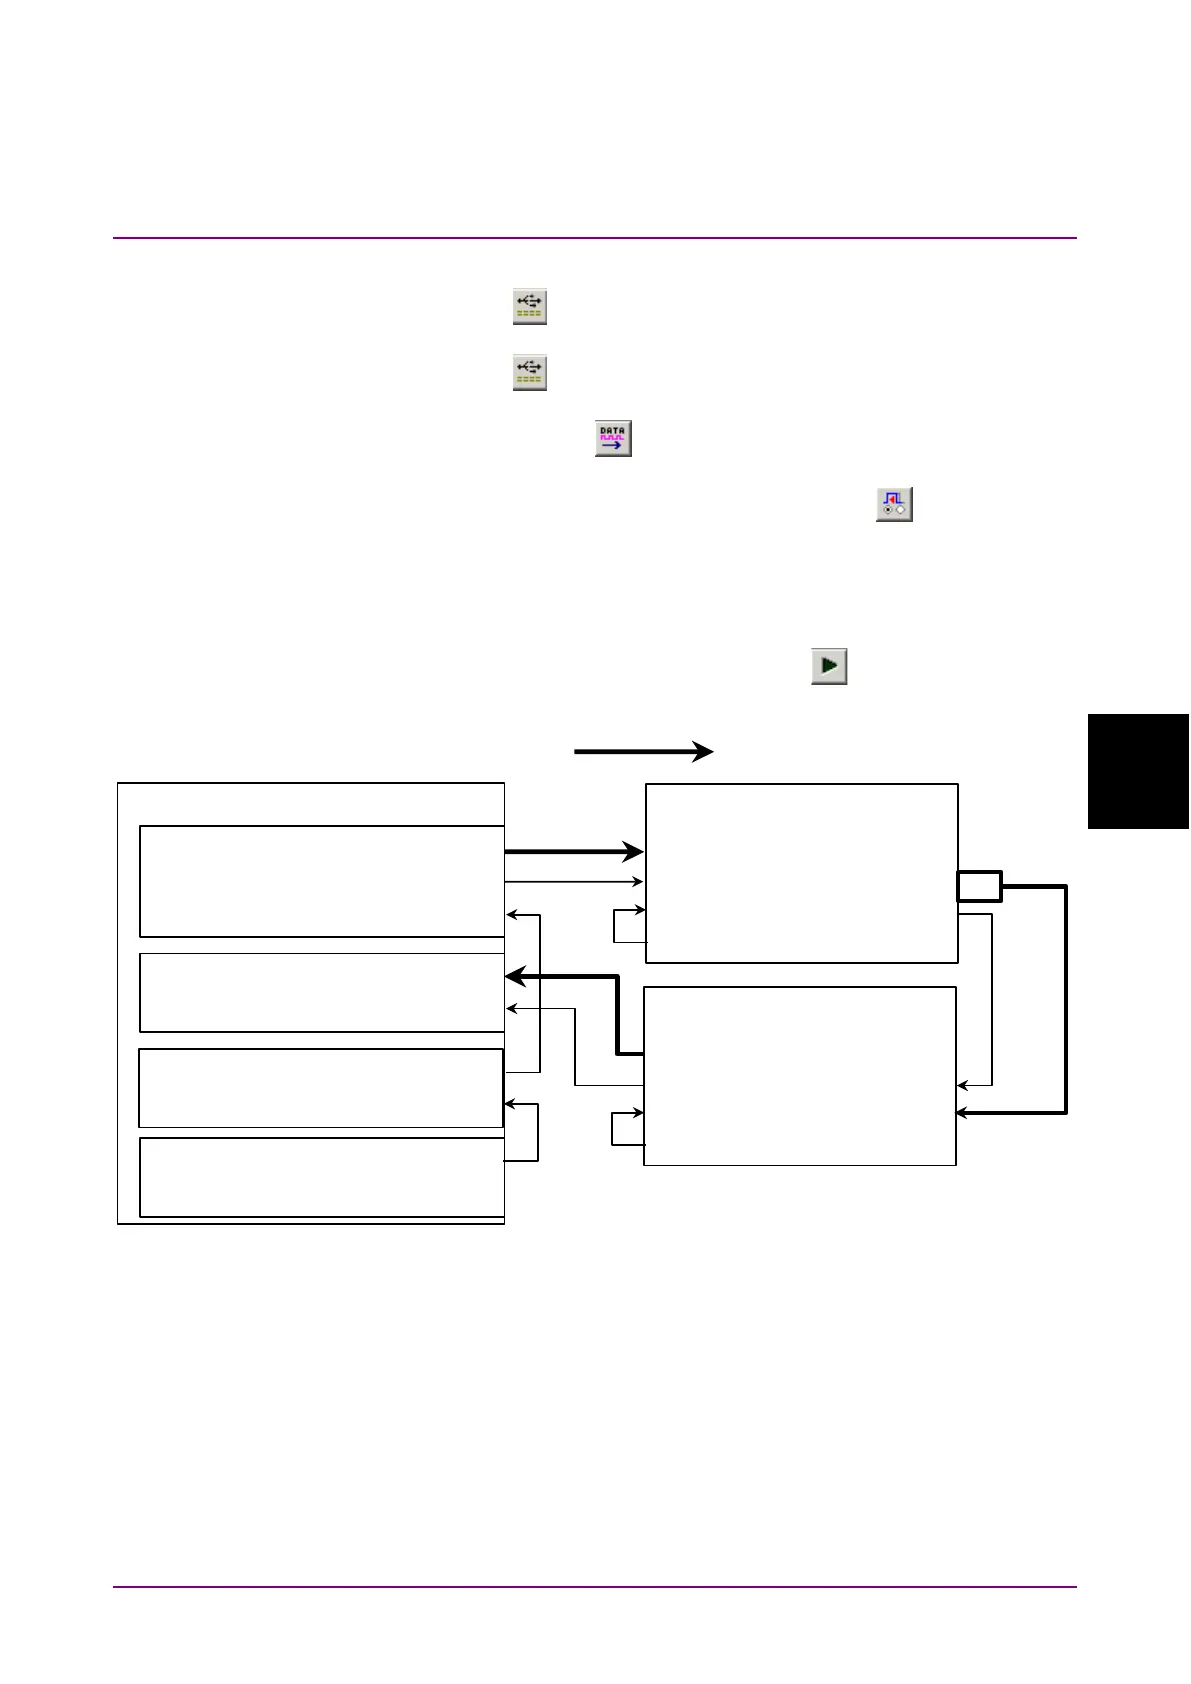
Figure 5.1-1 Equipment Connection for Error-Free Check
MP1800A
MU18302xA
Ext Clock Input
Clock Output
MU18304xB
Ext Clock Input
MU181000A Clock Output
MP1861A
Data Output1/2
Data Input1/2
Data Input1/2
Ext Clk Input
Data Output
Mux Clk Input
Delayed Clk Output
Clk Output1/2
MP1862A
Data Output1/2
½ Clk Output
Data InputDemux Clk Input
Delayed Clk Output
Ext Clk Input
32G Data×2
MU181500B Jittered Clock Output
Ext Clock Input
J1658A
J1652A
J1654A
J1654A
ATT
J1668A
J1657A
J1656A