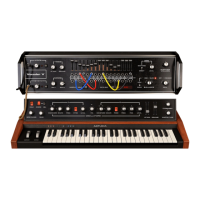
Increase the decay time for the filter envelope
You can now save your sound by clicking on the “Save As” situated on the left of the
toolbar. It will be useful as a base template for programming lots of other sounds.
7.1.2 A 3 oscillators lead sound
Keeping the current sound and we will now go a little further and create a rich lead sound.
It will be composed of:
3 oscillators
A low-pass filter (Filter)
An output VCA (Output)
The envelope corresponding to the filter
The envelope corresponding to the output amplifier (Loudness Contour)
Start by again increasing the “Decay” time for the filter envelope so as to prolong the
fall of the cut-off frequency. By using a value somewhere around 2000ms, the sound
will seem “brighter”.
So as to hear the sound from the 2 other oscillators, click on the 3
rd
and 5
th
blue
“Mixer” switches.
Change the range of oscillator 3 with the “range” switch. Set it to 4’ for example.
The sound takes another form. Don’t hesitate in changing the waveforms of the three
oscillators to hear the different tones that result. You can also change the volume of these
oscillators to create a different balance.
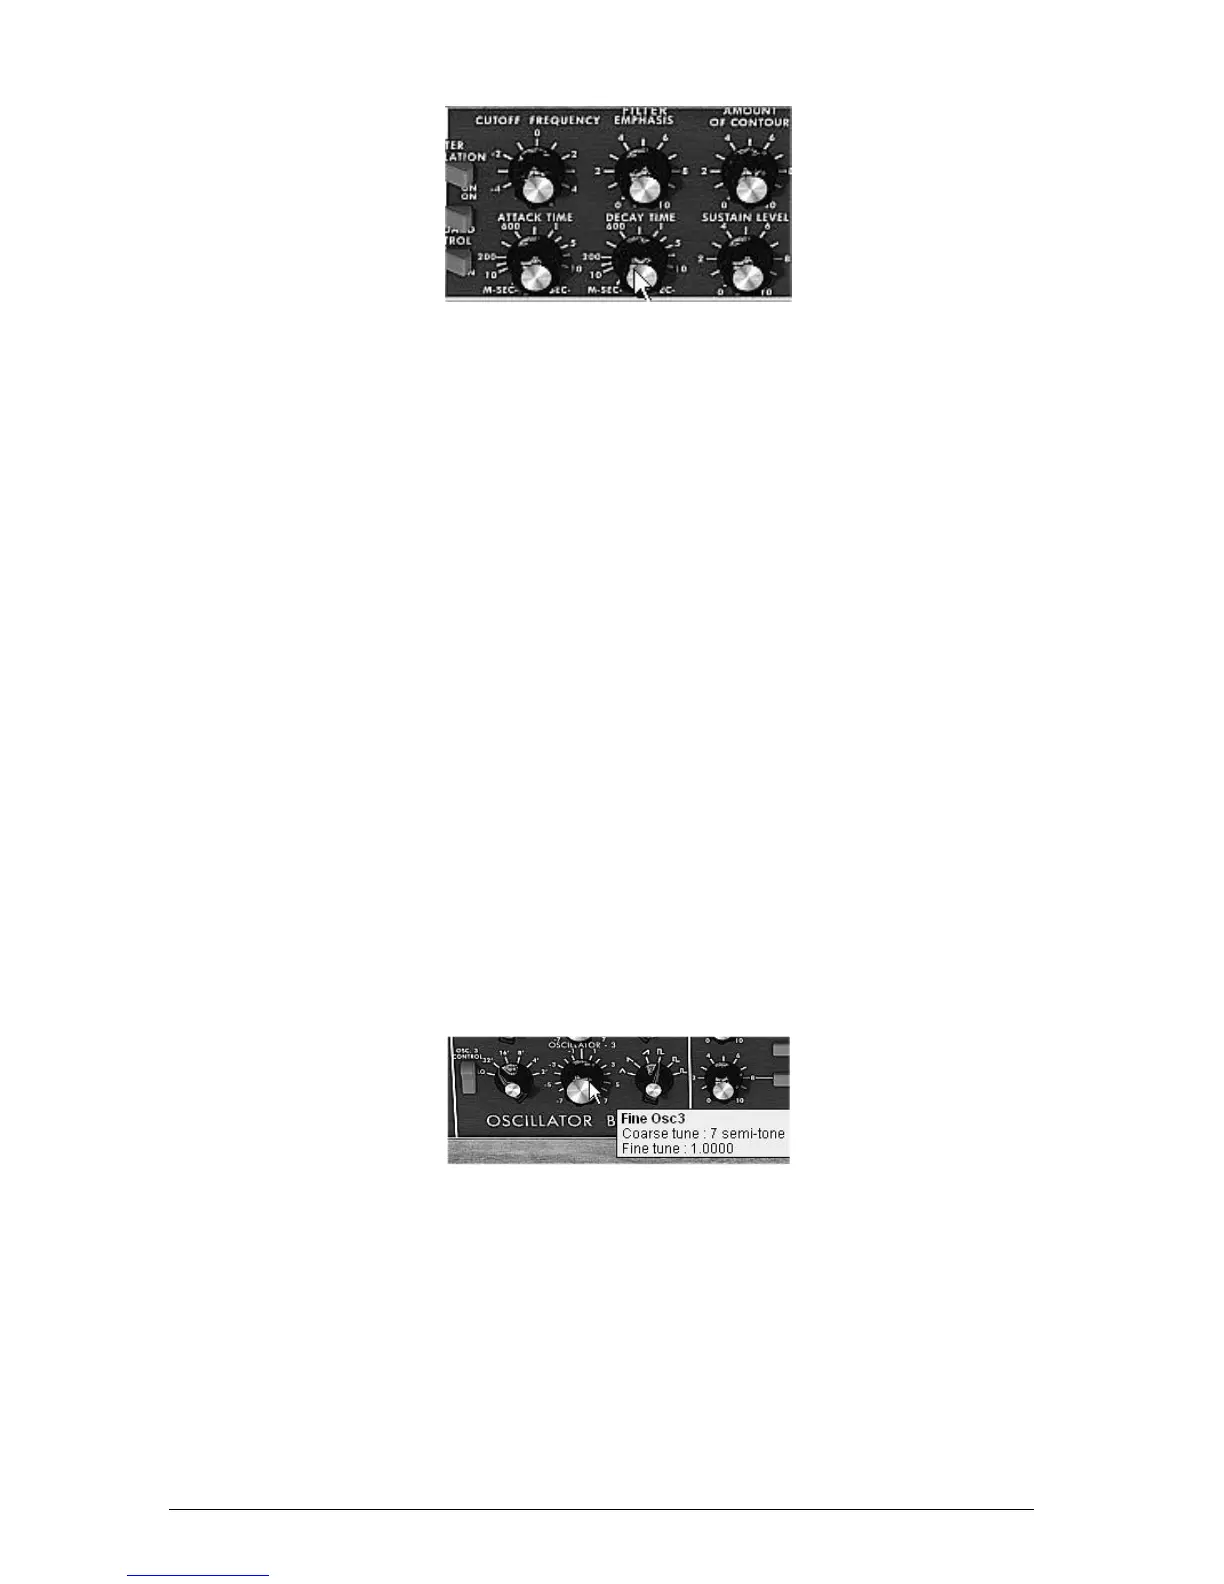
Now change the coarse tone of oscillator 3 to give it another tone. For this, click on
the central knob with the right mouse button and turn it gently to the right until you
reach the value “7 semi tone”.
Change the coarse tone of oscillator3
Lightly detune oscillator 2 from the two others by turning this same knob with the left mouse
button. The sound will begin to “move” slightly and sound “warmer”.
If you want a sound that is even “fatter”, click on the “Unison” switch which brings all of the
polyphonic voices to the same note. Lightly detune each of the polyphonic voices with the
“Voice detune” knob (“Output” section).
Here is how, in a few seconds, to transform a simple base sound into the kind of powerful
lead preset that made the 1971 Bob Moog’s monosynth so famous.
Save the preset with the “Save As” button in the toolbar.