Setting Up Your t180L / t180LB
Positioning Your t180L / t180LB
13
Step 3: Store Screws inside the Bracket
To store screws inside the bracket, please do the following:
NOTE
• It’s highly recommended to store screws inside the bracket when not needed
to prevent them getting lost.
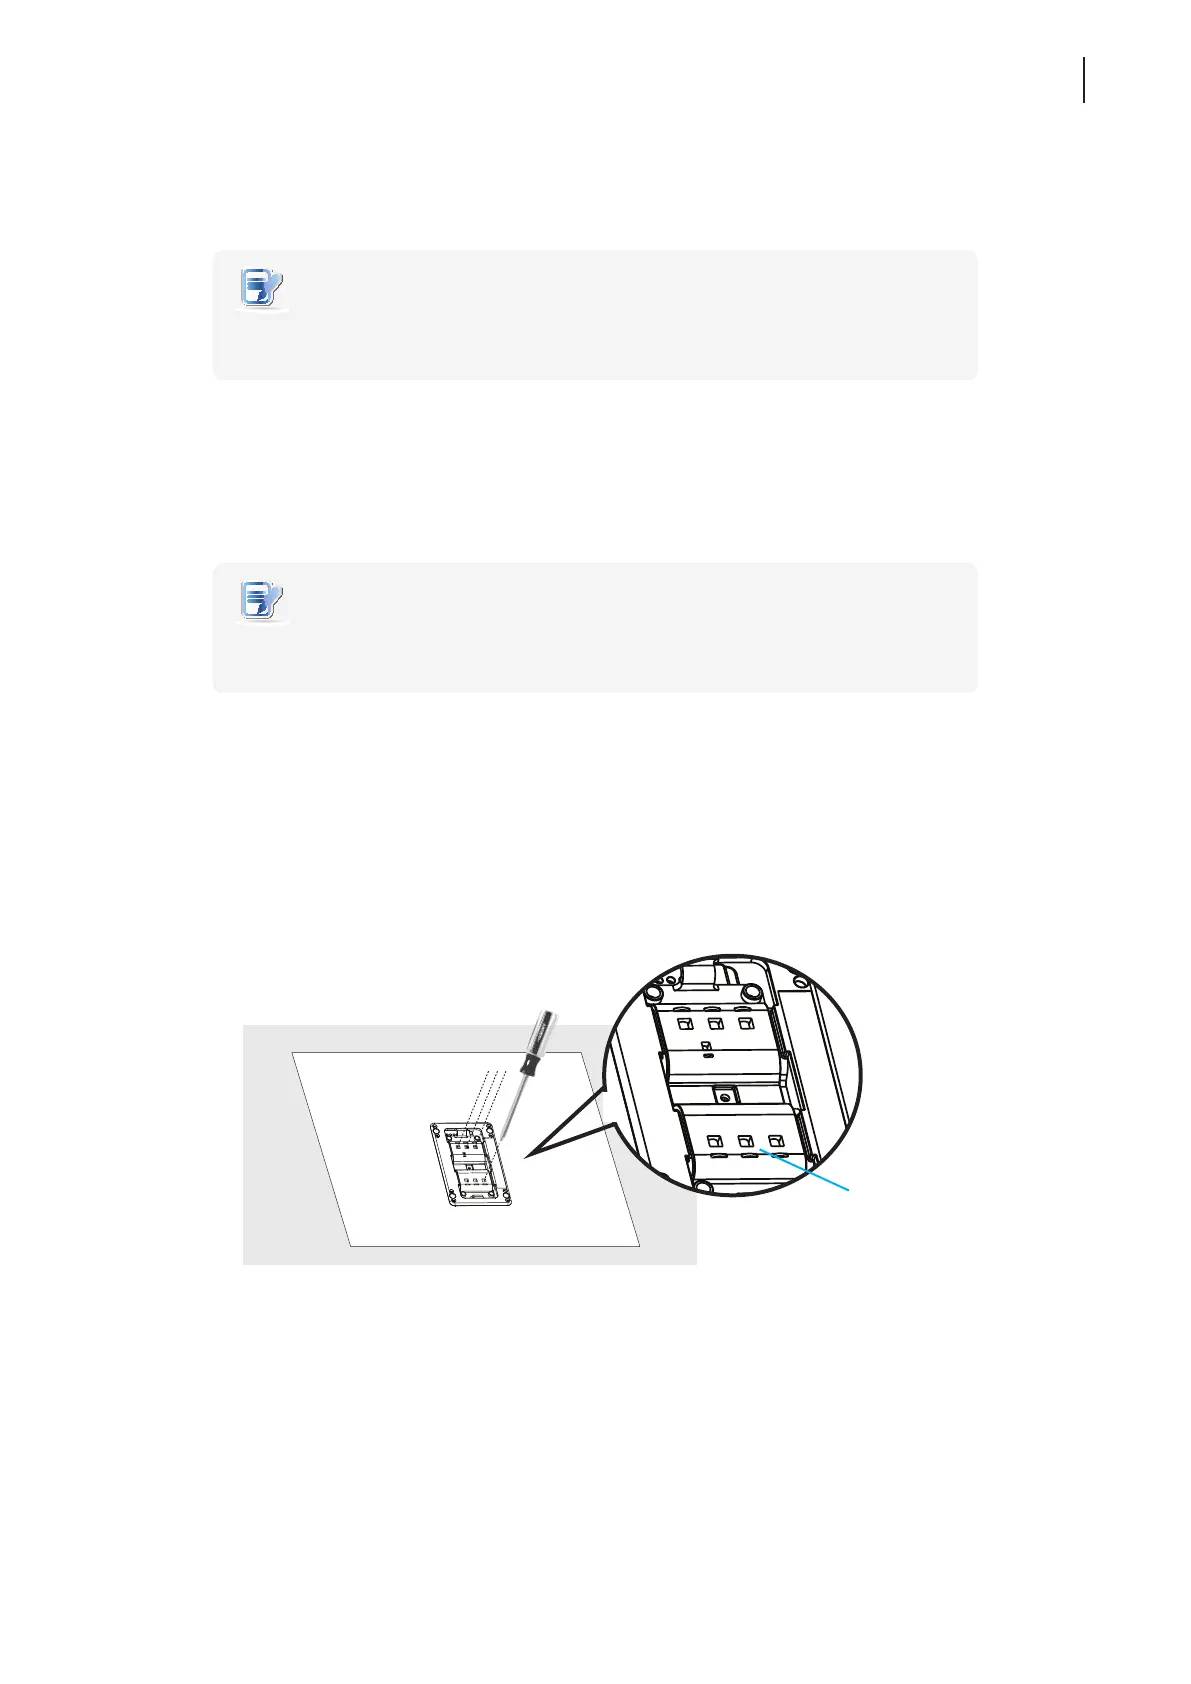
1. Place a sheet of paper or a piece of cloth on a at surface, and then put your bracket on that paper or cloth
with the screw storage side upward.
2. Place the screw upon its storage space, and push the screw into the space with your nger until it clicks
into place. For the smallest-size screw, use the tip of a screwdriver instead to push the screw.
NOTE
• Please refer to the gure and descriptions in “Step 2: Understand Your Stand / VESA
Mount Kit for t180L” for the correct storage space of each screw.
Step 4: Remove Screws from the Bracket
To remove screws stored inside the bracket, please do the following:
1. Place a sheet of paper or a piece of cloth on a at surface, and then put your bracket on that paper or cloth
with the screw storage side downward.
2. Insert the tip of a screwdriver into the square holes to remove the desired screws from the bracket.
Square Hole