Conguring Client Settings
Conguring Network Settings
92
4.5.3 Conguring Wired Network Settings
The Ethernet setting enables you to congure the wired network settings for your t180L/t180LB thin client.
Enabling or Disabling the Ethernet Network Interface
To enable/disable the Ethernet network interface, please to the following:
1. On Atrust Client Setup, click Network > Ethernet.
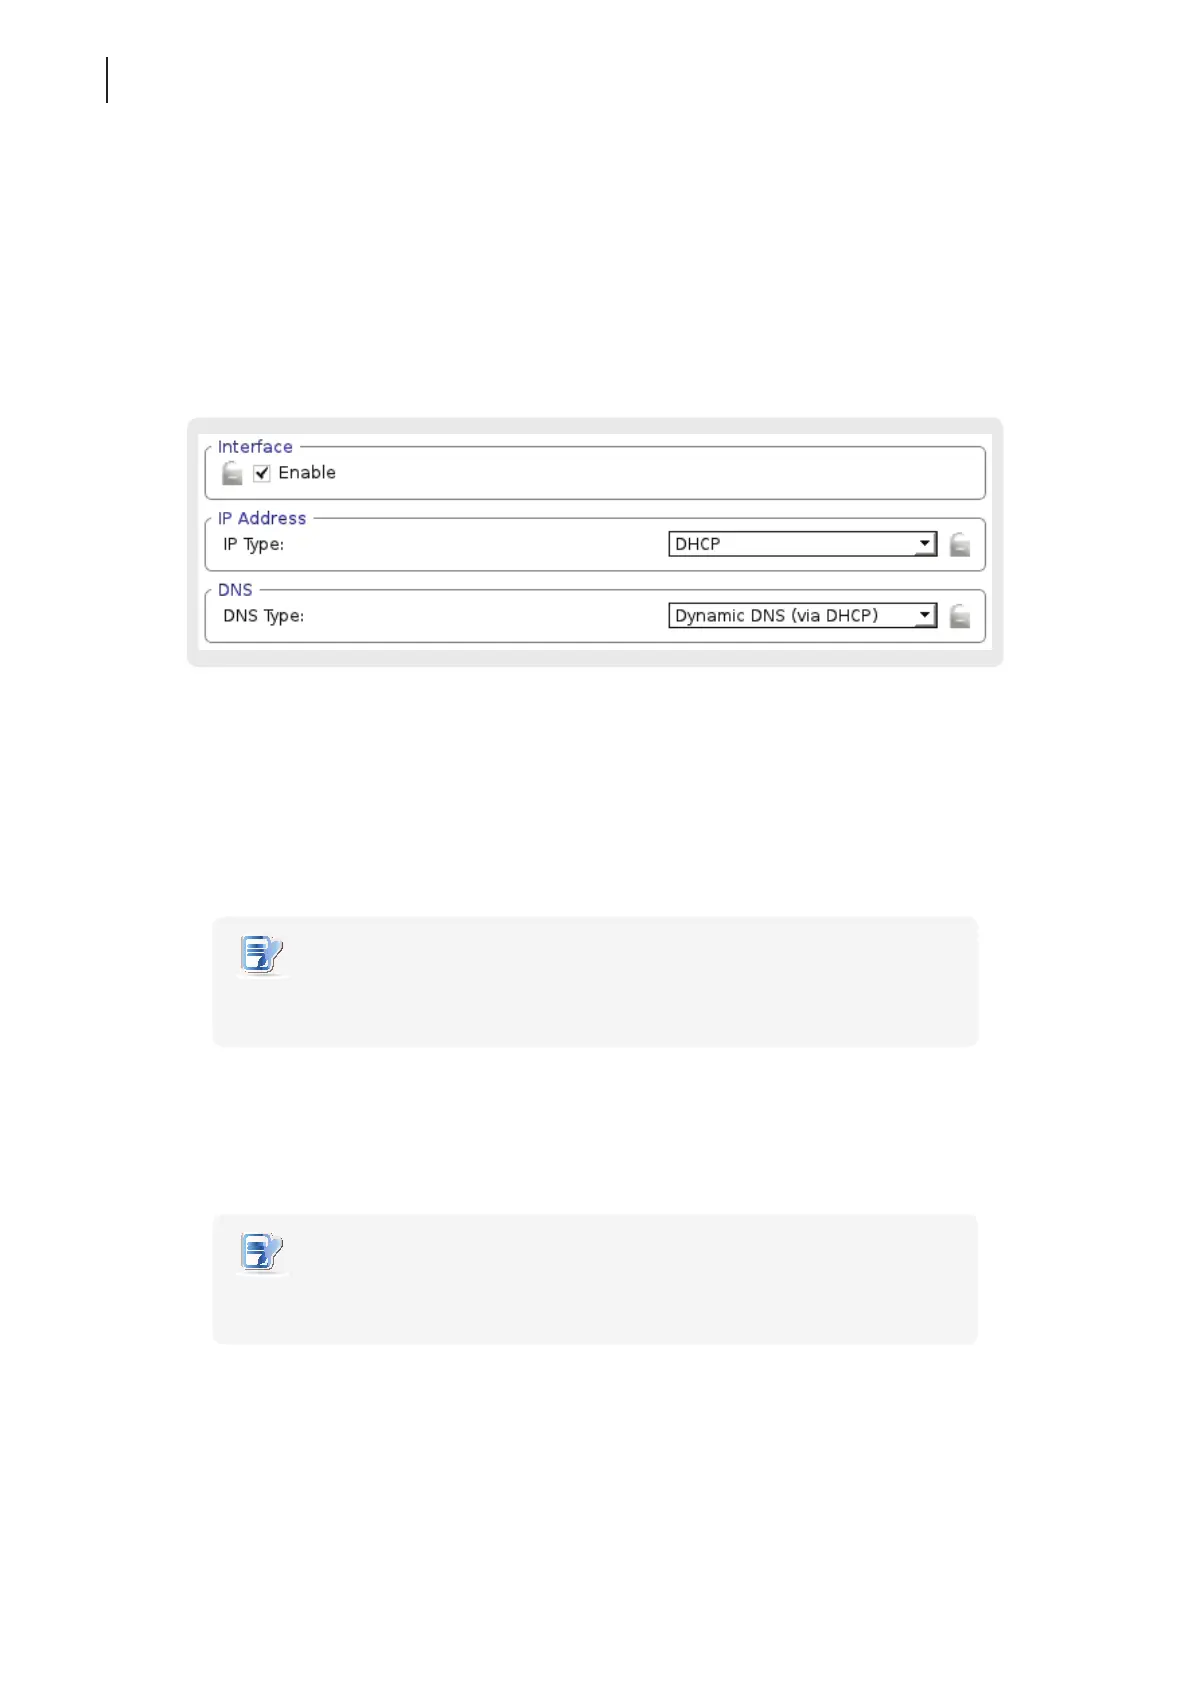
2. Under Interface section, check/uncheck Enable to enable/disable the Ethernet network interface.
3. Click Save to apply.
Using a Dynamic IP Address
To use a dynamic IP address, please do the following:
1. On Atrust Client Setup, click Network > Ethernet.
2. Under the IP address section, click the drop-down menu to select DHCP for the IP type eld.
NOTE
• If DHCP is selected, the DHCP server over the network will automatically assign an IP
address to your t180L/t180LB thin client. This is the default setting.
3. Click Save to apply.
Using a Static IP Address
To use a static IP address, please do the following:
NOTE
• It’s recommended to use a dynamic IP address for your t180L/t180LB thin client in a
corporate network environment.
1. On Atrust Client Setup, click Network > Ethernet.
2. Under the IP address section, click the drop-down menu to select Static IP for the IP type eld.
3. The IP address, Subnet mask, and Gateway elds appear in the IP address section.