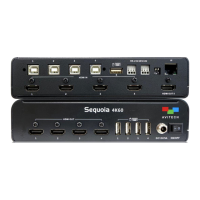
76
5.1 Video Wall Connection
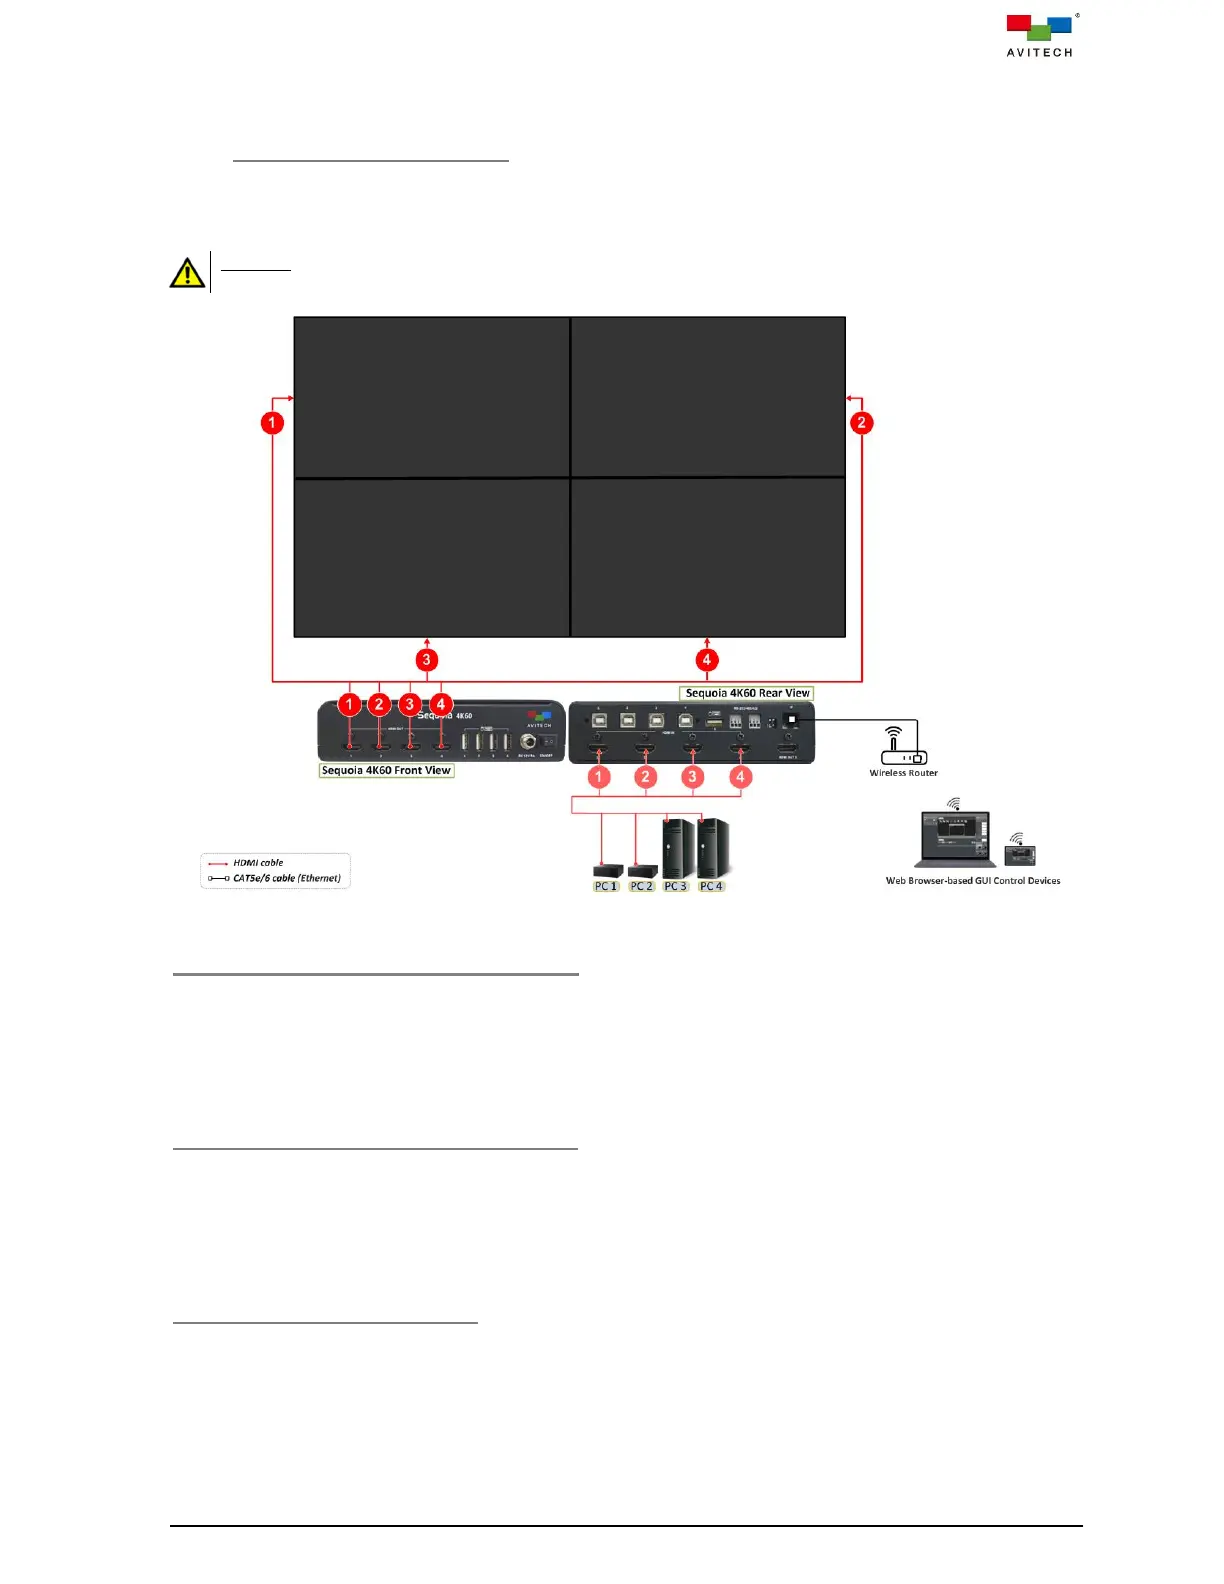
5.1.1 A 2x2 Video Wall Connection
The following figure shows a typical setup with a single Sequoia 4K60 that supports 4K UHD in a 2x2 PiP
Video Wall.
DO NOT block the vents on the front and side panels of the Sequoia 4K60. Doing so may impair its internal
components and/or its heat dissipation.
Figure 5.1.1.1 A 2x2 Video Wall Connection Diagram
Four Source Connections to Sequoia 4K60
Step 1. Connect the first video source’s display output to the port marked HDMI IN 1 on the rear panel of
the Sequoia 4K60 using the appropriate signal cables.
Step 2. Repeat previous step for other three video sources connect to the ports marked HDMI IN 2 – 4 of
the Sequoia 4K60 using the appropriate signal cables.
Connections to Video Wall 4K UHD Screen
Step 1. Connect the port marked HDMI OUT 1 on front panel of Sequoia 4K60 to the corresponding
video wall screen 1 using the appropriate signal cable.
Step 2. Repeat previous step for other three ports marked HDMI OUT 2 – 4 on the front panel of
Sequoia 4K60 to the corresponding video wall screen 2 – 4 using appropriate signal cables.
Connection to Control Device(s)
Step 1. Connect a standard CAT-5e/6 Ethernet cable to the port marked IP (Ethernet) on rear panel of
Sequoia 4K60, and connect the other end of the cable to the wireless router.