6-10
6.4.2.2 Upgrading Module Rack Software
1. First connect the SMR connection line to the multi-function interface of N12/M12/N15/M15/N17/M17 main unit
(the system software has been upgraded, and the main unit is off), connect the downloading network cable to the
N12/M12/N15/M15/N17/M17 main unit (the same as the connecting method for upgrade of the
N12/M12/N15/M15/N17/M15 main unit), and confirm that all the connection lines are connected correctly.
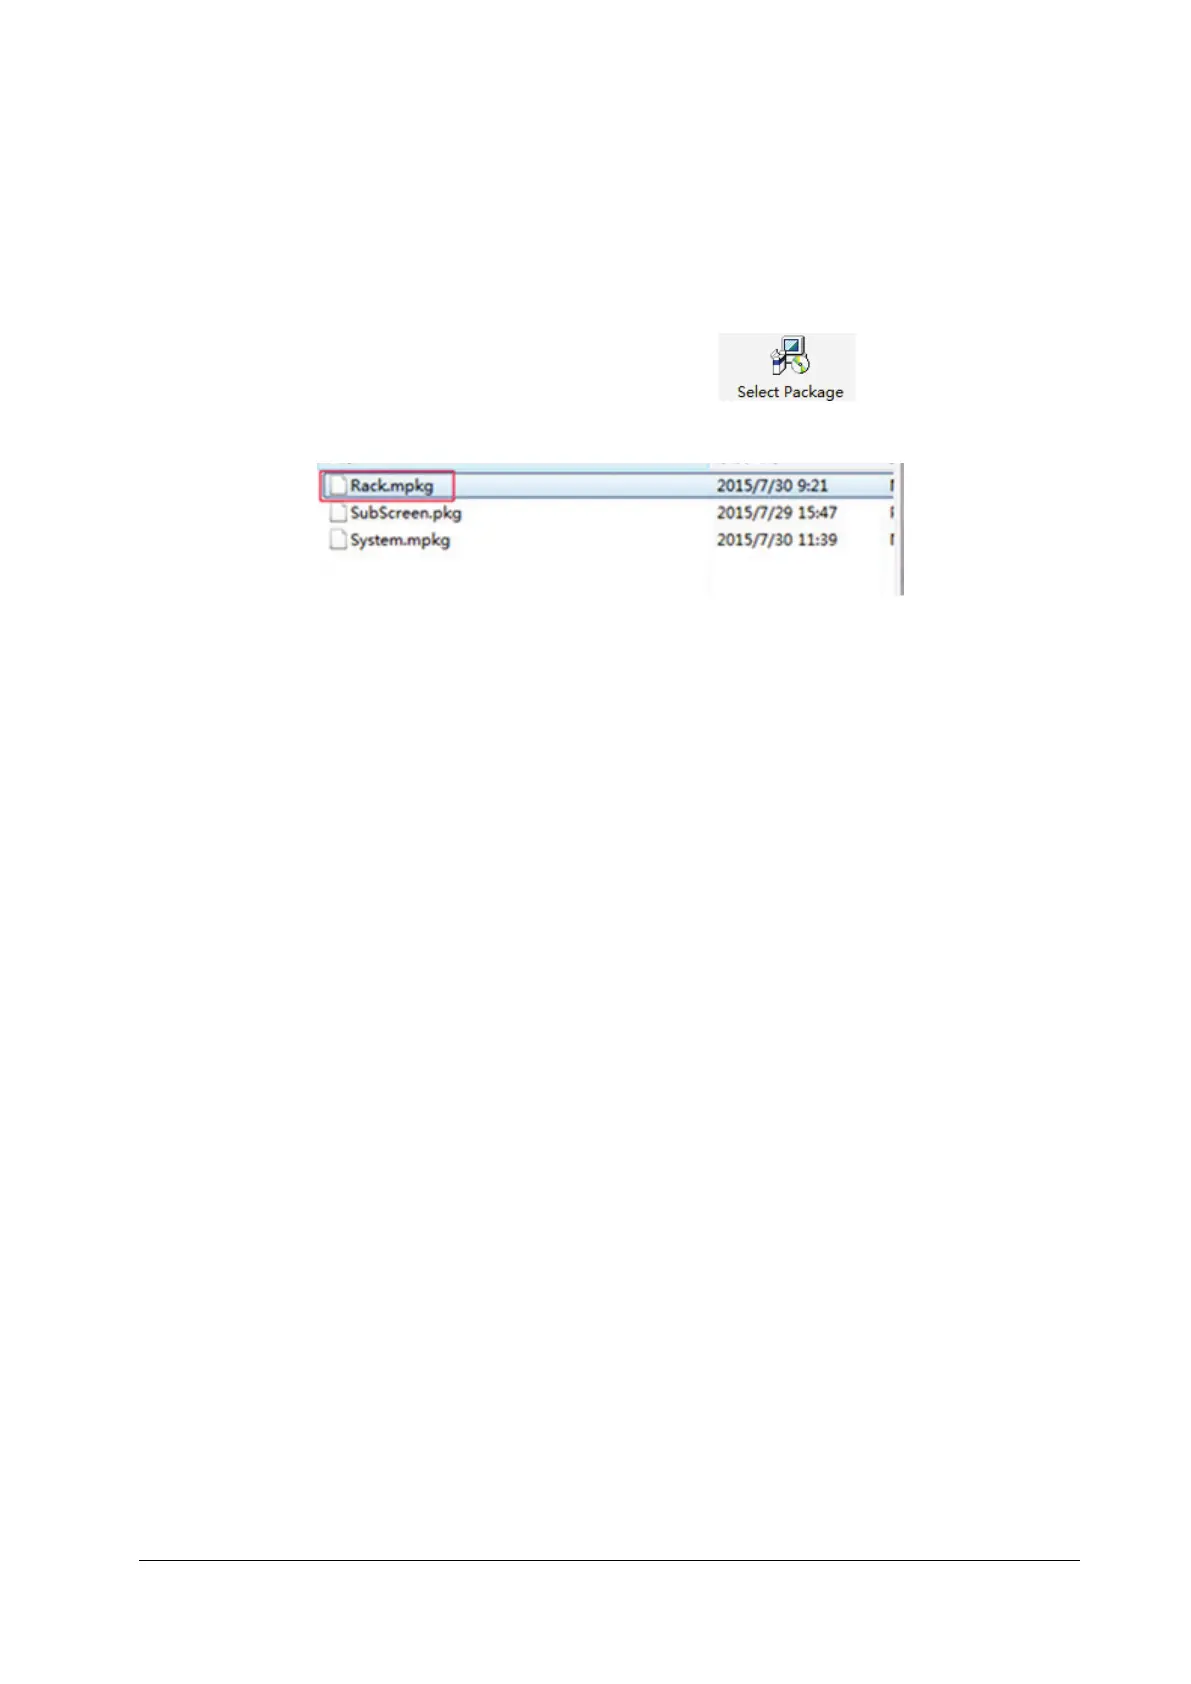
2. Enter the main interface for downloading of system upgrade, click " ", and select the Rack.pkg file
in the large software package of N12/M12/N15/M15/N17/M17 system:
3. Upgrade the SMR upgrade program by referring to “System Software Upgrading Method”.
4. If the upgrade fails, check whether all the wires are connected correctly, and then perform upgrade again.
6.4.2.3 Upgrading Module Software
Upgrade the module program file by referring to “System Software Upgrading Method”. When the upgrade is
completed, click the Stop button on the upgrade menu to stop the upgrade, remove the network cable, turn off the
monitor, and then restart it.
For the detailed operations of network program upgrade, refer to the help and instructions included in the System
Update Tool, or consult your service personnel.
6.4.3 Guide to Upgrade through a USB Disk
6.4.3.1 Directory Structure Preparation for Upgrade through a USB Disk
Required tools:
USB disk: a common USB disk in the FAT format (e.g., the USB disk of Kingston, Netac or other models with at least
2GB memory).
1. Create the following content under the root directory of the USB disk: UPGRADE_AMP\Merak.
2. Copy the upgrade BIOS program Merak_Installer.pkg (do not change this file name) to the UPGRADE_AMP\Merak
directory.
3. Copy the upgrade file (PKG or MPKG) to the UPGRADE_AMP\Merak directory.
6.4.3.2 Inserting the USB Disk into the USB port of the Monitor
Insert the prepared USB disk into anyone of the four (4) USB ports of the main control board. Do not insert the USB disk
into the USB port of the iView board.