The locking point is compatible with USB cables that have a built in locking screw. This lets
you secure the USB connector to the camera so it can’t be accidentally removed.
3 12V DC Power Input
Connect the supplied AC power supply to power your camera. The AC power supply can
also be used to charge an optional rechargeable battery when connected to your camera.
The locking ring prevents accidental disconnection.
The small LED light above your camera’s power input illuminates white when your camera
is powered on. When your camera is powered off and has a rechargeable battery attached,
the LED indicator will display the charging status of the battery.
The connected battery is charging.
The connected battery is fully charged.
A battery error has occurred.
4 Record
Press the ‘record’ button to start and stop recording to external flash disks via the USB-C
expansion port.
5 Menu
Press the ‘menu’ button to open your camera’s settings menu when connected to an HDMI
television or monitor. Press the ‘menu’ button again to exit the menu settings. For more
information, refer to the ‘settings’ section later in this manual.
6 Arrow Buttons
Use the up and down arrow buttons to navigate the menu settings and head up display
controls. The arrow buttons are also used to adjust settings.
7 Set
Press the ‘set’ button to select menu items and to confirm setting changes.
8 Power
Press the ‘power’ button to switch your camera on. Press and hold the ‘power’ button for
3 seconds to switch your camera off.
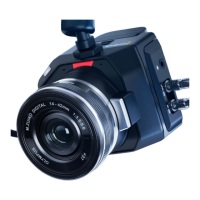
12Camera Features
 Loading...