Using ATEM Software Control
Camera Control
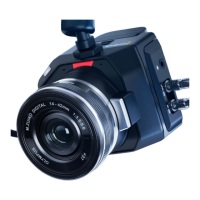
Your Blackmagic Micro Studio Camera 4K G2 can be controlled from an ATEM switcher using
the Camera Control feature in ATEM Software Control. Clicking on the ‘camera’ button in ATEM
Software Control opens the camera control feature. Settings such as iris, gain, focus and zoom
control are easily adjusted using compatible lenses, plus you can color balance cameras
and create unique looks using the DaVinci Resolve primary color corrector that’s built into
the camera.
On HDMI ATEM switchers, ATEM Software Control automatically detects which camera is
connected to each input, so the tally signals will always trigger the appropriate cameras.
However, if you want to change the button mapping so camera inputs appear on different
buttons, you can do that in the button mapping settings in ATEM Software Control’s
preferences.
On SDI ATEM switchers the camera control data, tally and talkback is sent over the program
return feed to the camera. On SDI models you will need to set the camera numbers manually if
using more than one camera.
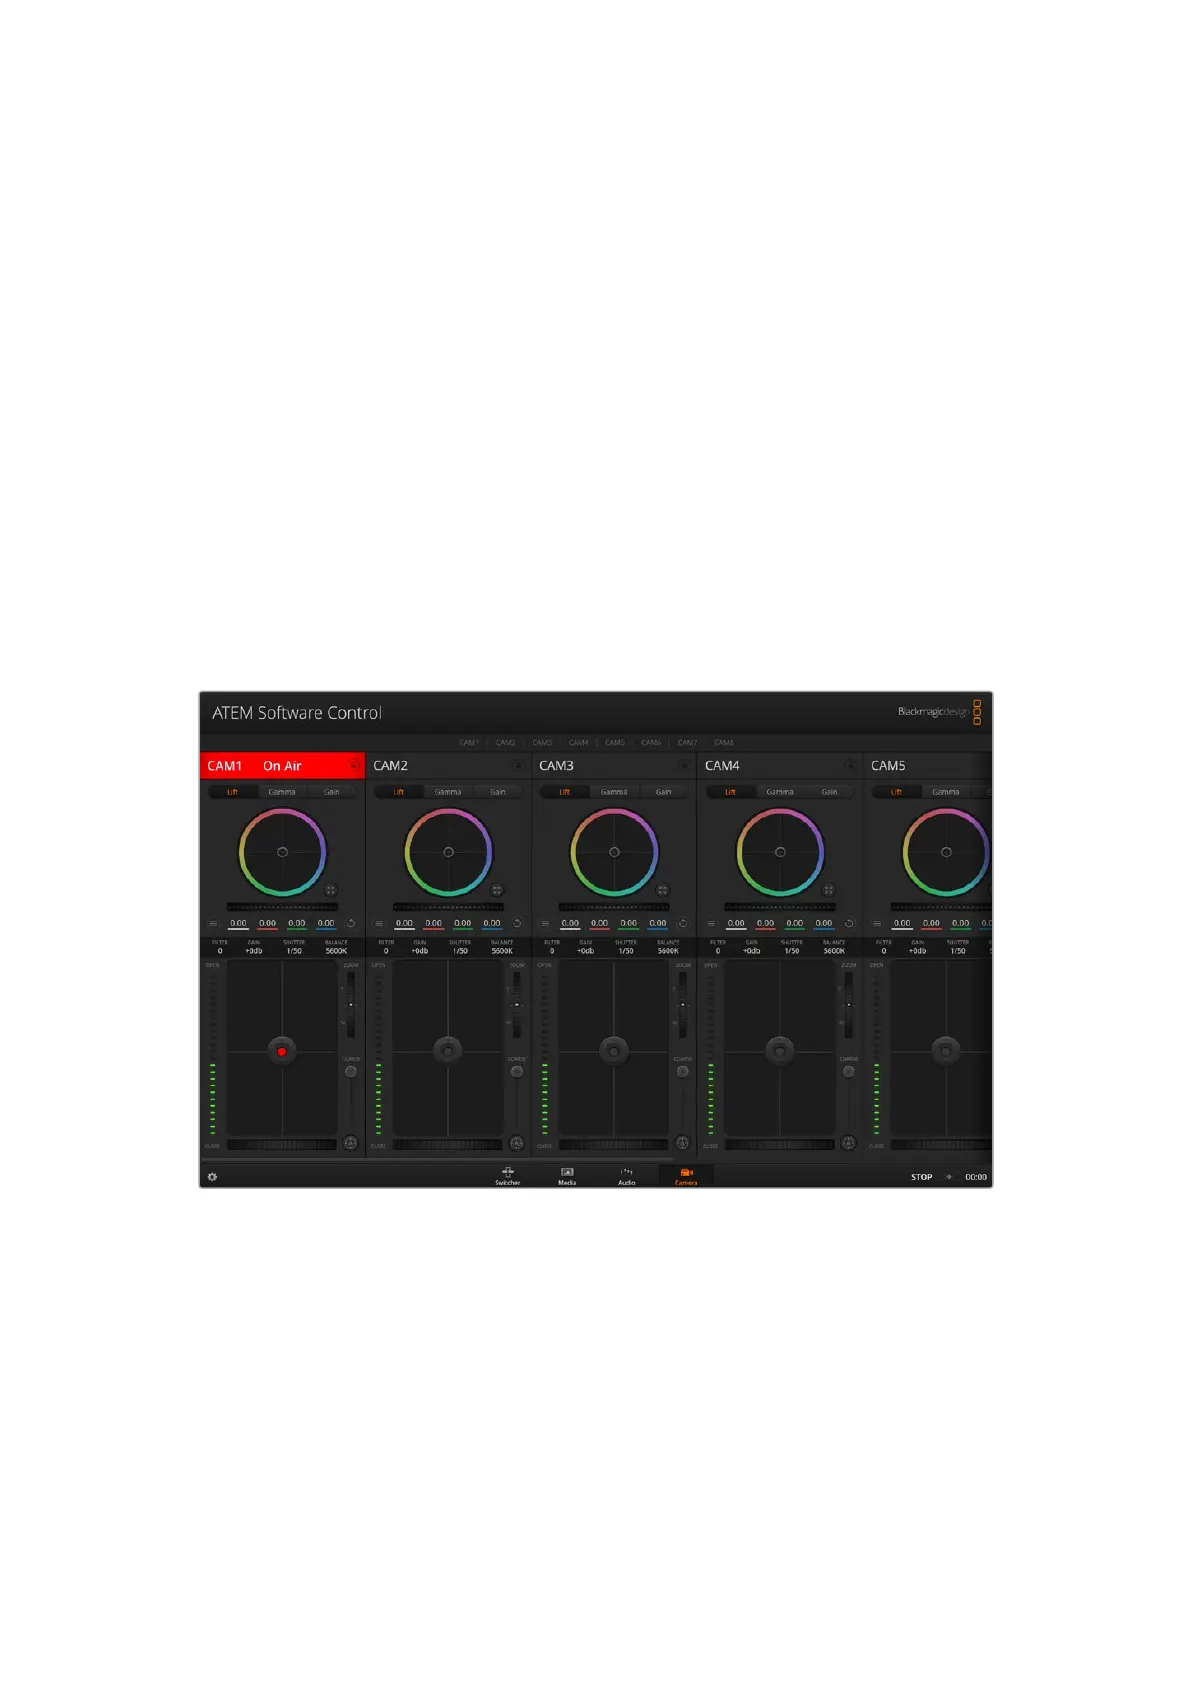
ATEM Camera Control
Camera Control Panel
Launch ATEM Software Control and click on the ‘camera’ button located at the bottom of the
software window. You’ll see a row of labeled Blackmagic camera controllers containing tools to
adjust and refine each camera’s image. The controllers are easy to use. Simply click the buttons
using your mouse, or click and drag features to adjust.
Camera Control Selection
The button row at the top of the camera control page lets you select the camera number you
would like to control.
84Using ATEM Software Control
 Loading...