White Balance
The white balance setting next to the shutter speed control can be adjusted by clicking on the
left or right arrows on each side of the color temperature indicator. Different light sources emit
warm or cool colors, so you can compensate by adjusting the white balance. This ensures the
whites in your image stay white.
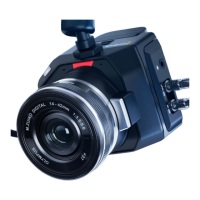
Hovering your mouse pointer over the gain, shutter
speed and white balance indicators reveal arrows
you can click on to adjust their respective settings
DaVinci Resolve Primary Color Corrector
If you have a color correction background, then you can change your camera control from a
switcher style CCU interface to a user interface that’s more like a primary color corrector on a
post production color grading system.
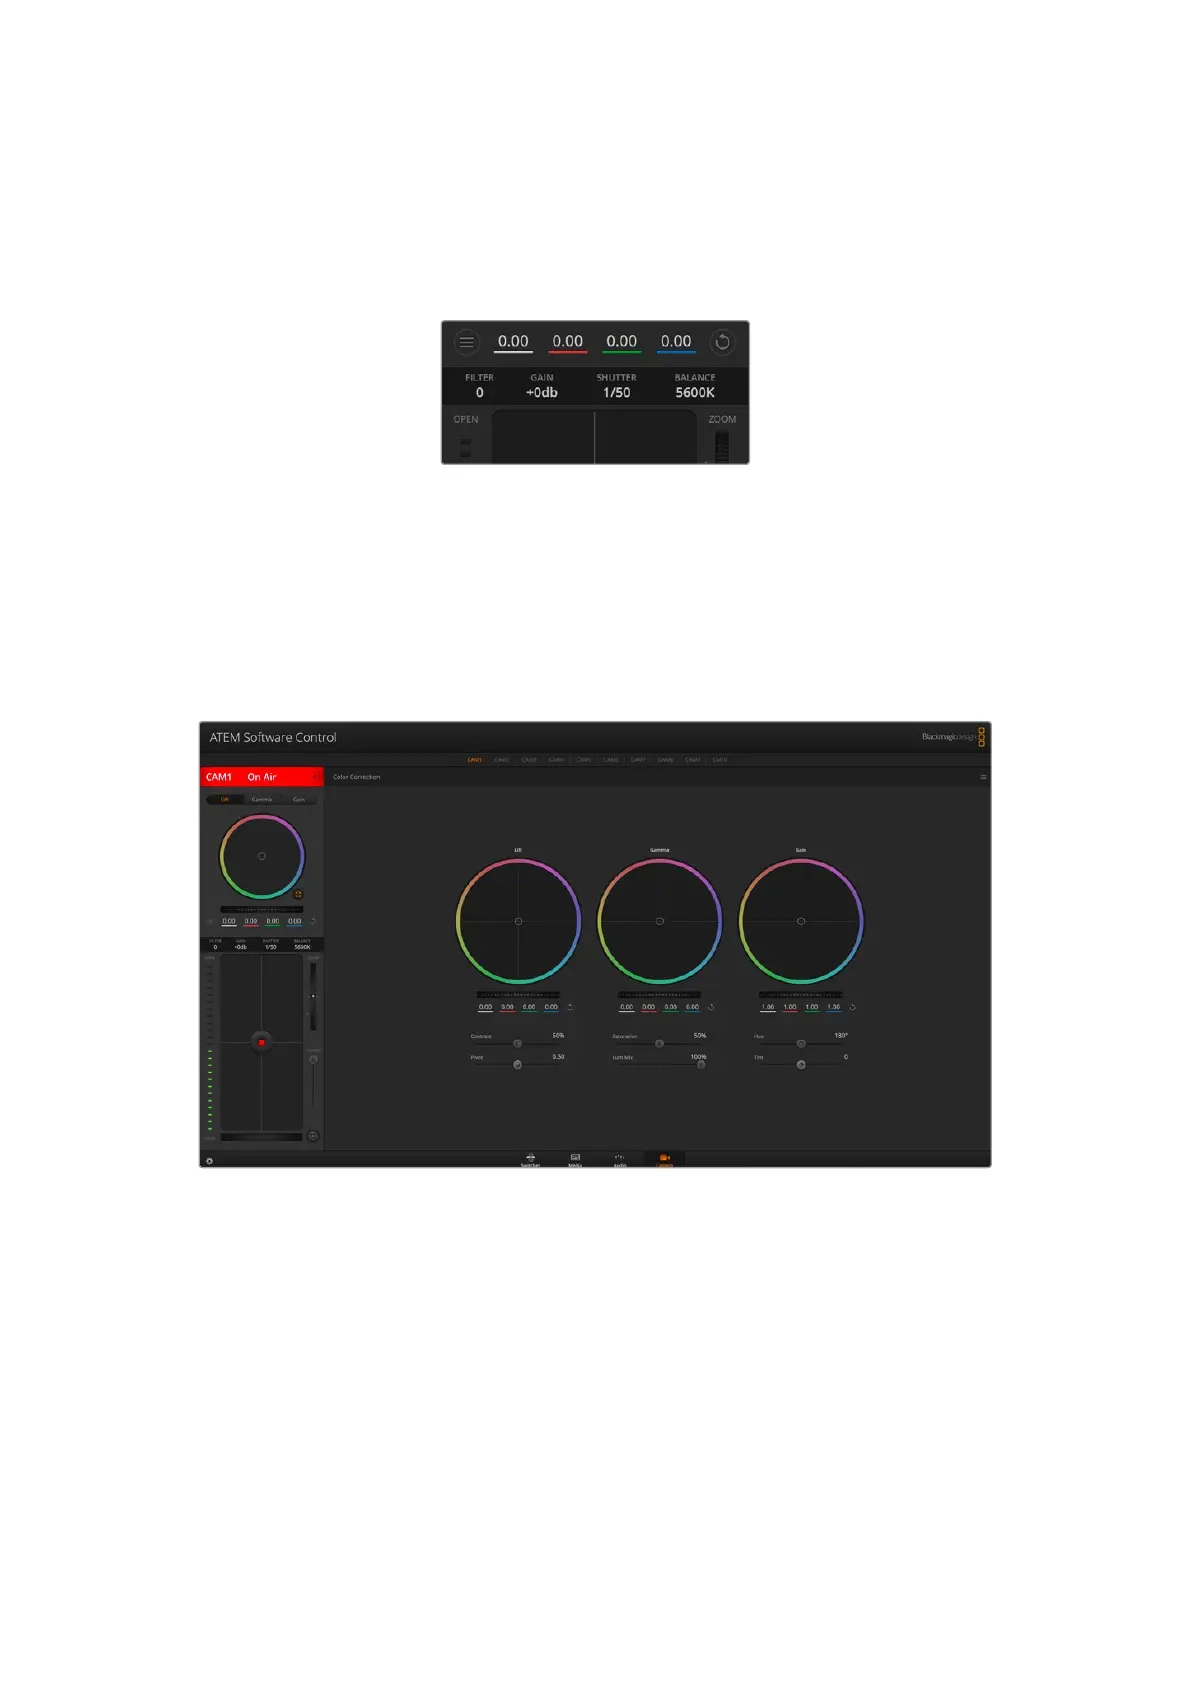
Click on the DaVinci Resolve primary color corrector button to expand the color correction window and
adjust settings
Blackmagic cameras feature a DaVinci Resolve primary color corrector built in. If you have used
DaVinci Resolve, then creatively, grading in the Blackmagic camera will be identical so you
can use your color grading experience for live production. The color corrector panel can be
expanded out of any camera controller and provides expanded color correction control with
extra settings and a full primary color corrector interface.
You have color wheels and settings such as saturation available and you can see shadows,
midtones and highlight settings all at the same time. Simply switch between cameras using the
camera selection controls at the top of the window as you need.
88Using ATEM Software Control
 Loading...