To remove the battery, slide the battery release latch on the top panel forward and slide the
battery out of the slot.
Turning Your Camera On
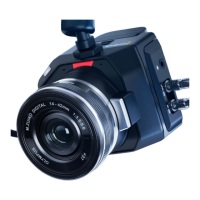
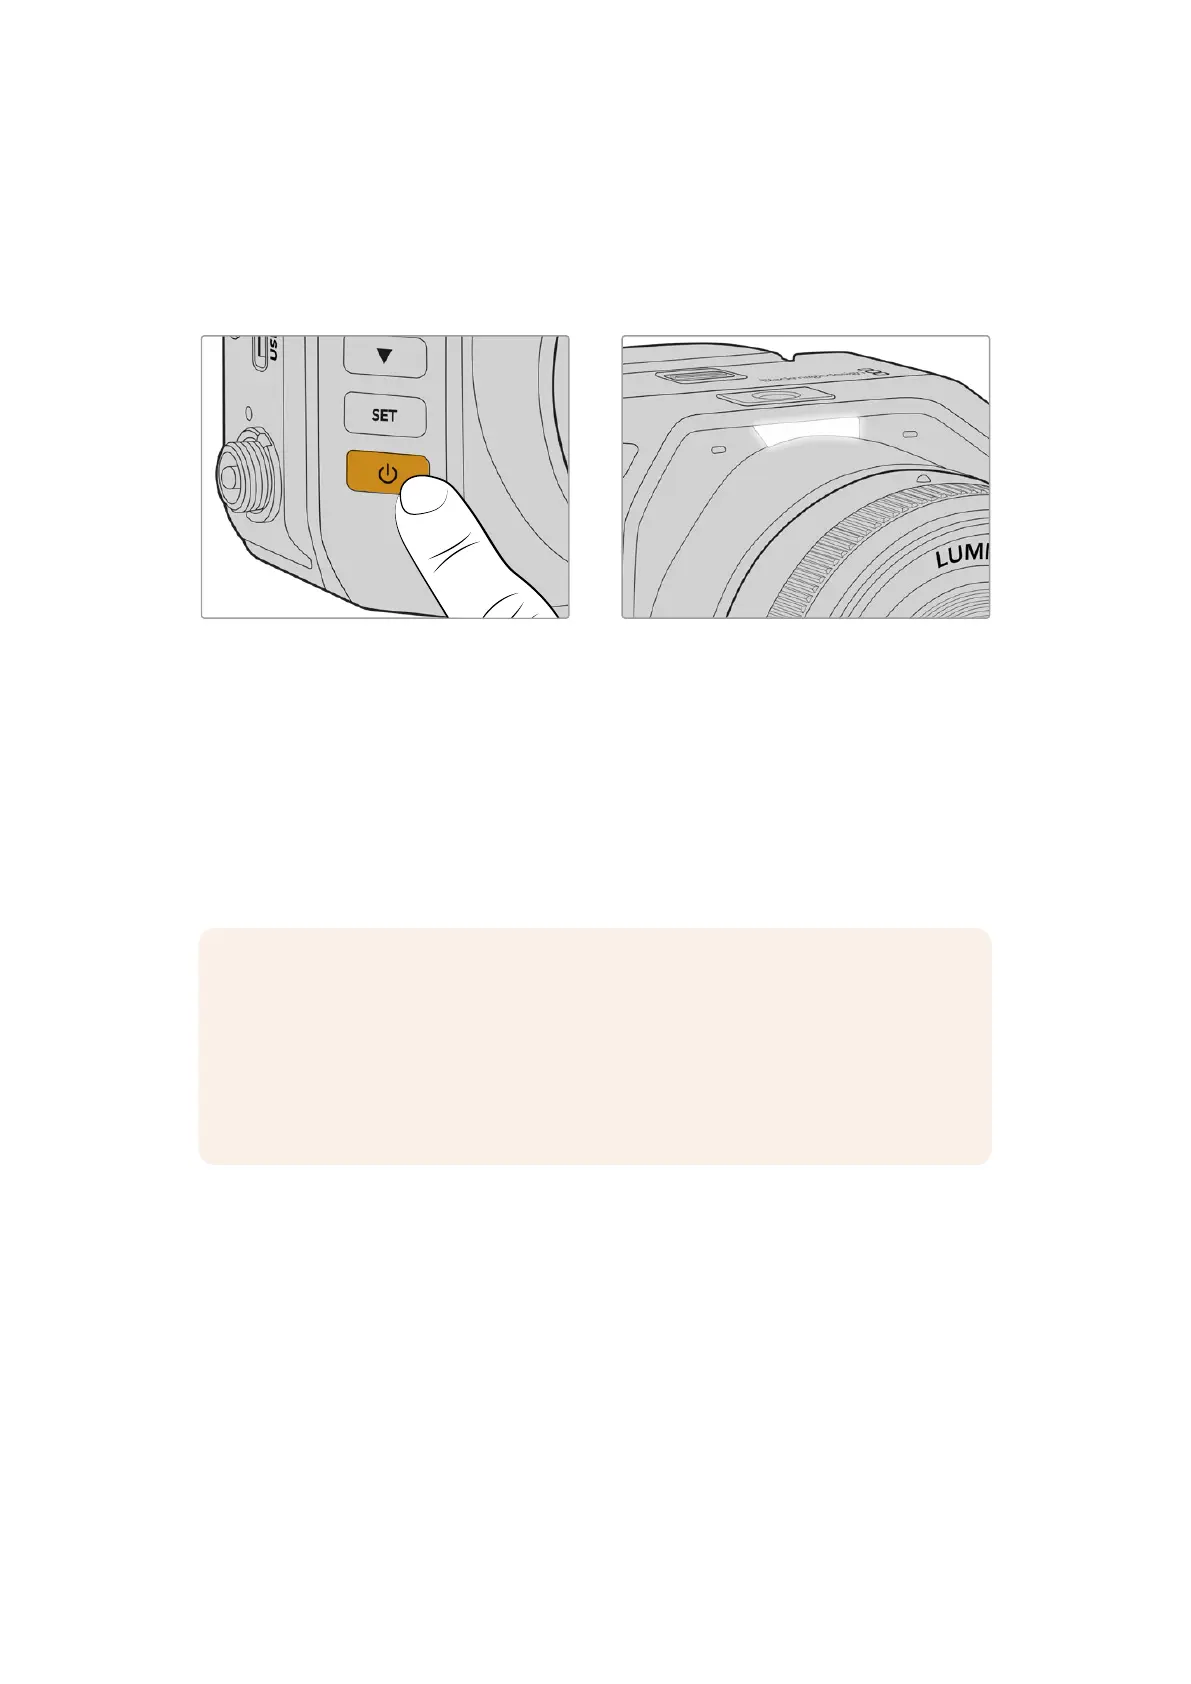
To turn your camera on, press the power button on the left panel. When powered on your
camera’s tally light will illuminate white.
Press the power button to turn your camera on When powered the tally light will illuminate white
To turn your camera off, press and hold the power button down for 3 seconds.
Connecting to an ATEM Switcher
Connecting to an ATEM switcher lets you switch multiple cameras in your live production and
control them using the switcher’s built in control panel or ATEM Software Control. Tally signals
are sent back to your camera via HDMI or SDI so your camera’s tally light illuminates when it
is switched on air. For more information on ATEM Software Control, refer to the ‘Using ATEM
Software Control’ section later in this manual.
NOTE Your camera’s settings are visible on the HDMI output via a head up display.
The HUD is a video overlay that shows you important information like shutter speed,
iris, histogram, focus assist, frame guides, zebra and more. The HUD is always on by
default and if you are connected to an ATEM switcher you will likely want to turn it off.
You can disable the HUD by selecting ‘clean feed’ in your camera’s menu settings. For
information on how to change the HUD settings, refer to the ‘monitor menu’ section in
this manual.
7Getting Started
 Loading...